

Illuminate 7 3D Printed Speaker Build
By Eric Hampshire
All the photos
Holden got a 3D printer for Christmas and you could say I've kind of gotten into it. I have plans to build some tower speakers from wood but stumbled on these 3D printed versions, which had never occurred to me as an option. The bill of materials was much cheaper so I decided to go for it. This page documents my journey in printing and assembling the Illuminate 7 3D printed speakers!
Final Bill of Materials
Drivers + Crossover components: $350
Other misc parts: ~$50
Filament: $150 (discounting the messed up print which was another $50)
-------------------------
Total: ~$650
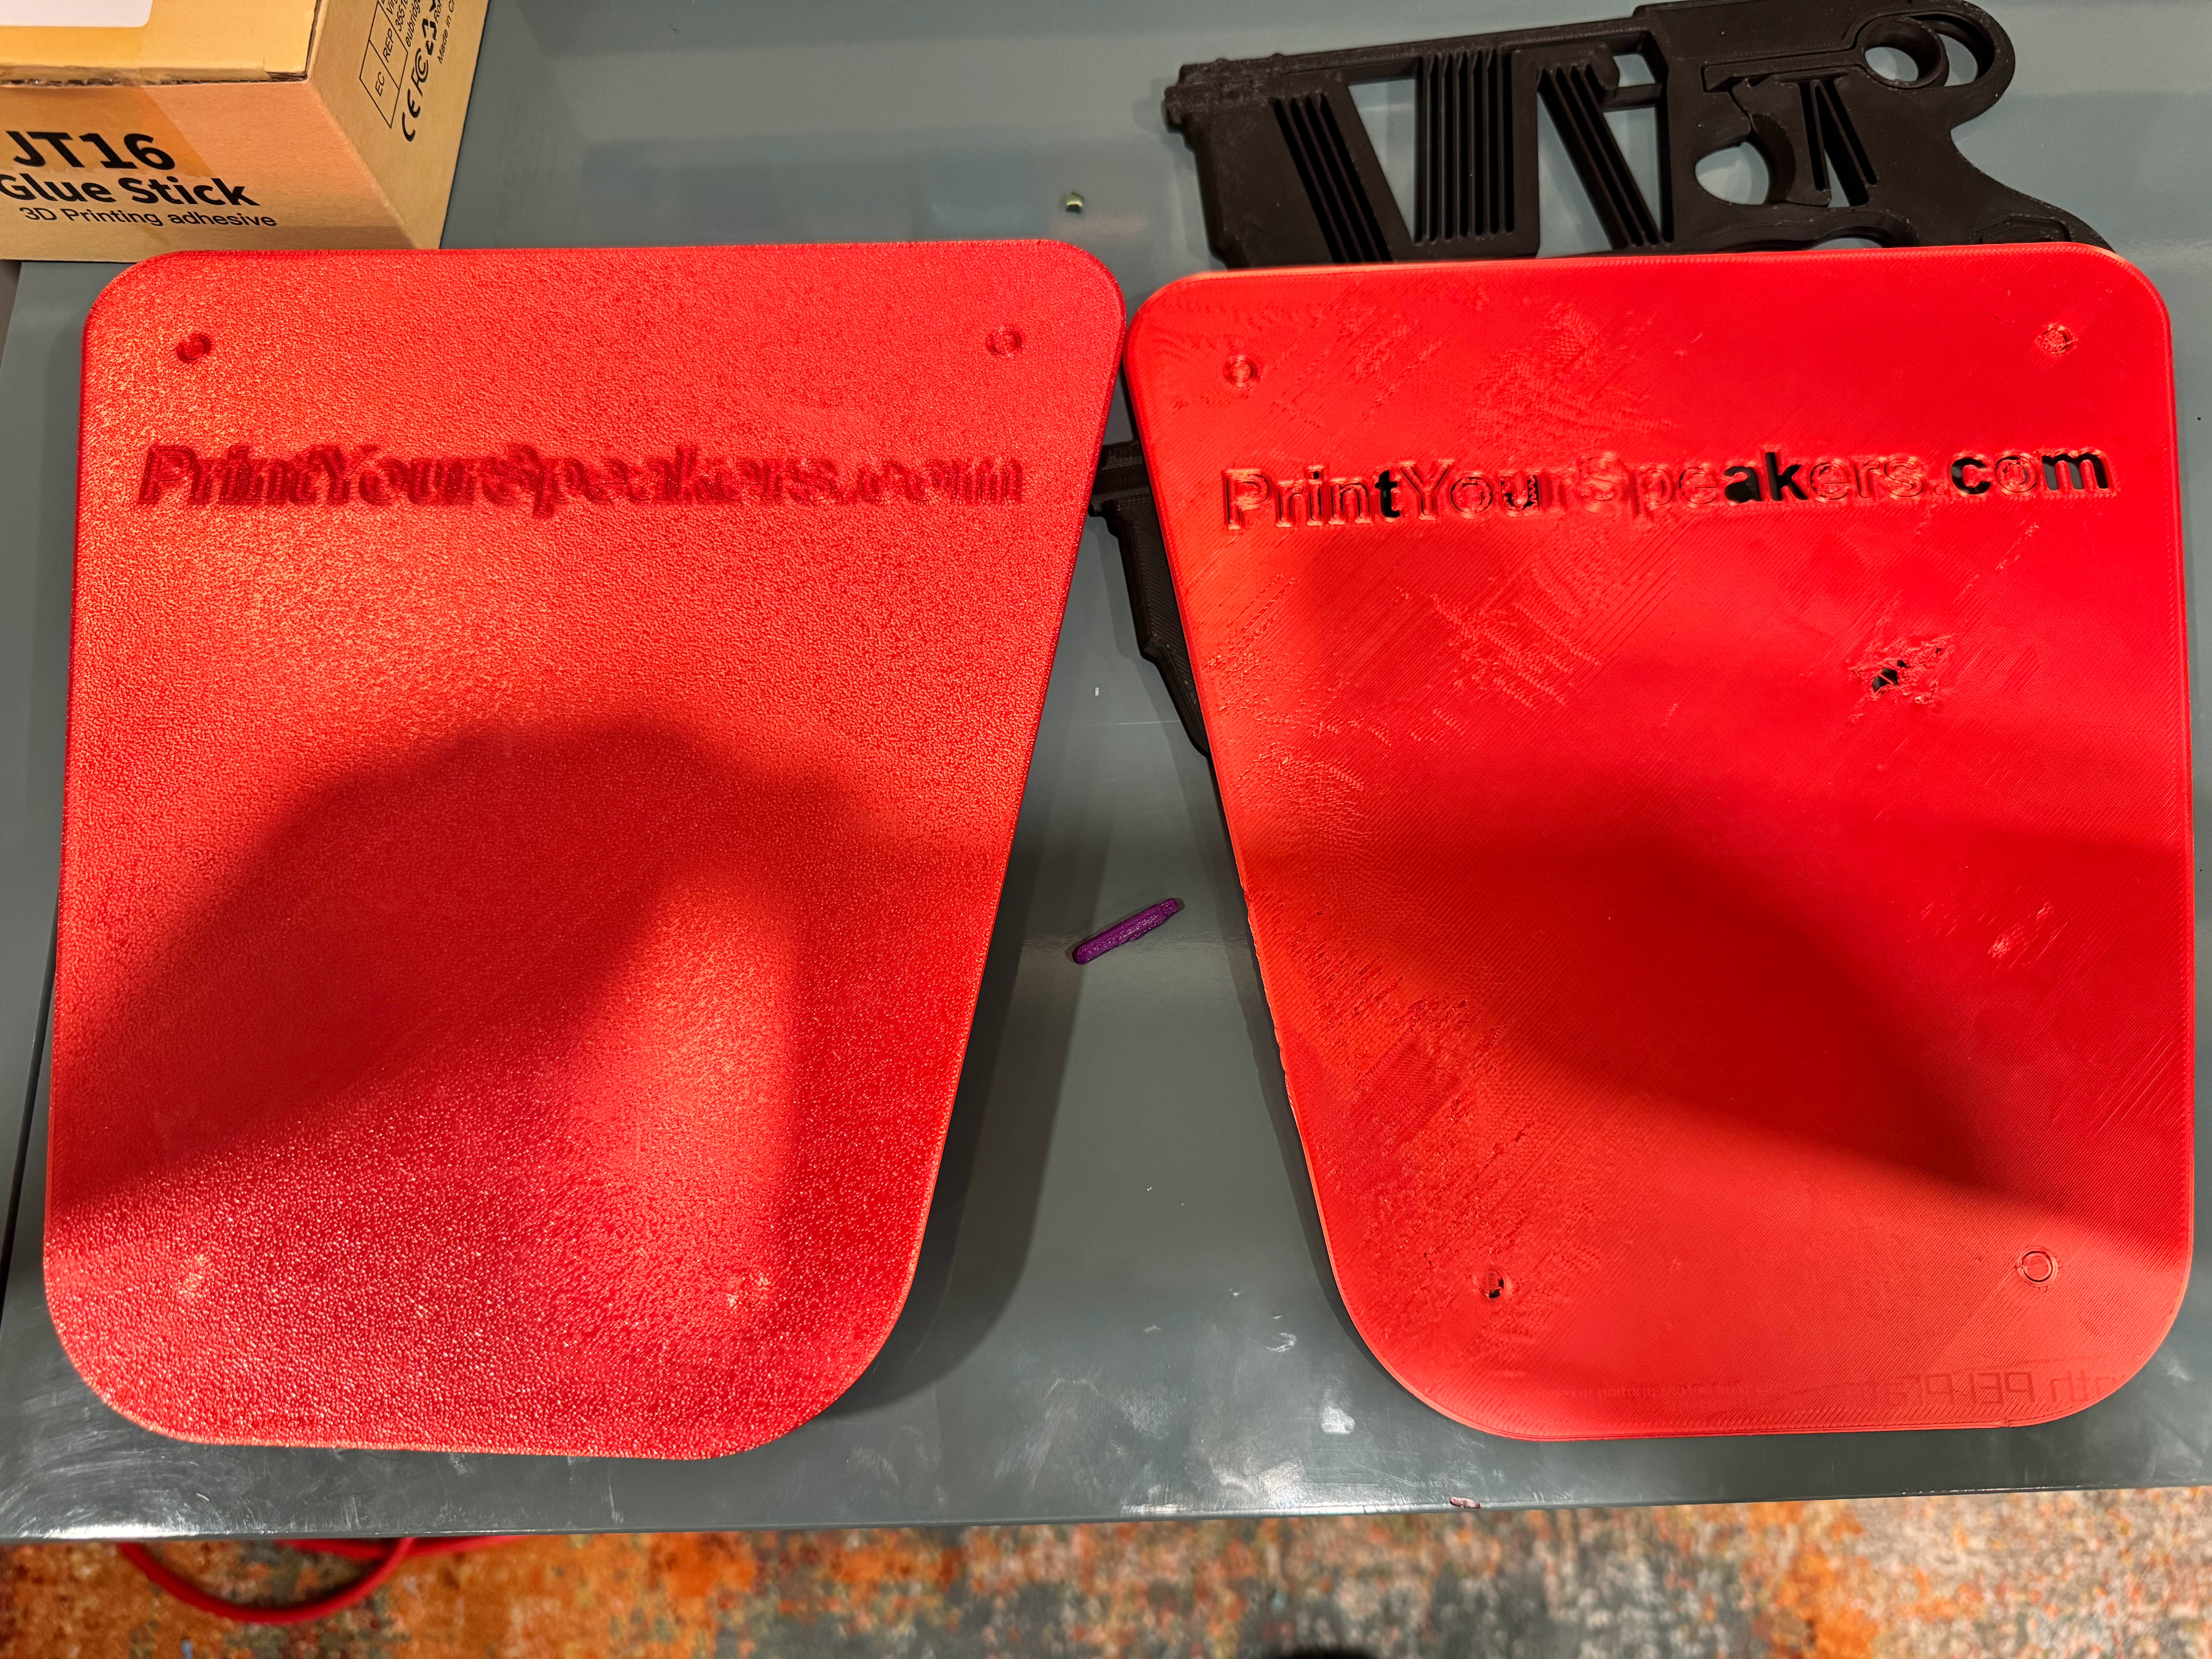
1) I started with the bottom of the speakers as I wasn't sure which build plate to use - textured or smooth? You can see I had some bed adhesion issues with the one on the right.
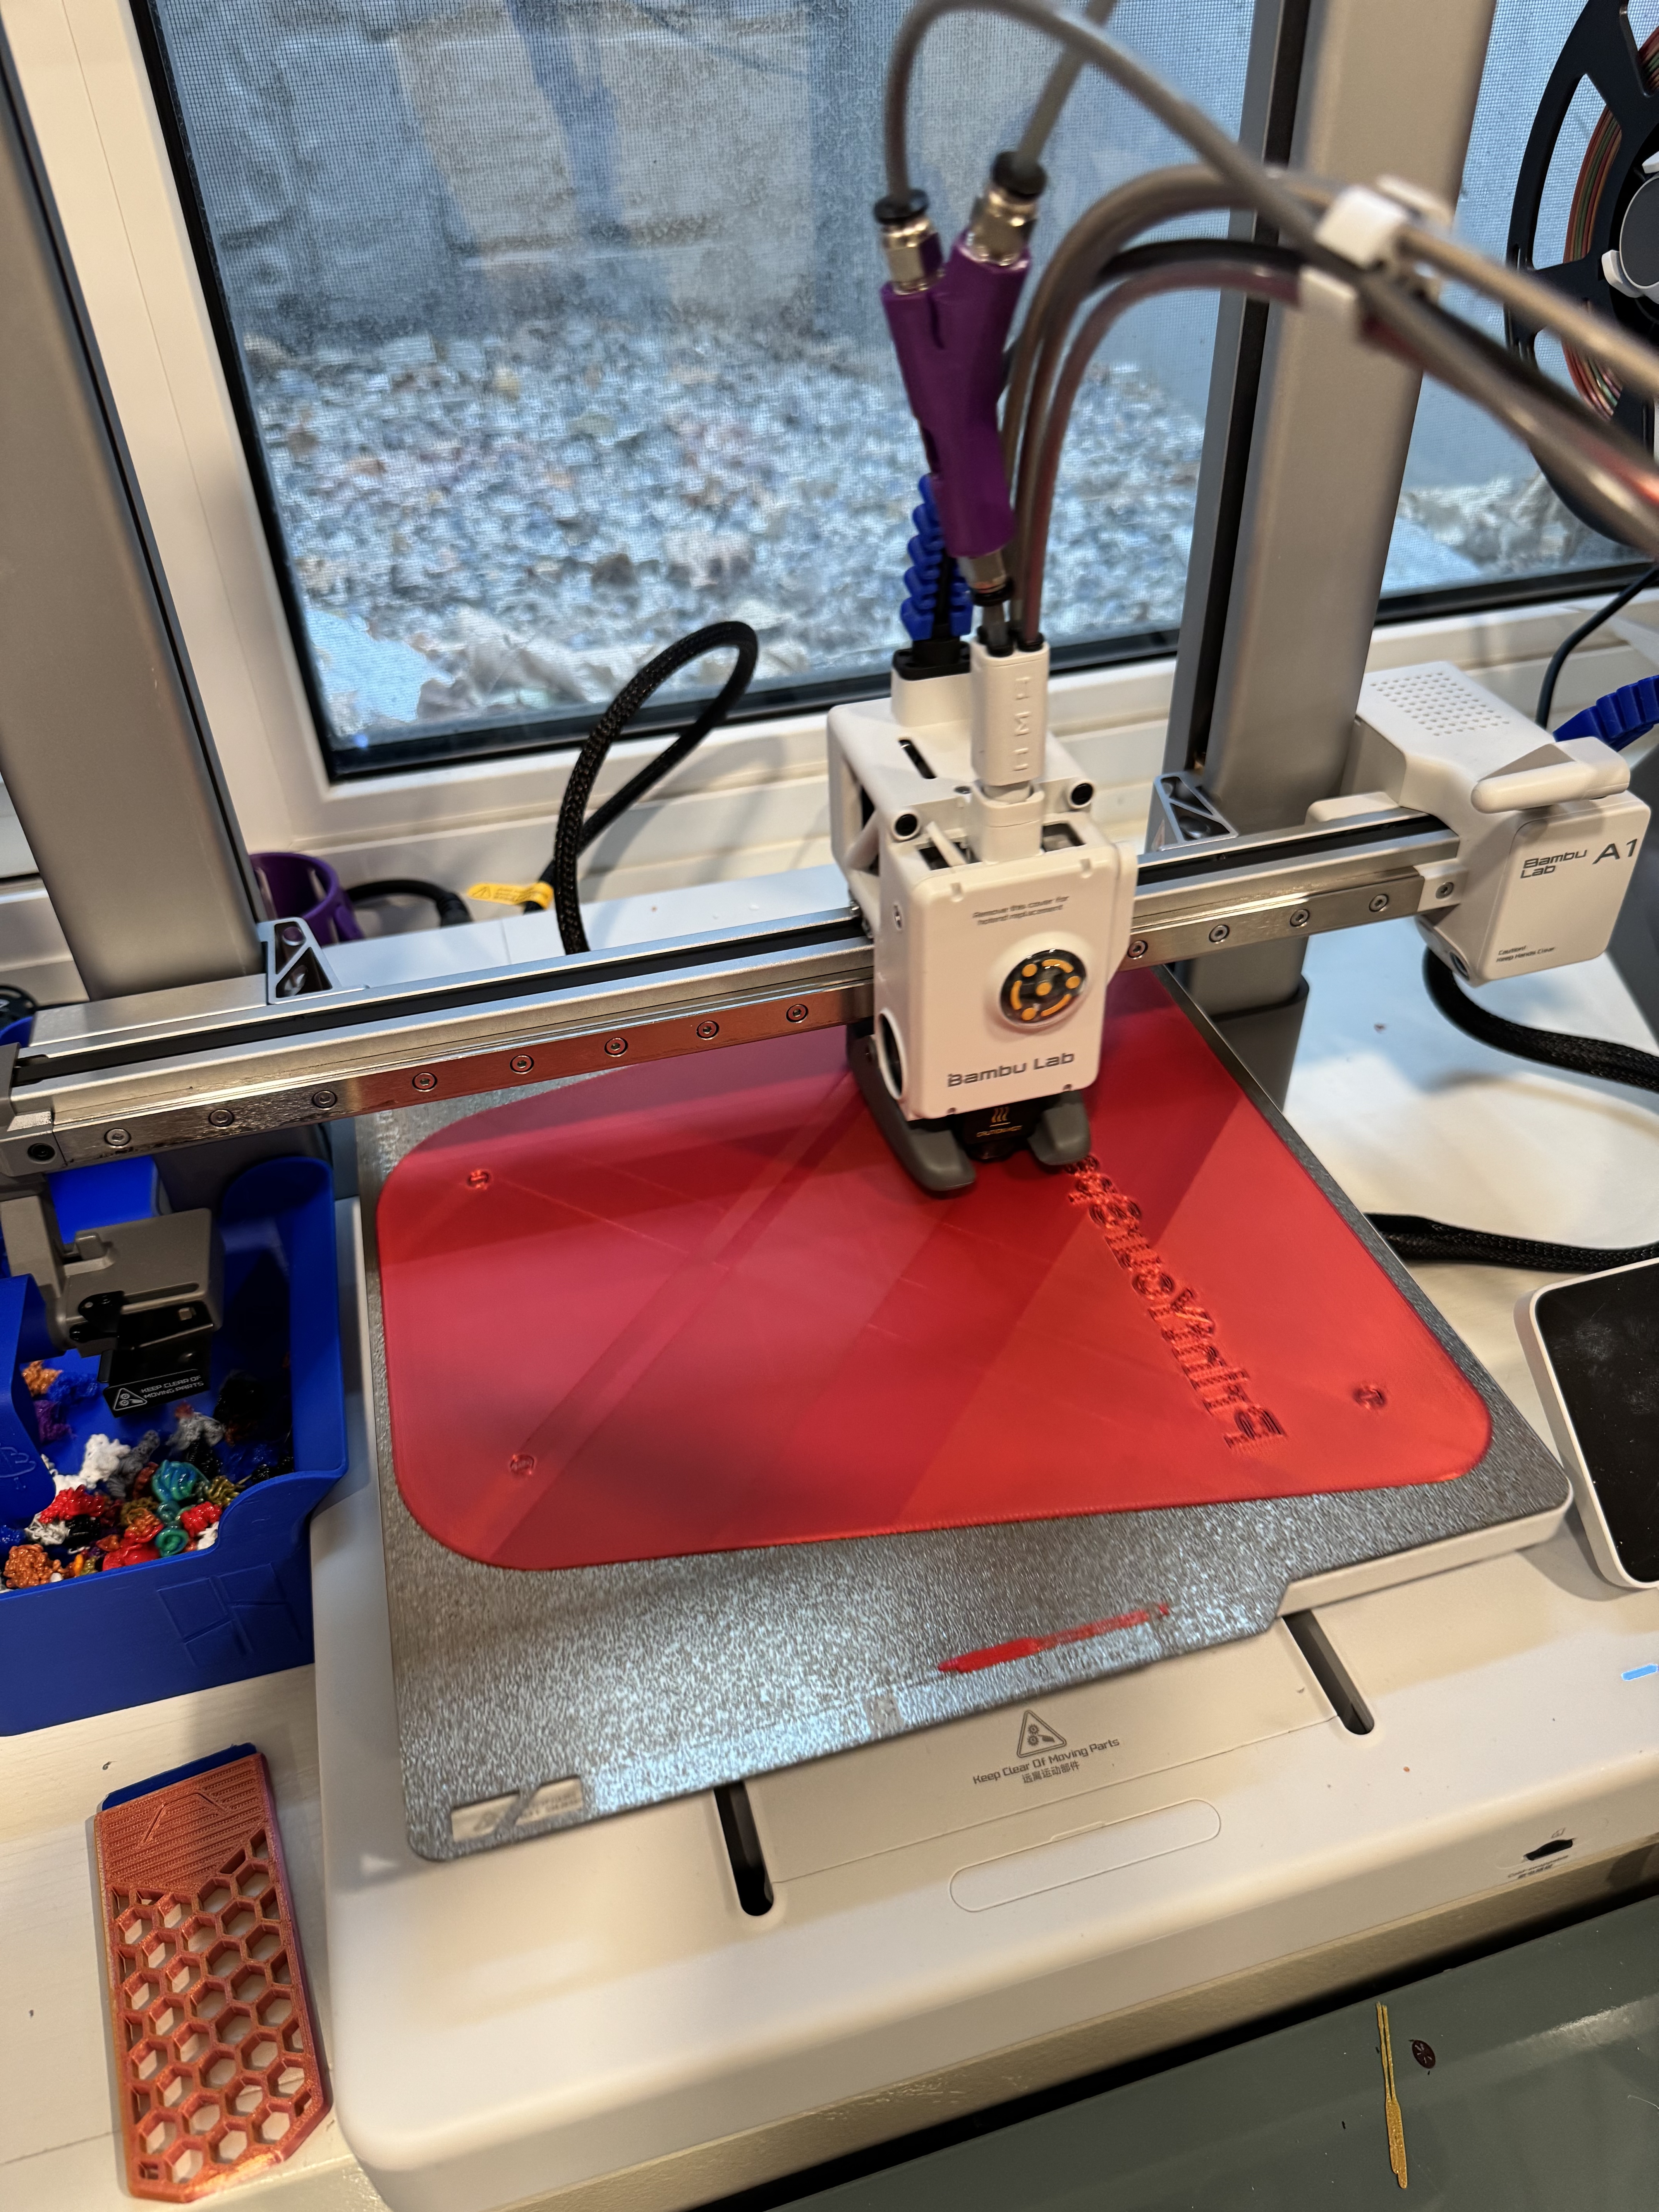
 2) Printing one of the speaker bottoms on my Bambu A1
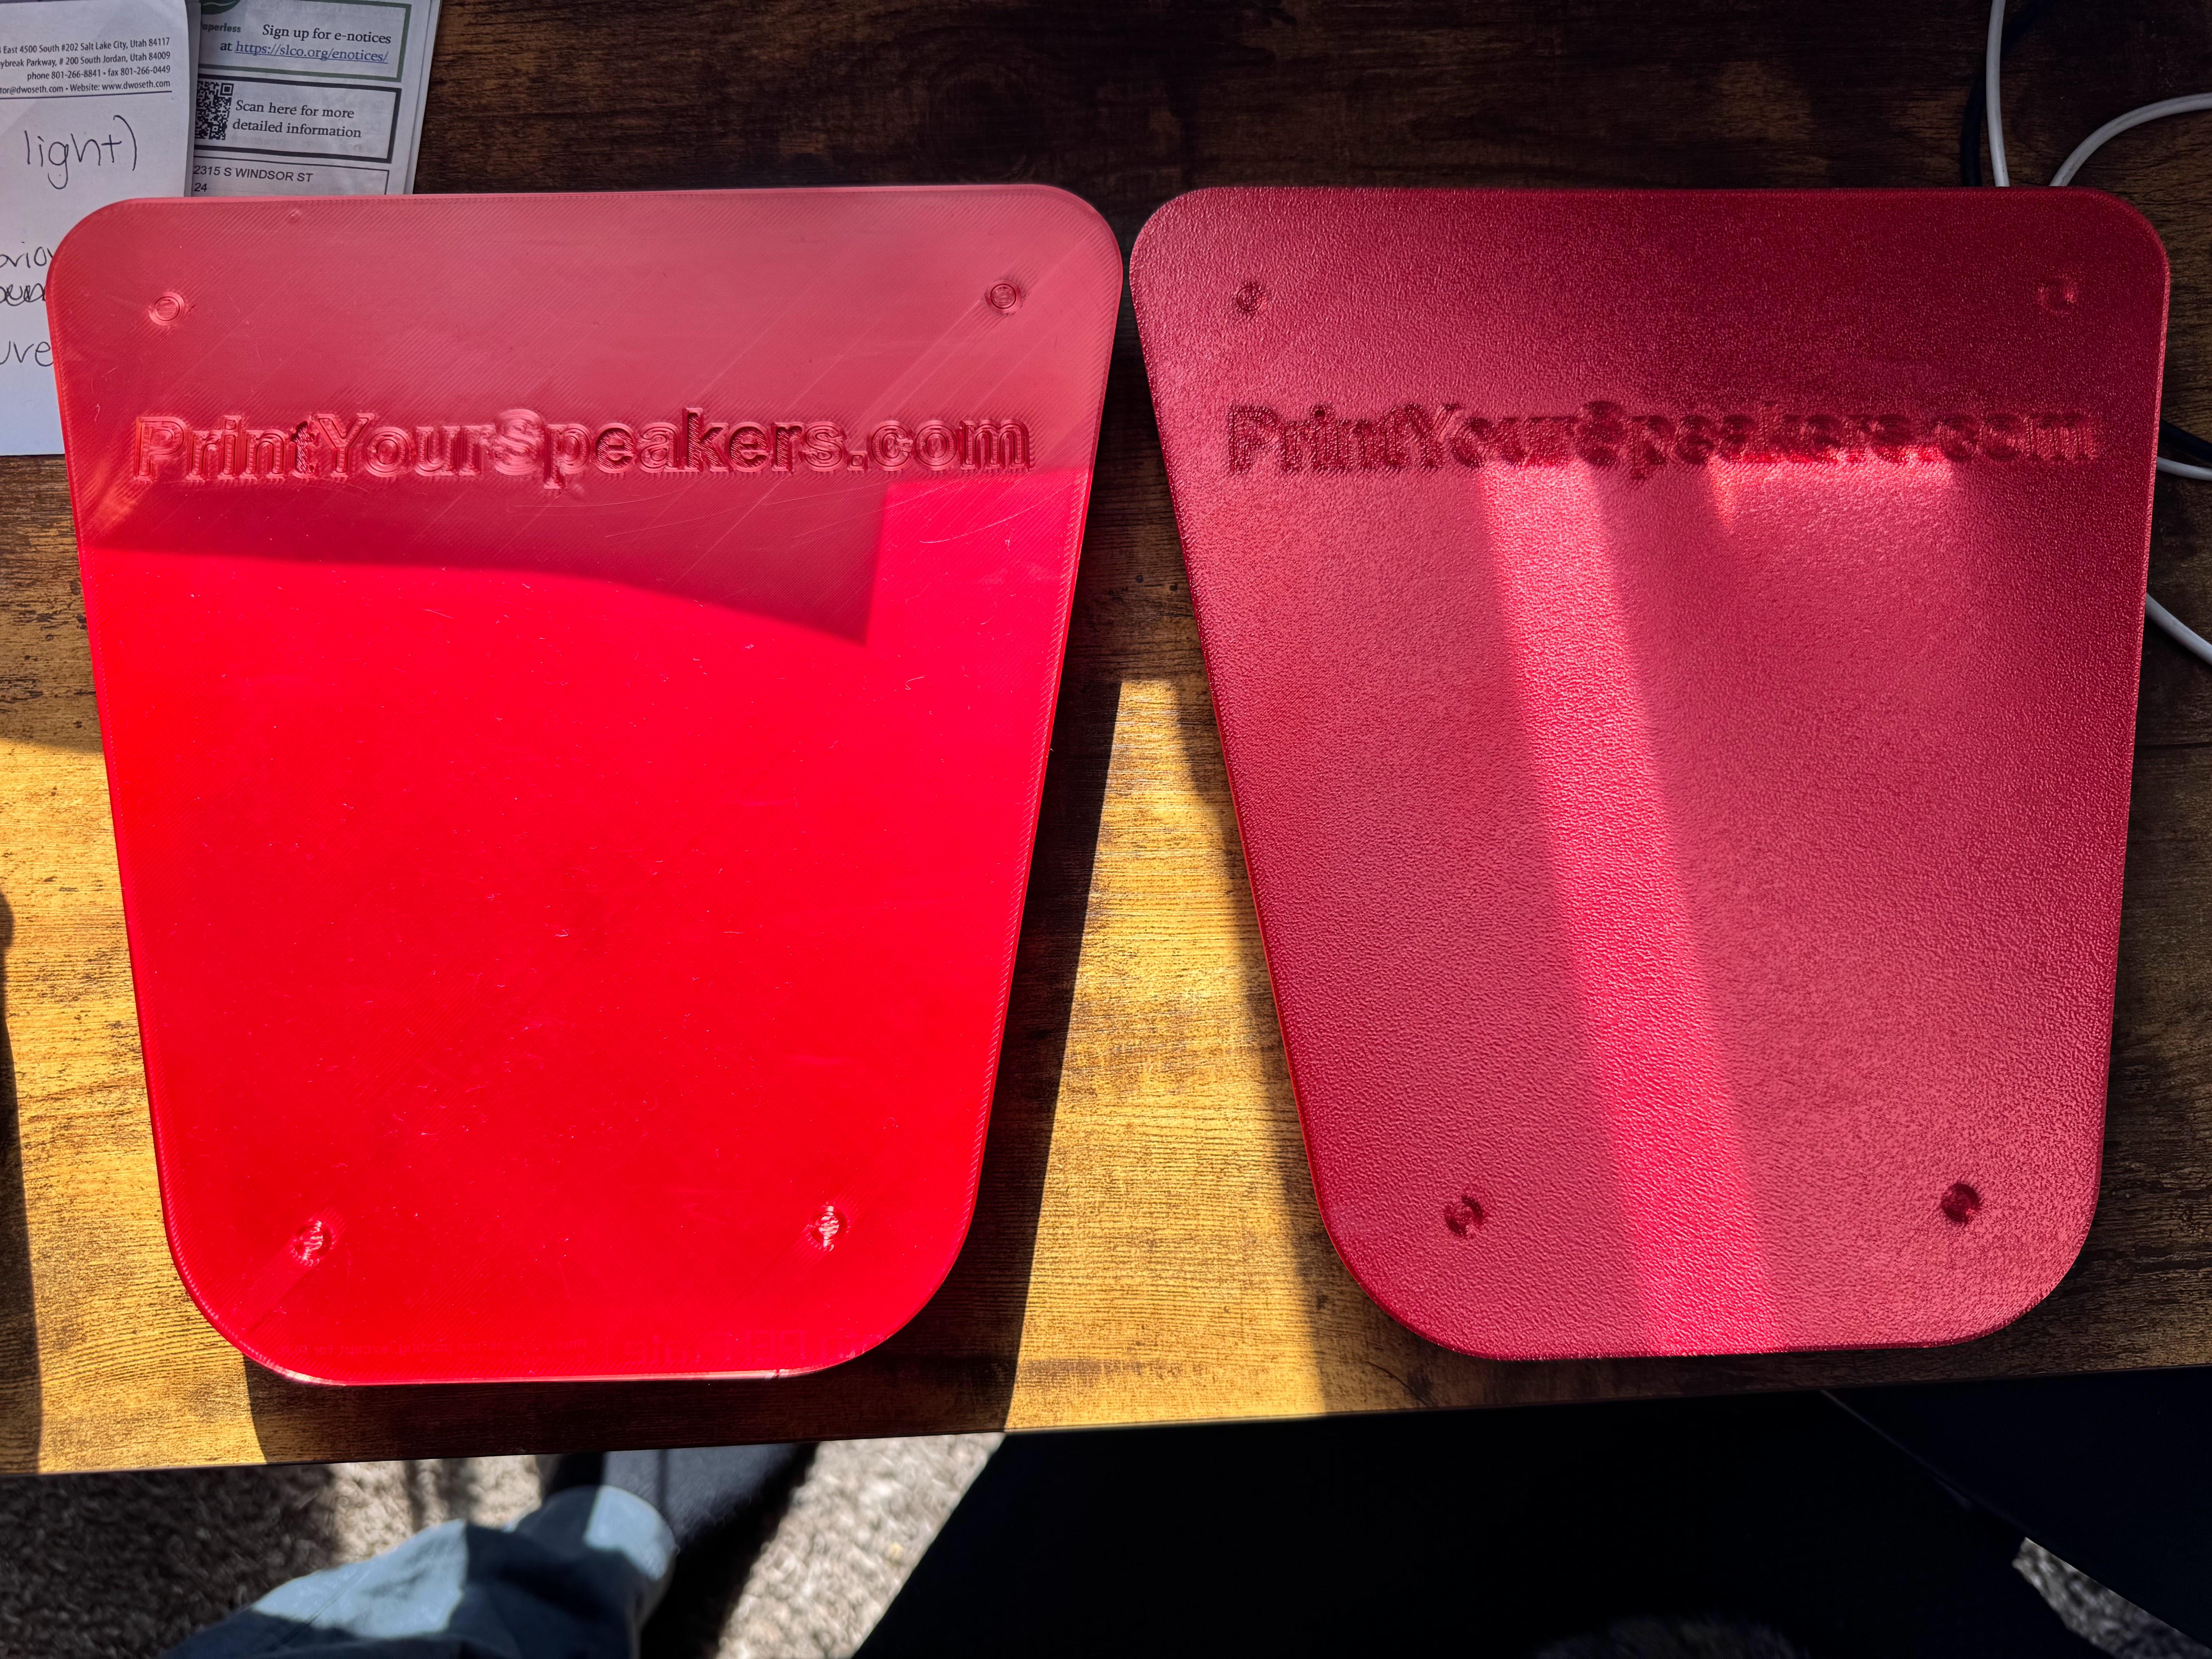
 3) A good version of both a smooth bottom and textured bottom. I used these as a test to determine which I wanted for the top of the speaker. Ultimately, I felt the smooth plate version shows too many streaks and artifacts from printing and went with the textured build plate.
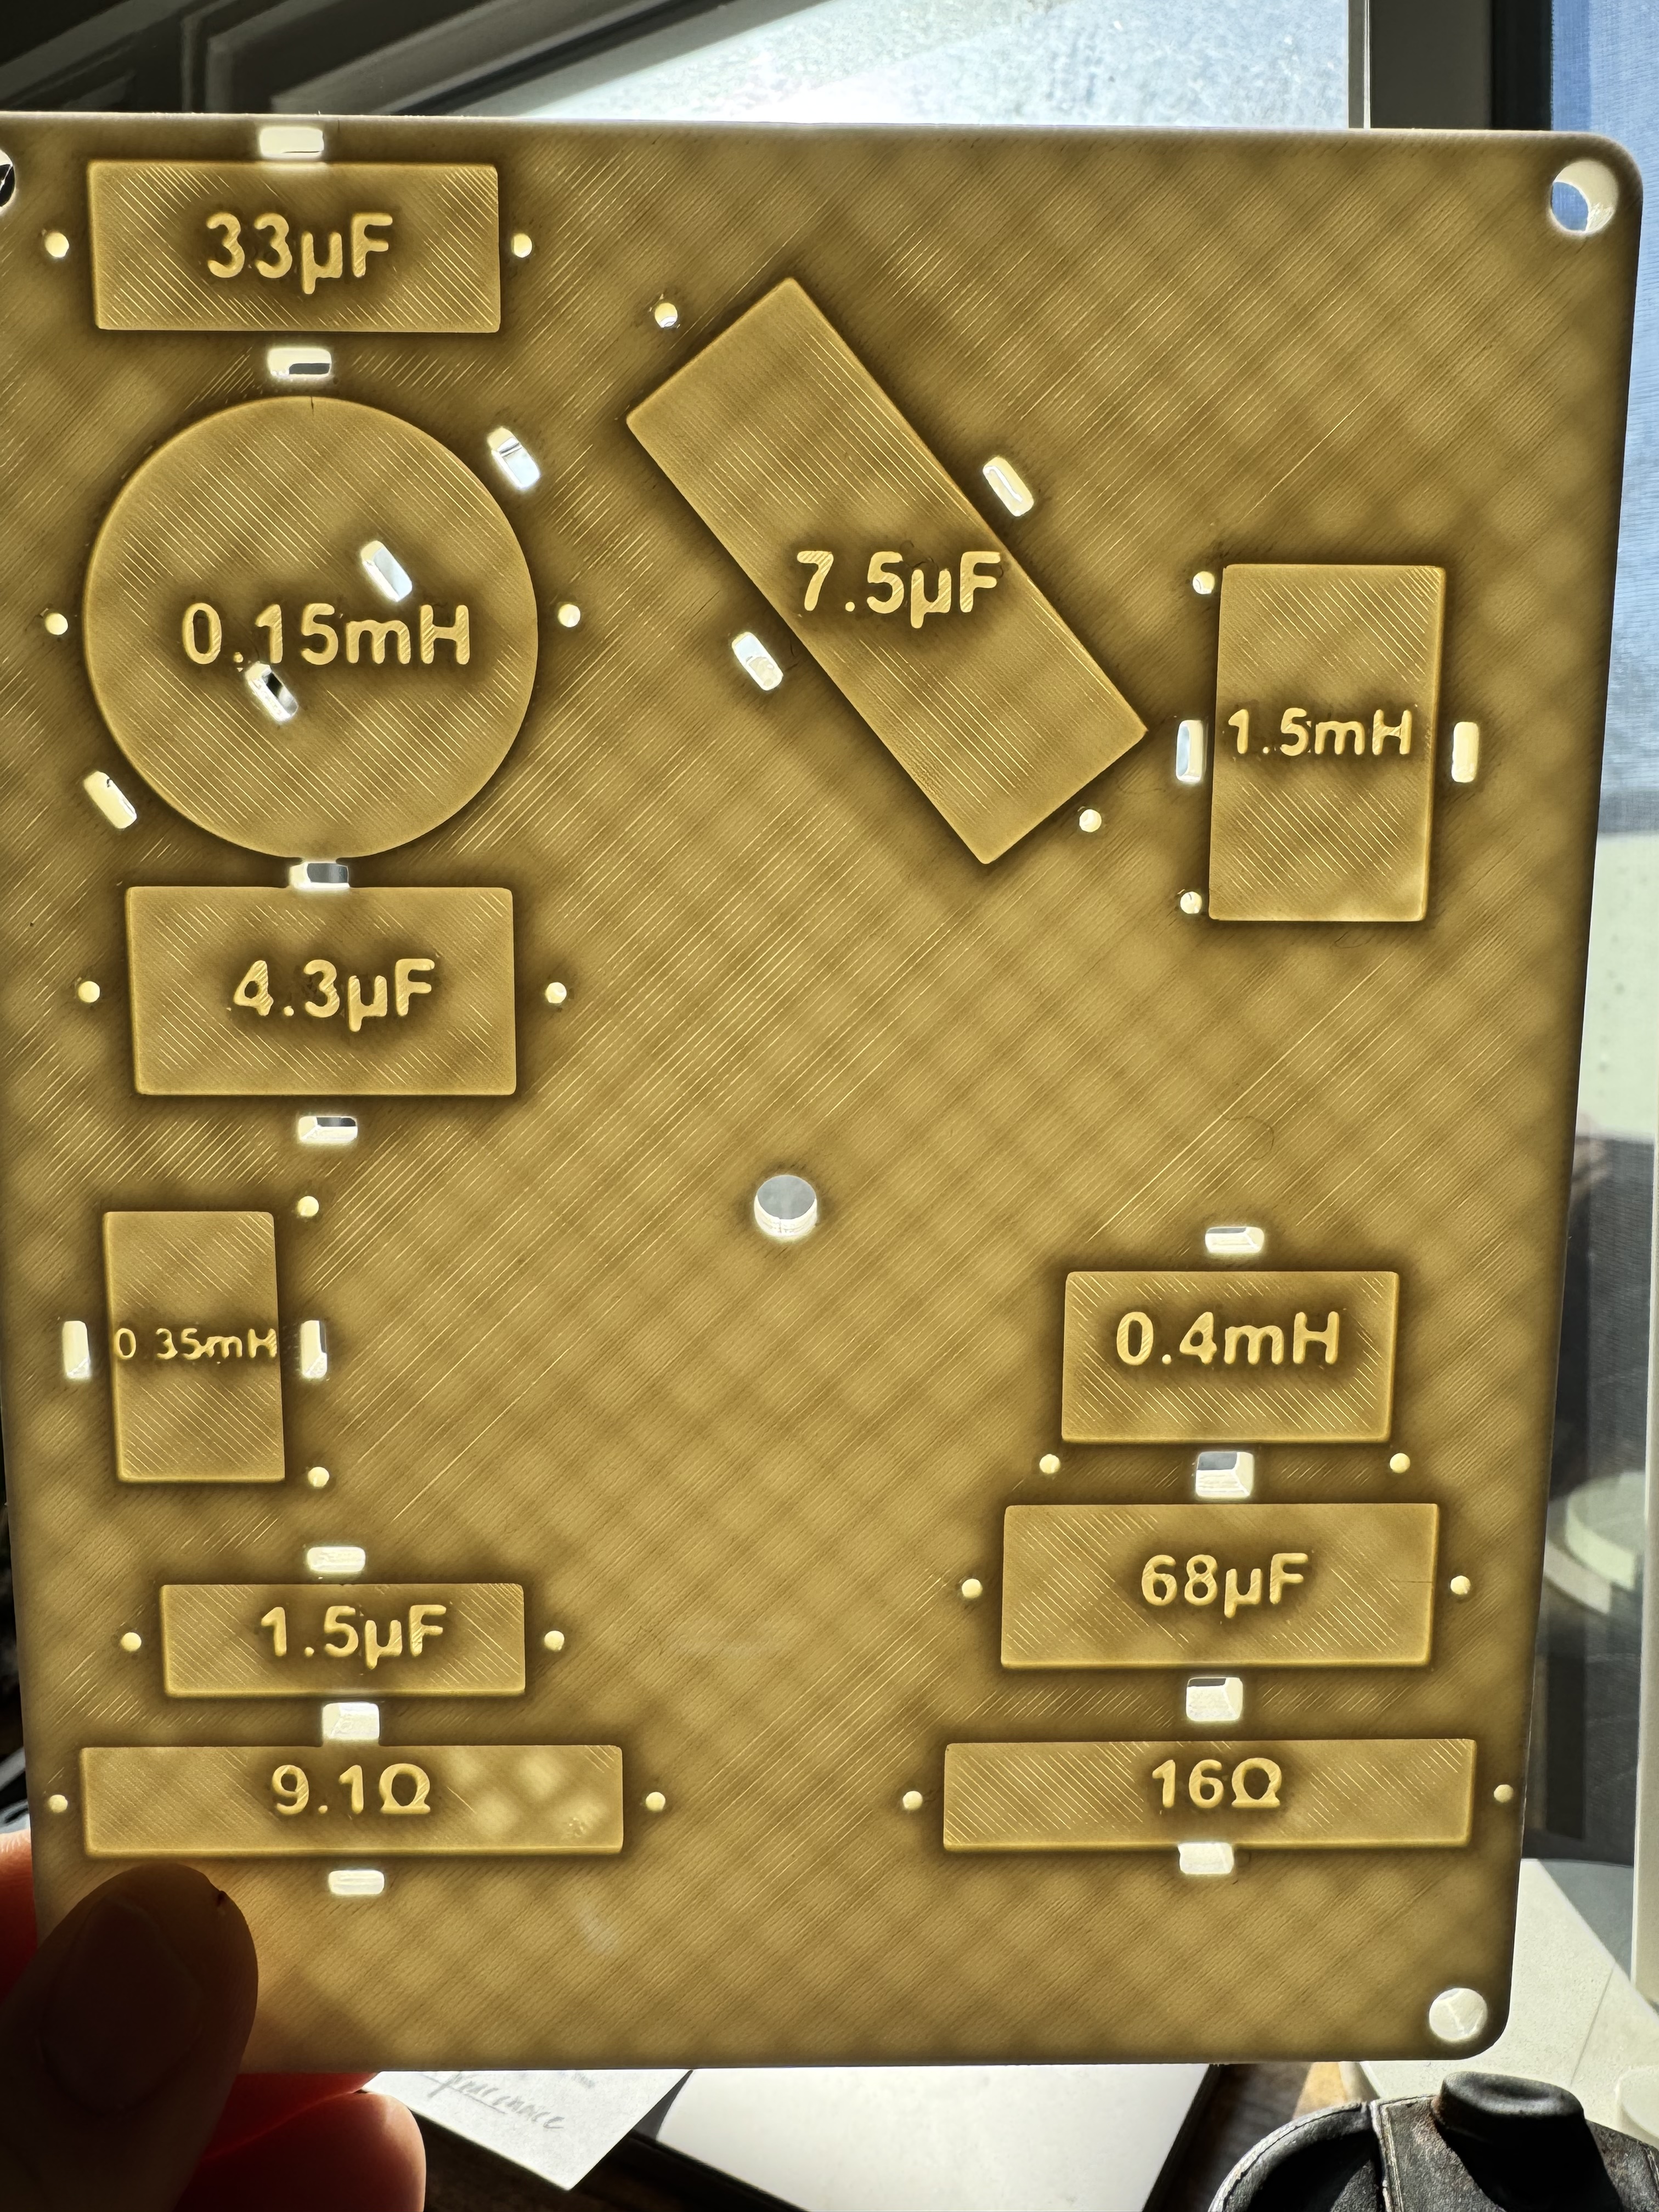
 4) Next print was the crossover board. This is my new favorite way to build a crossover as it's pretty much dummy proof. Everything is nicely labeled and it's super clear where the components go.
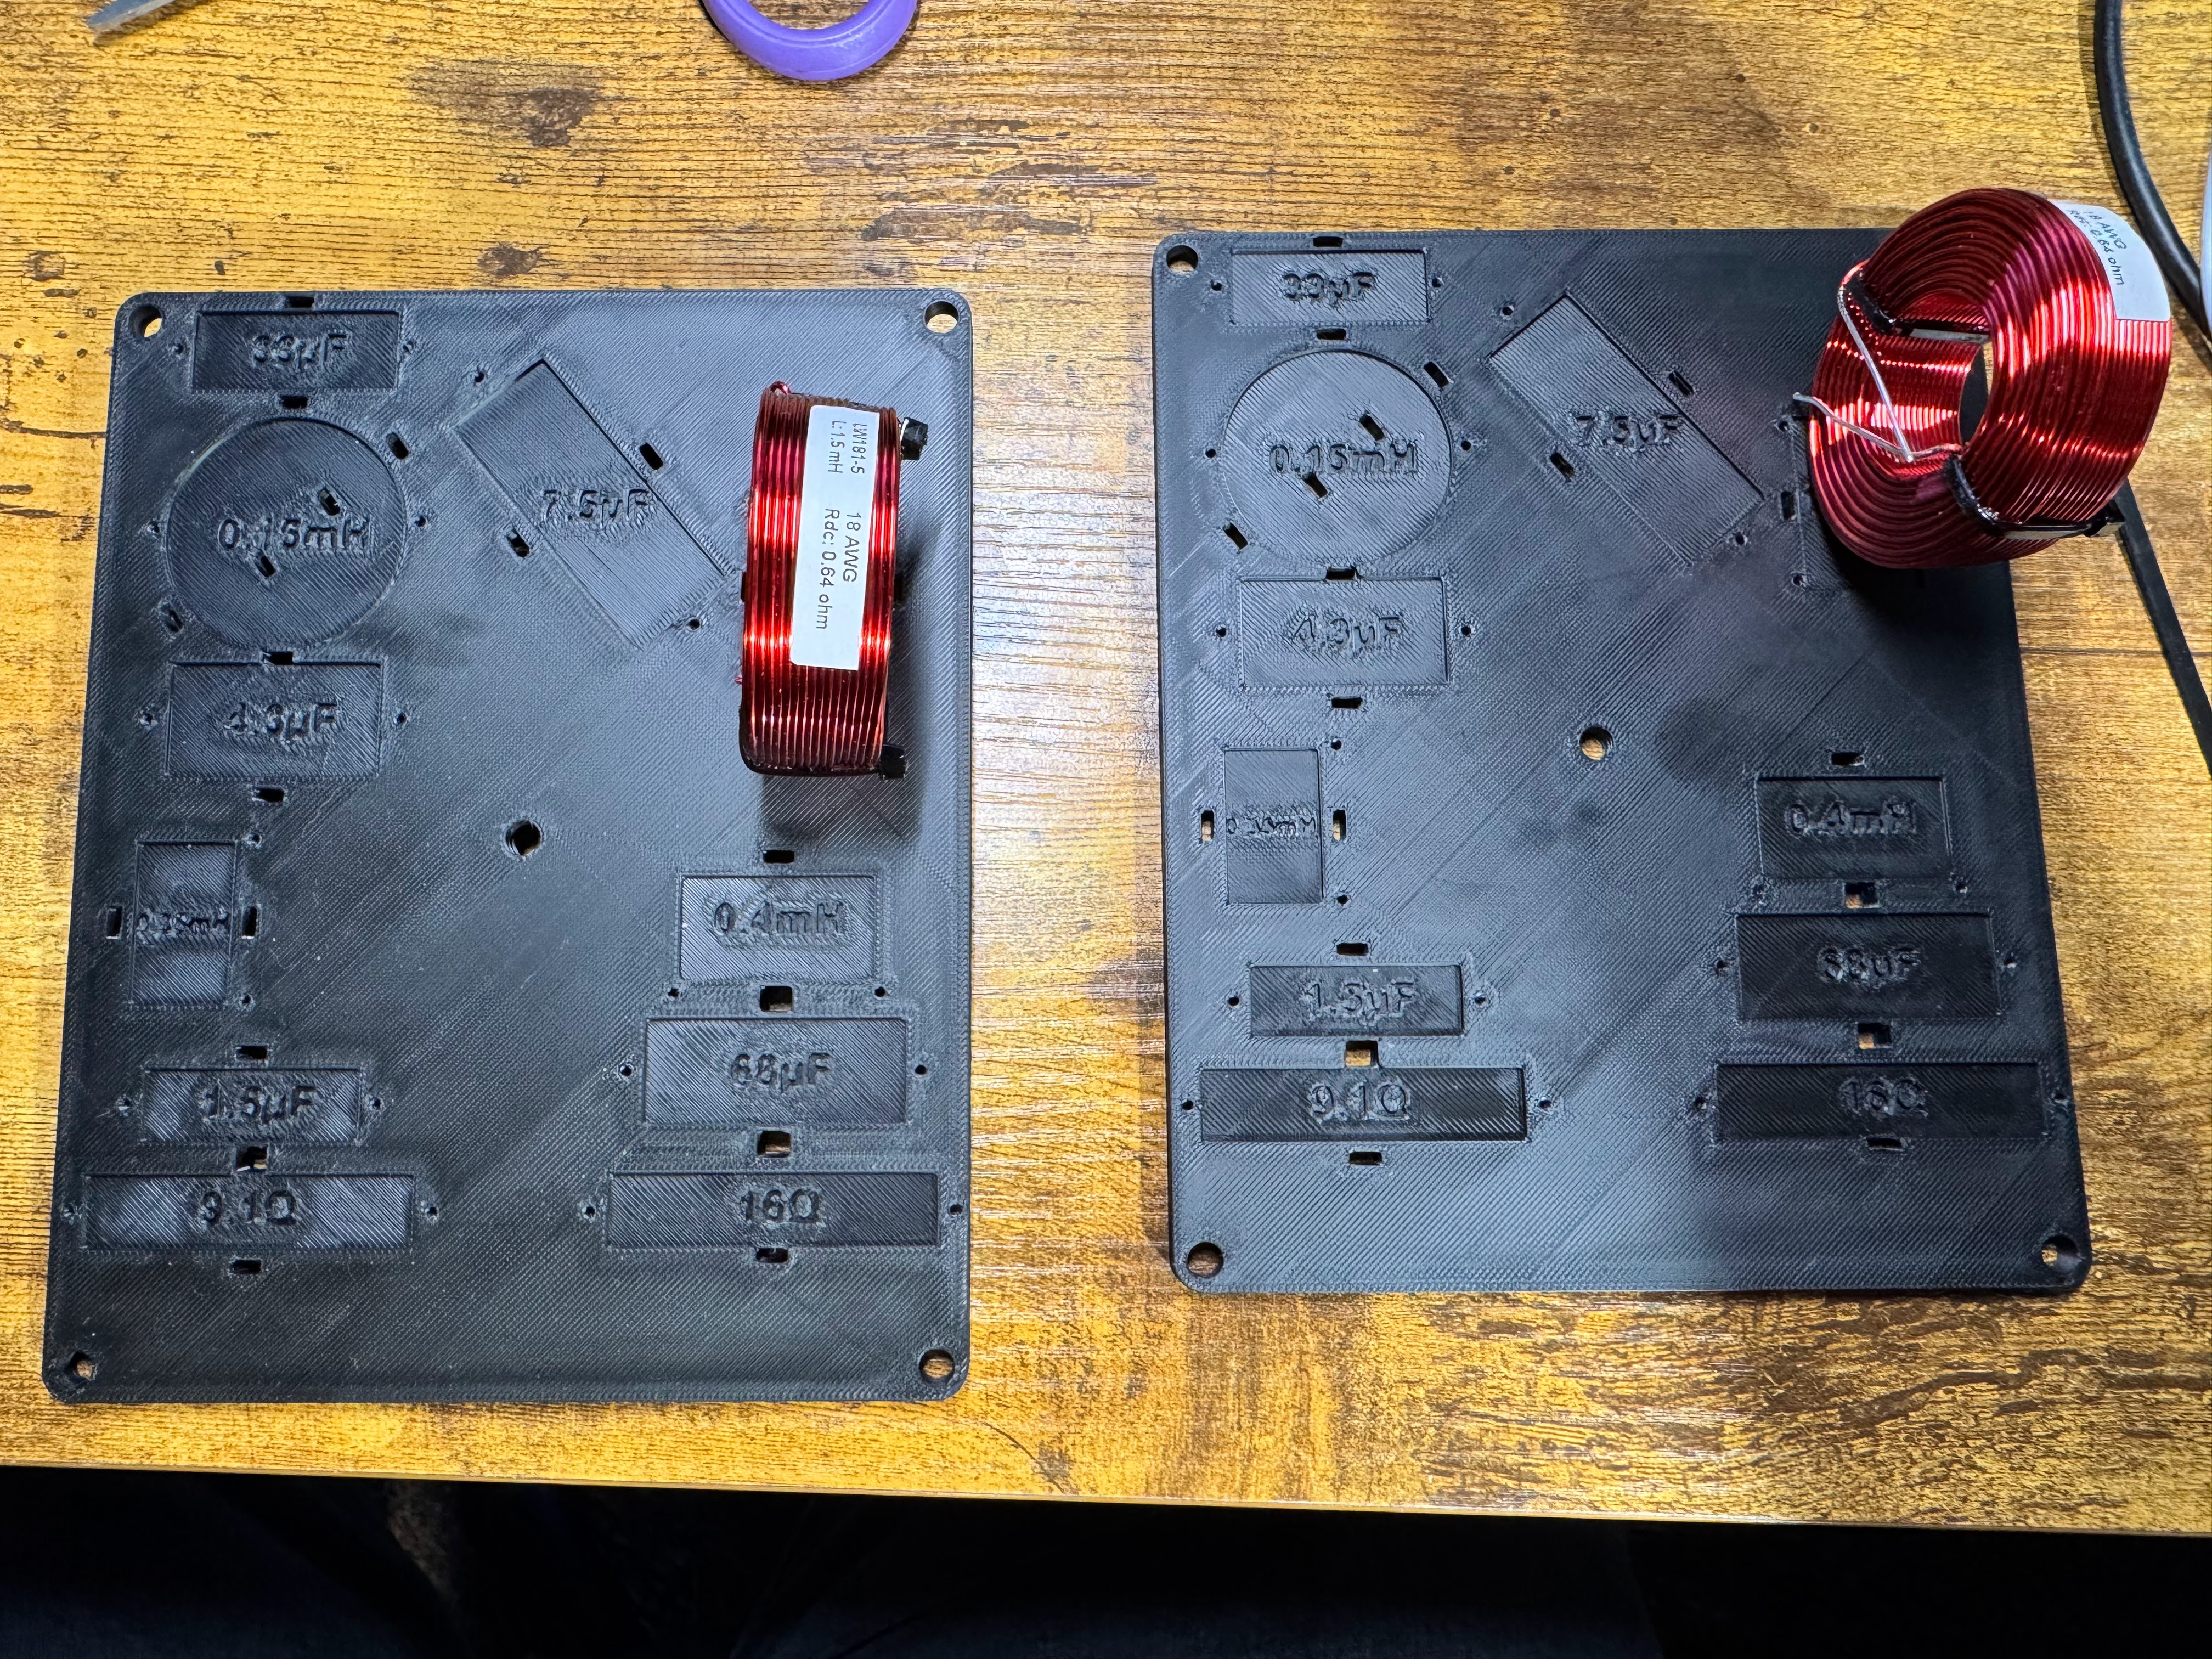
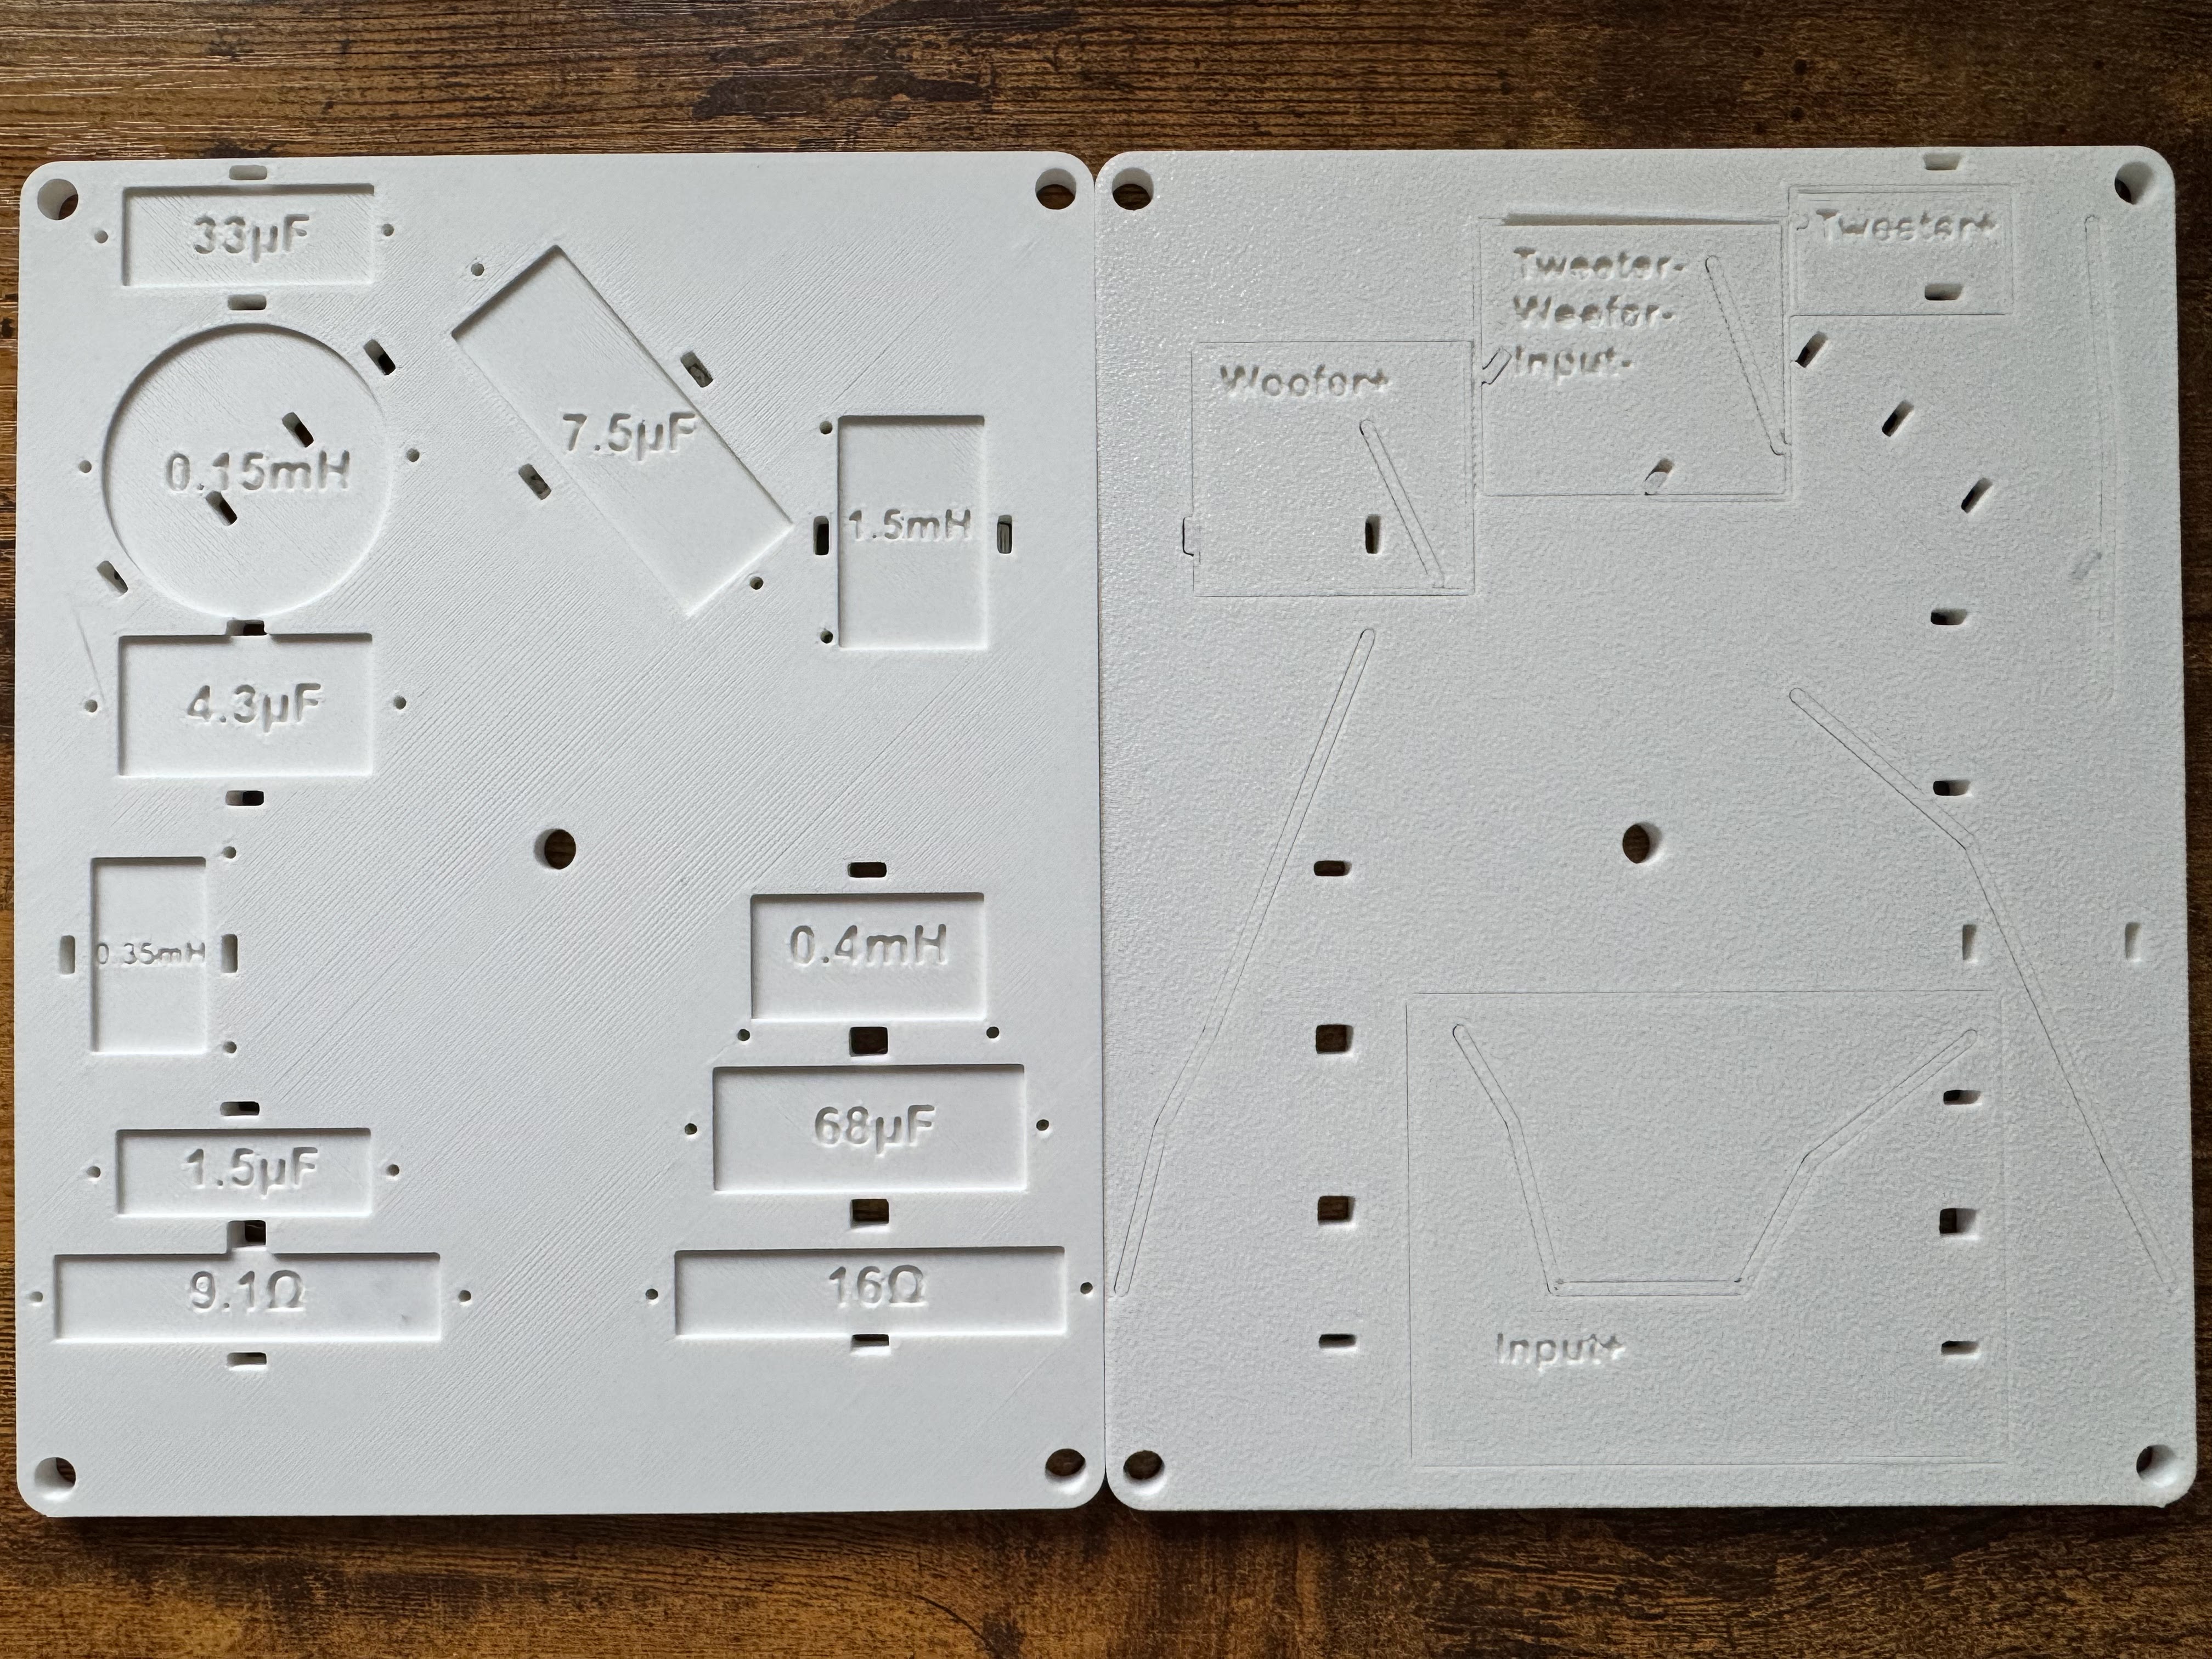 5) After re-reading the print instructions I realized I had printed the crossover boards with 15% infill when it said to do 100% infill. Here you can see how much flimsier the 15% infill is. I ended up re-printing with the recommended 100% infill to avoid any resonances.
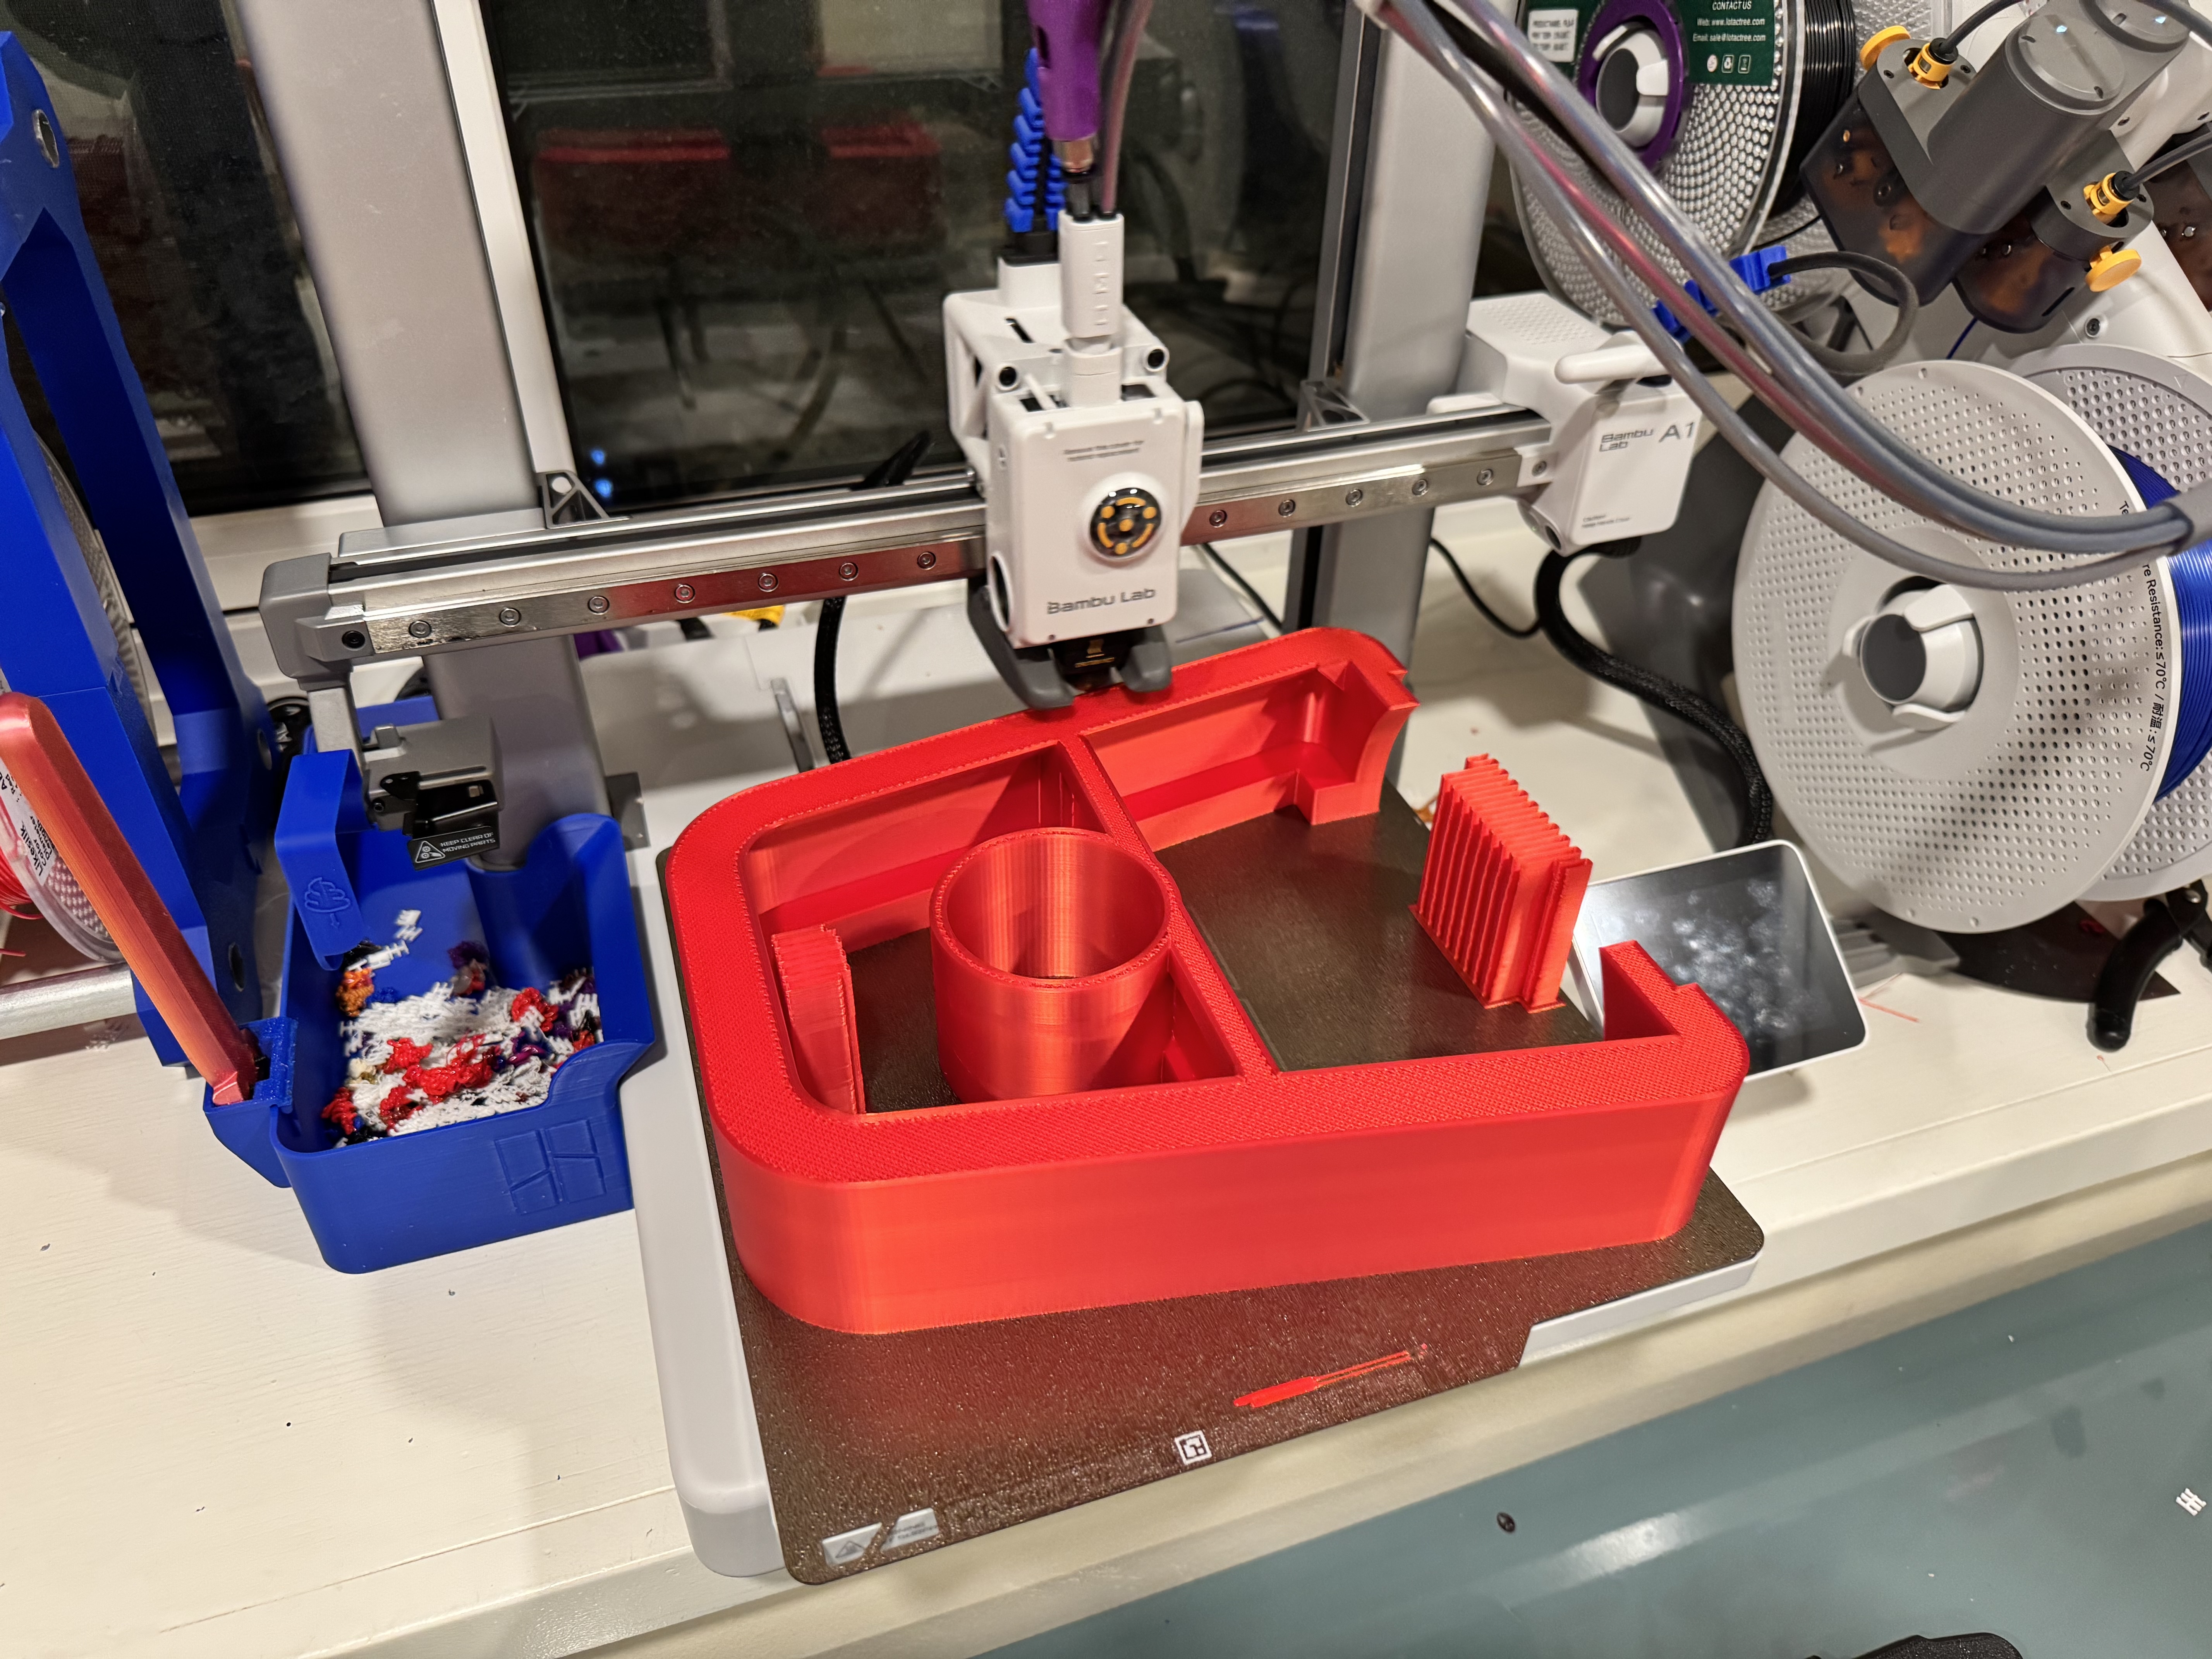
 6) Next up was the bottom part of the speaker that the bottom's will attach to. This was a 14 hour print.
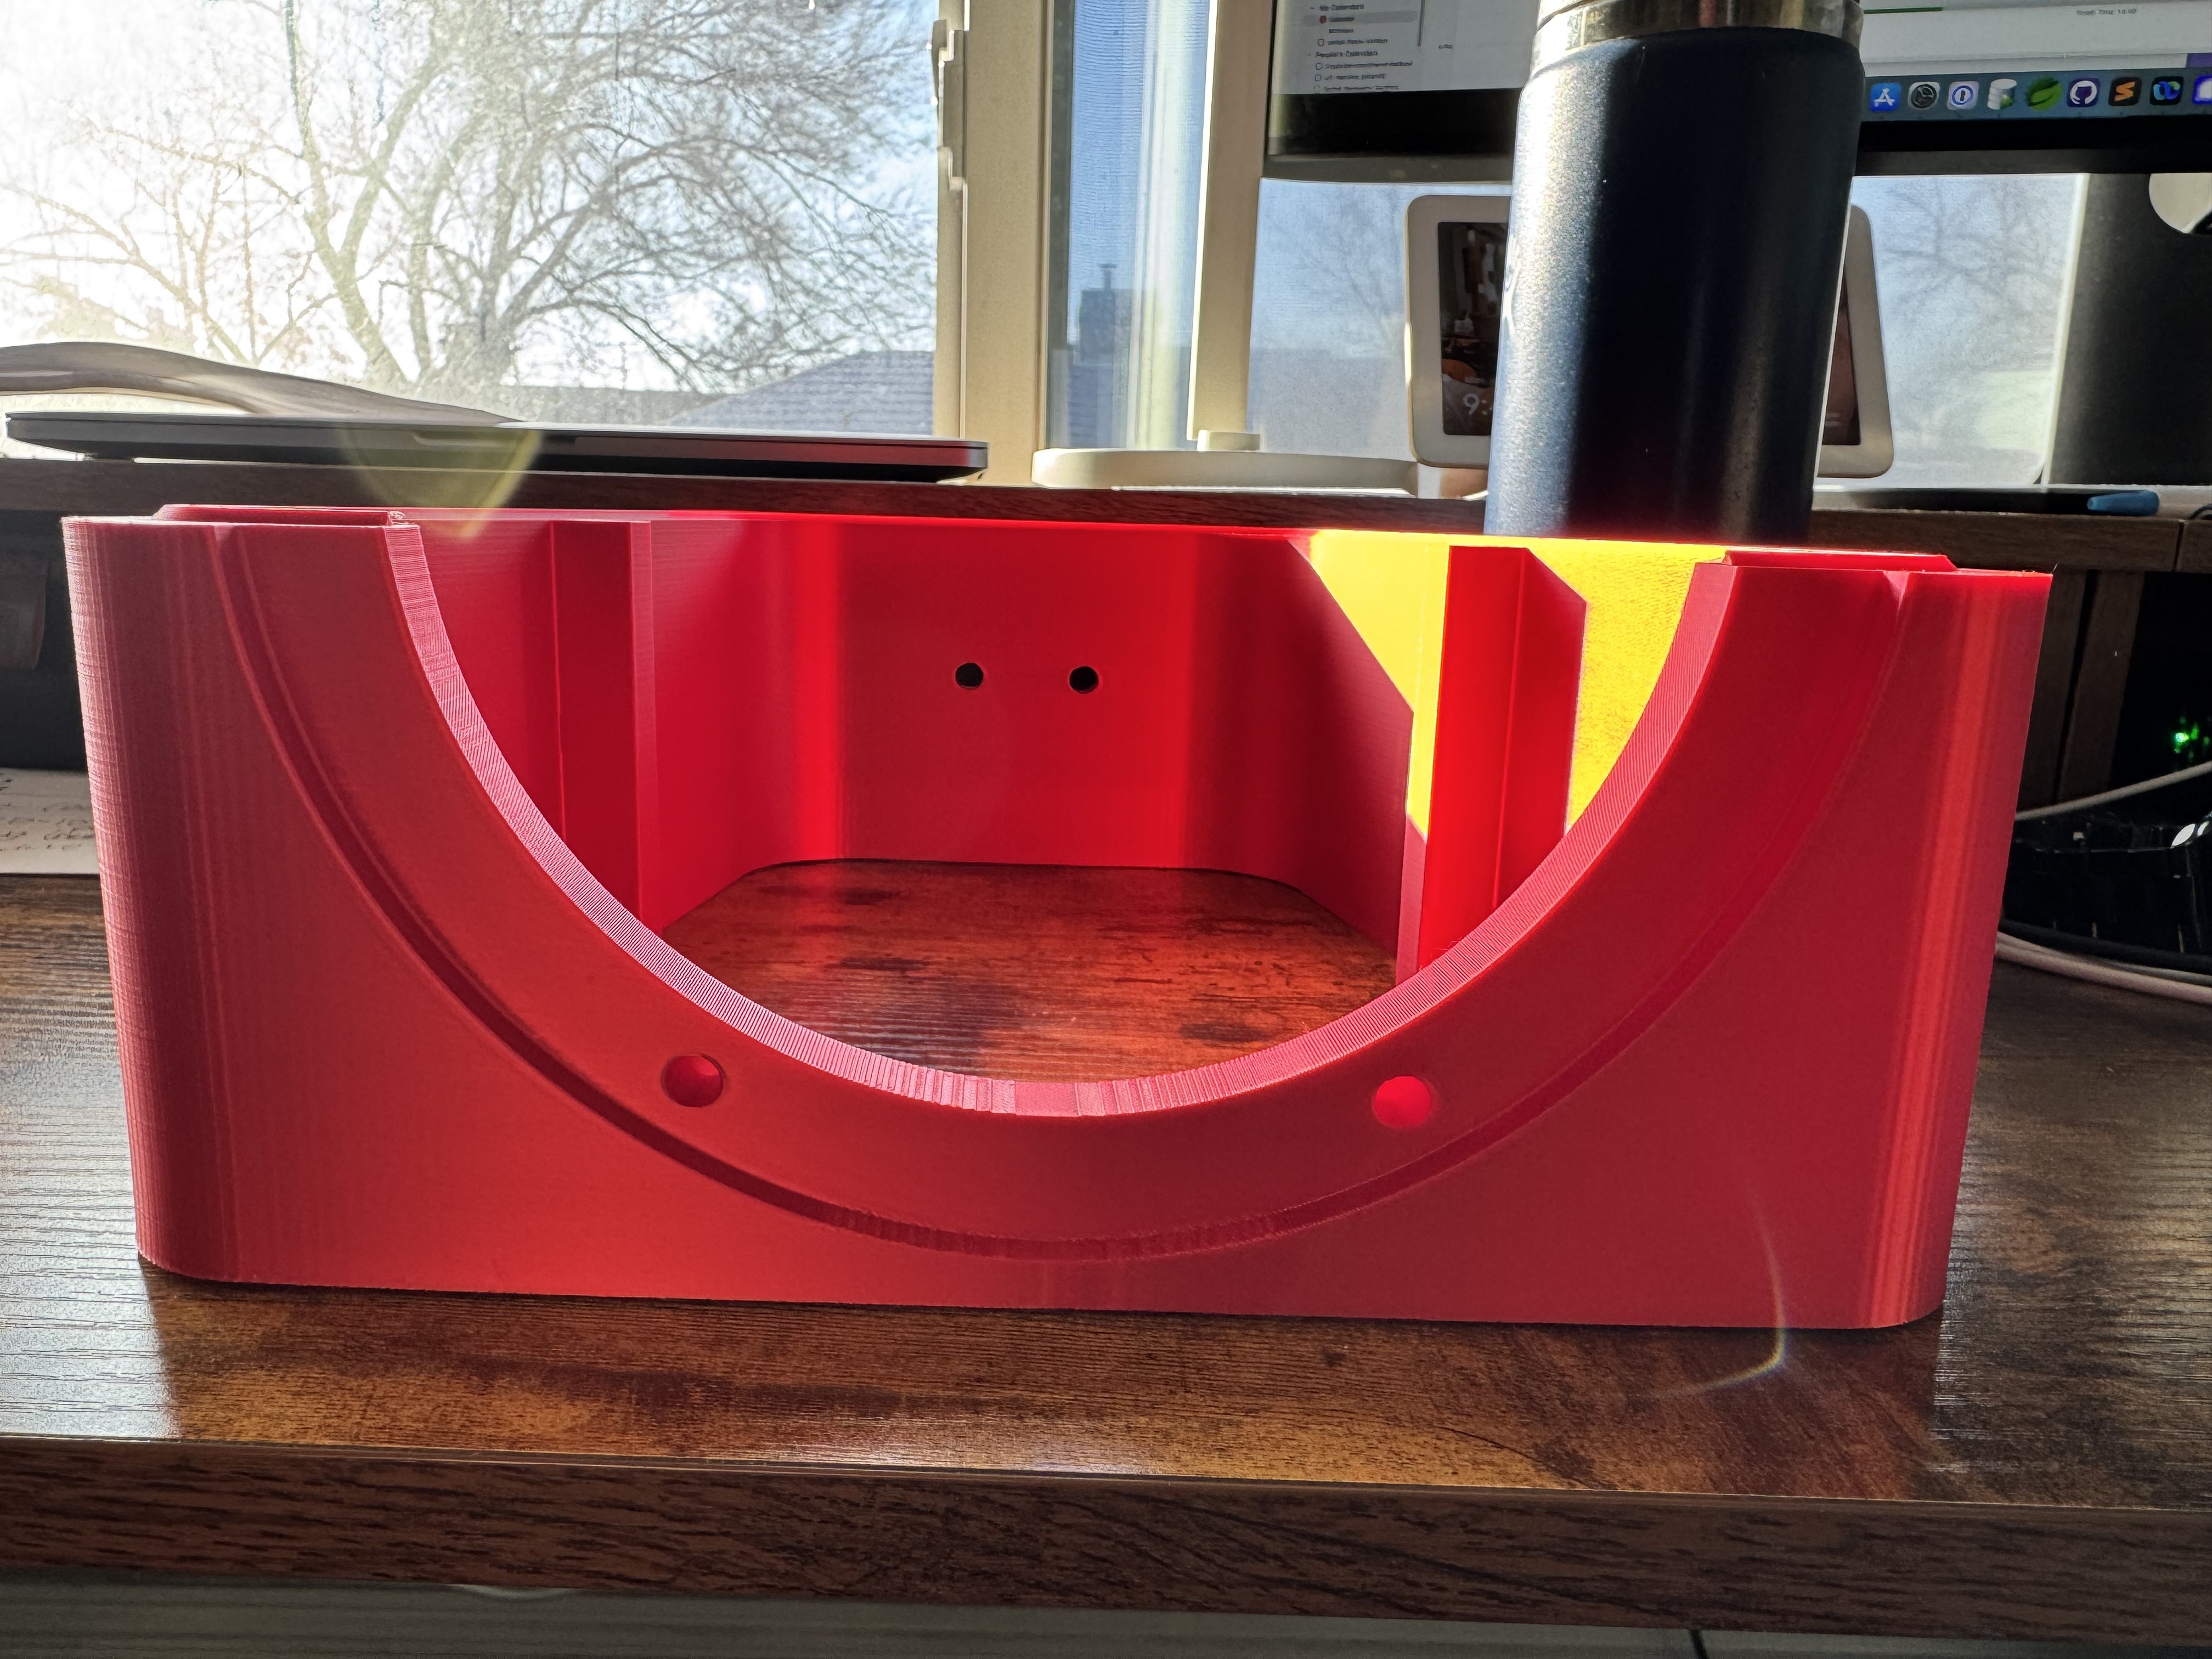 7) These came out pretty nice, I was getting excited at how nice the speakers were going to look. I used Bambu Lab's PLA Silk+ in Candy Red.
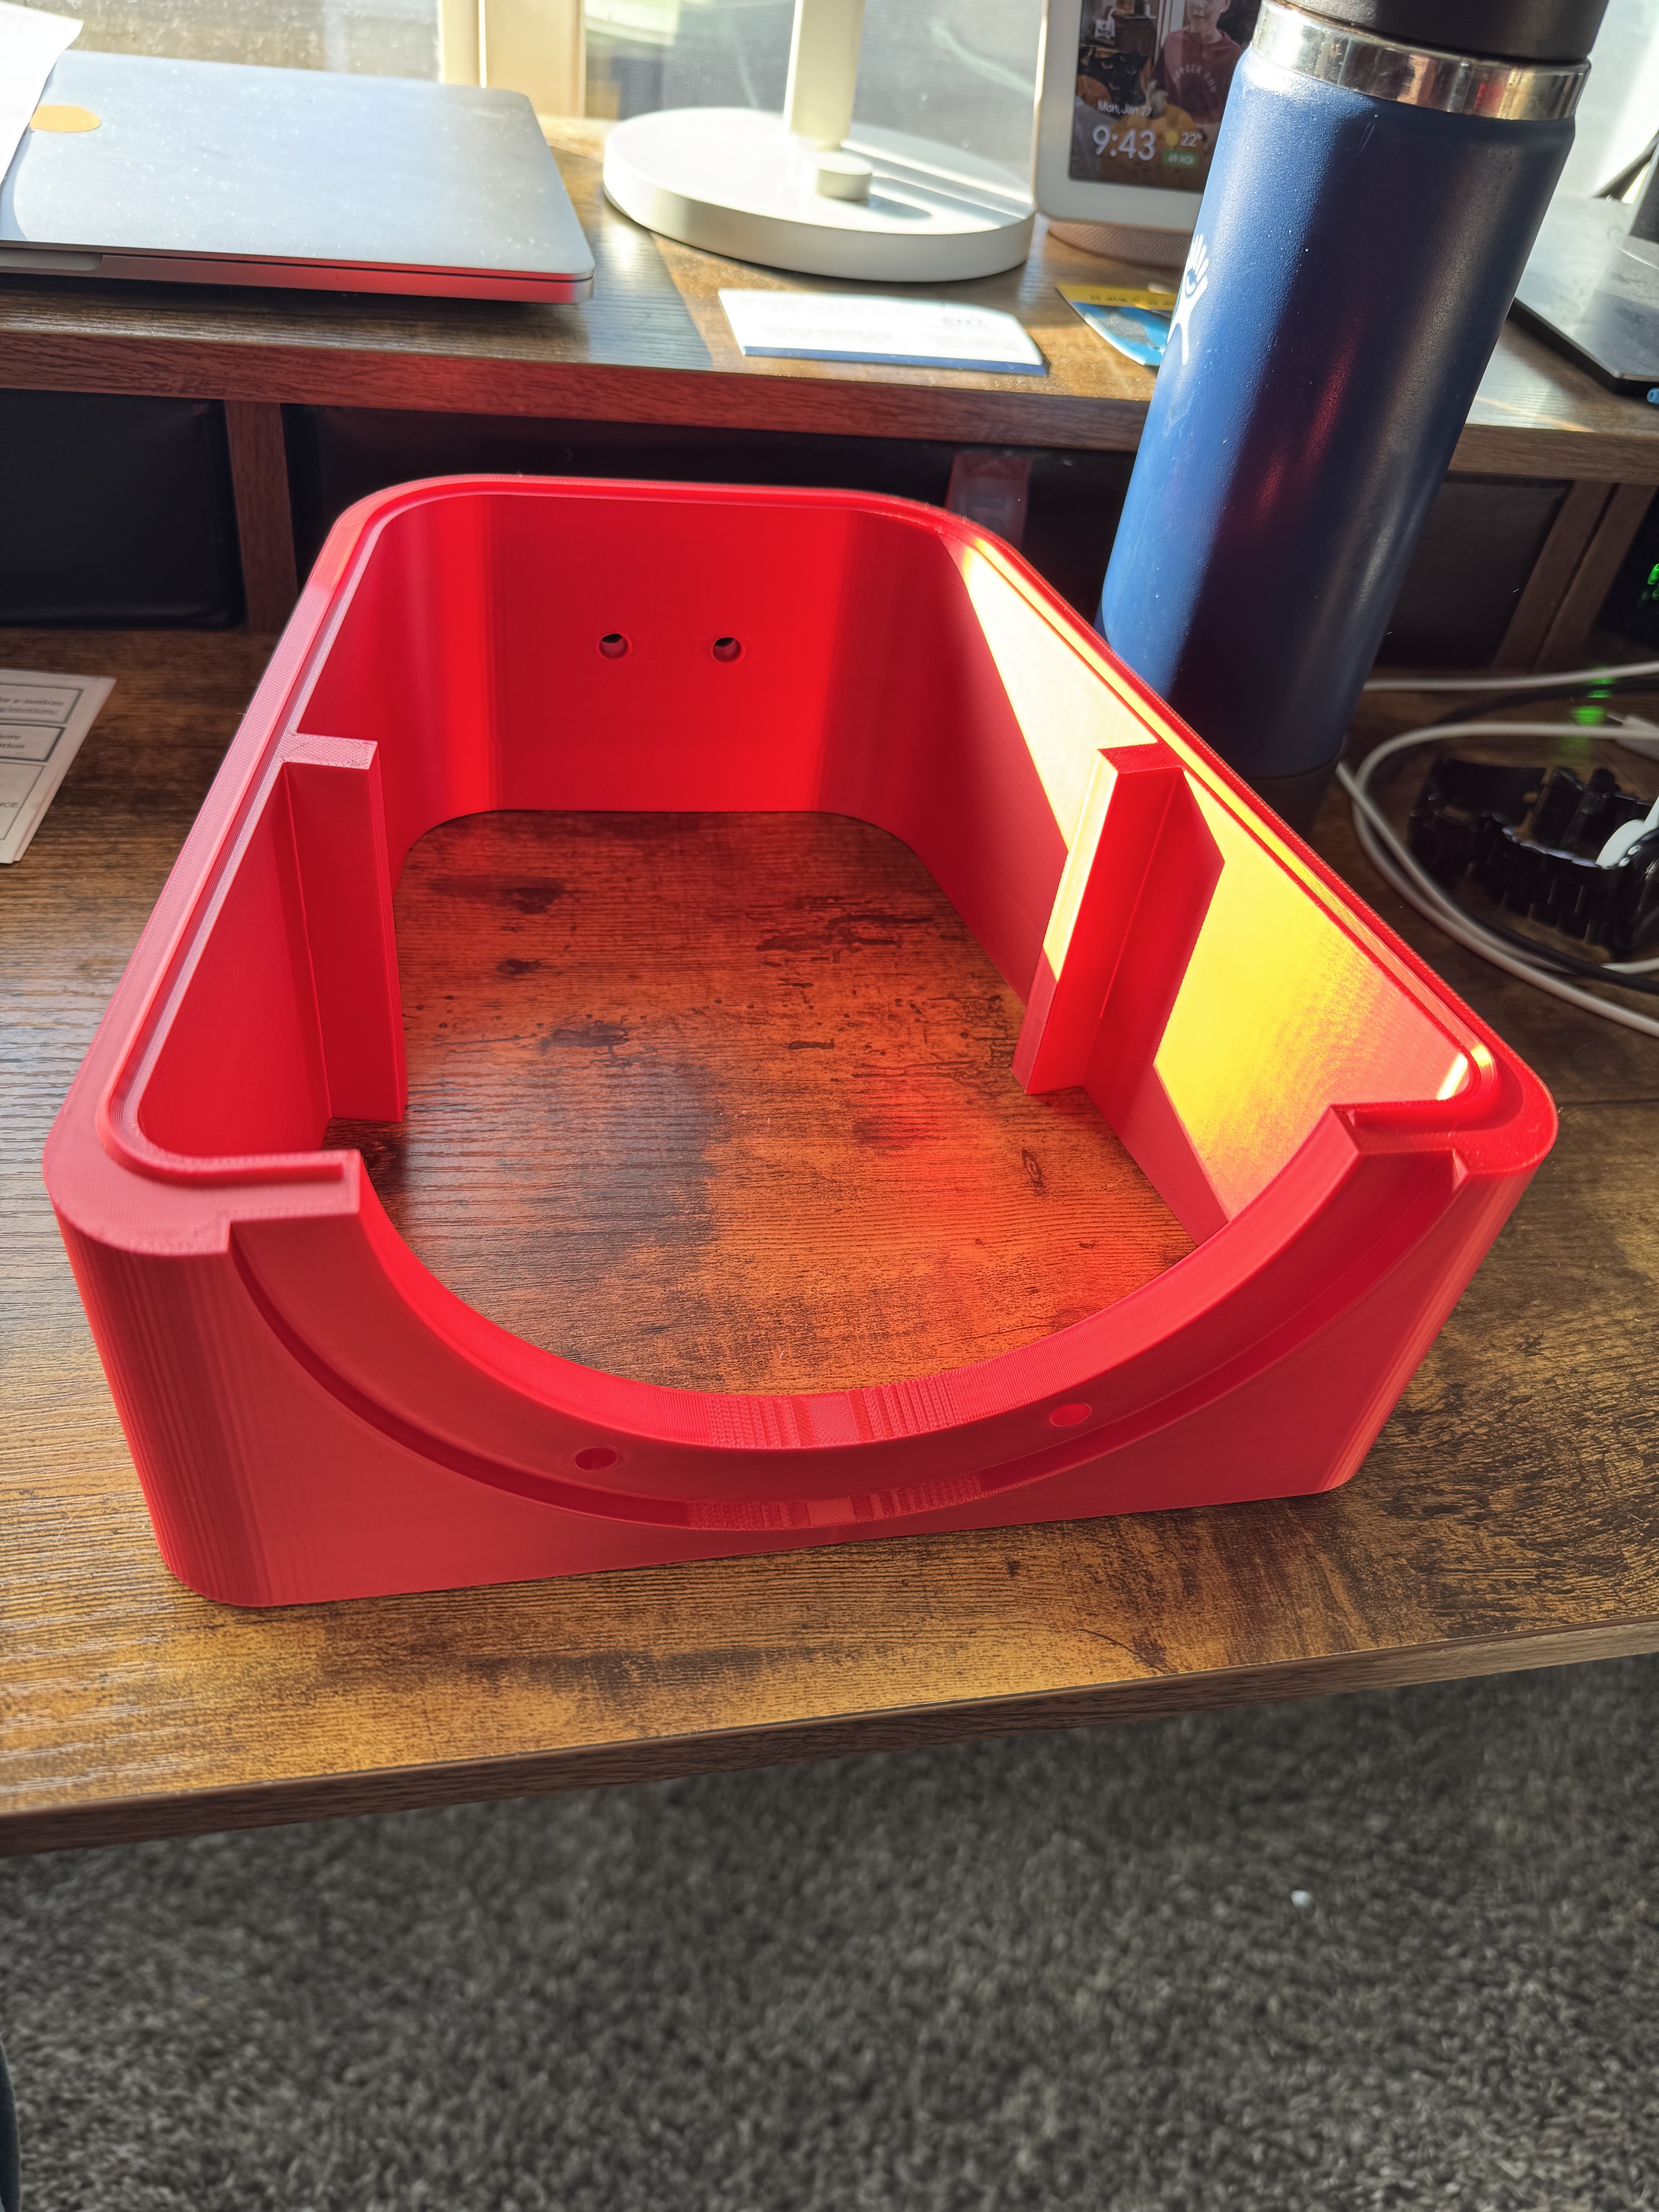
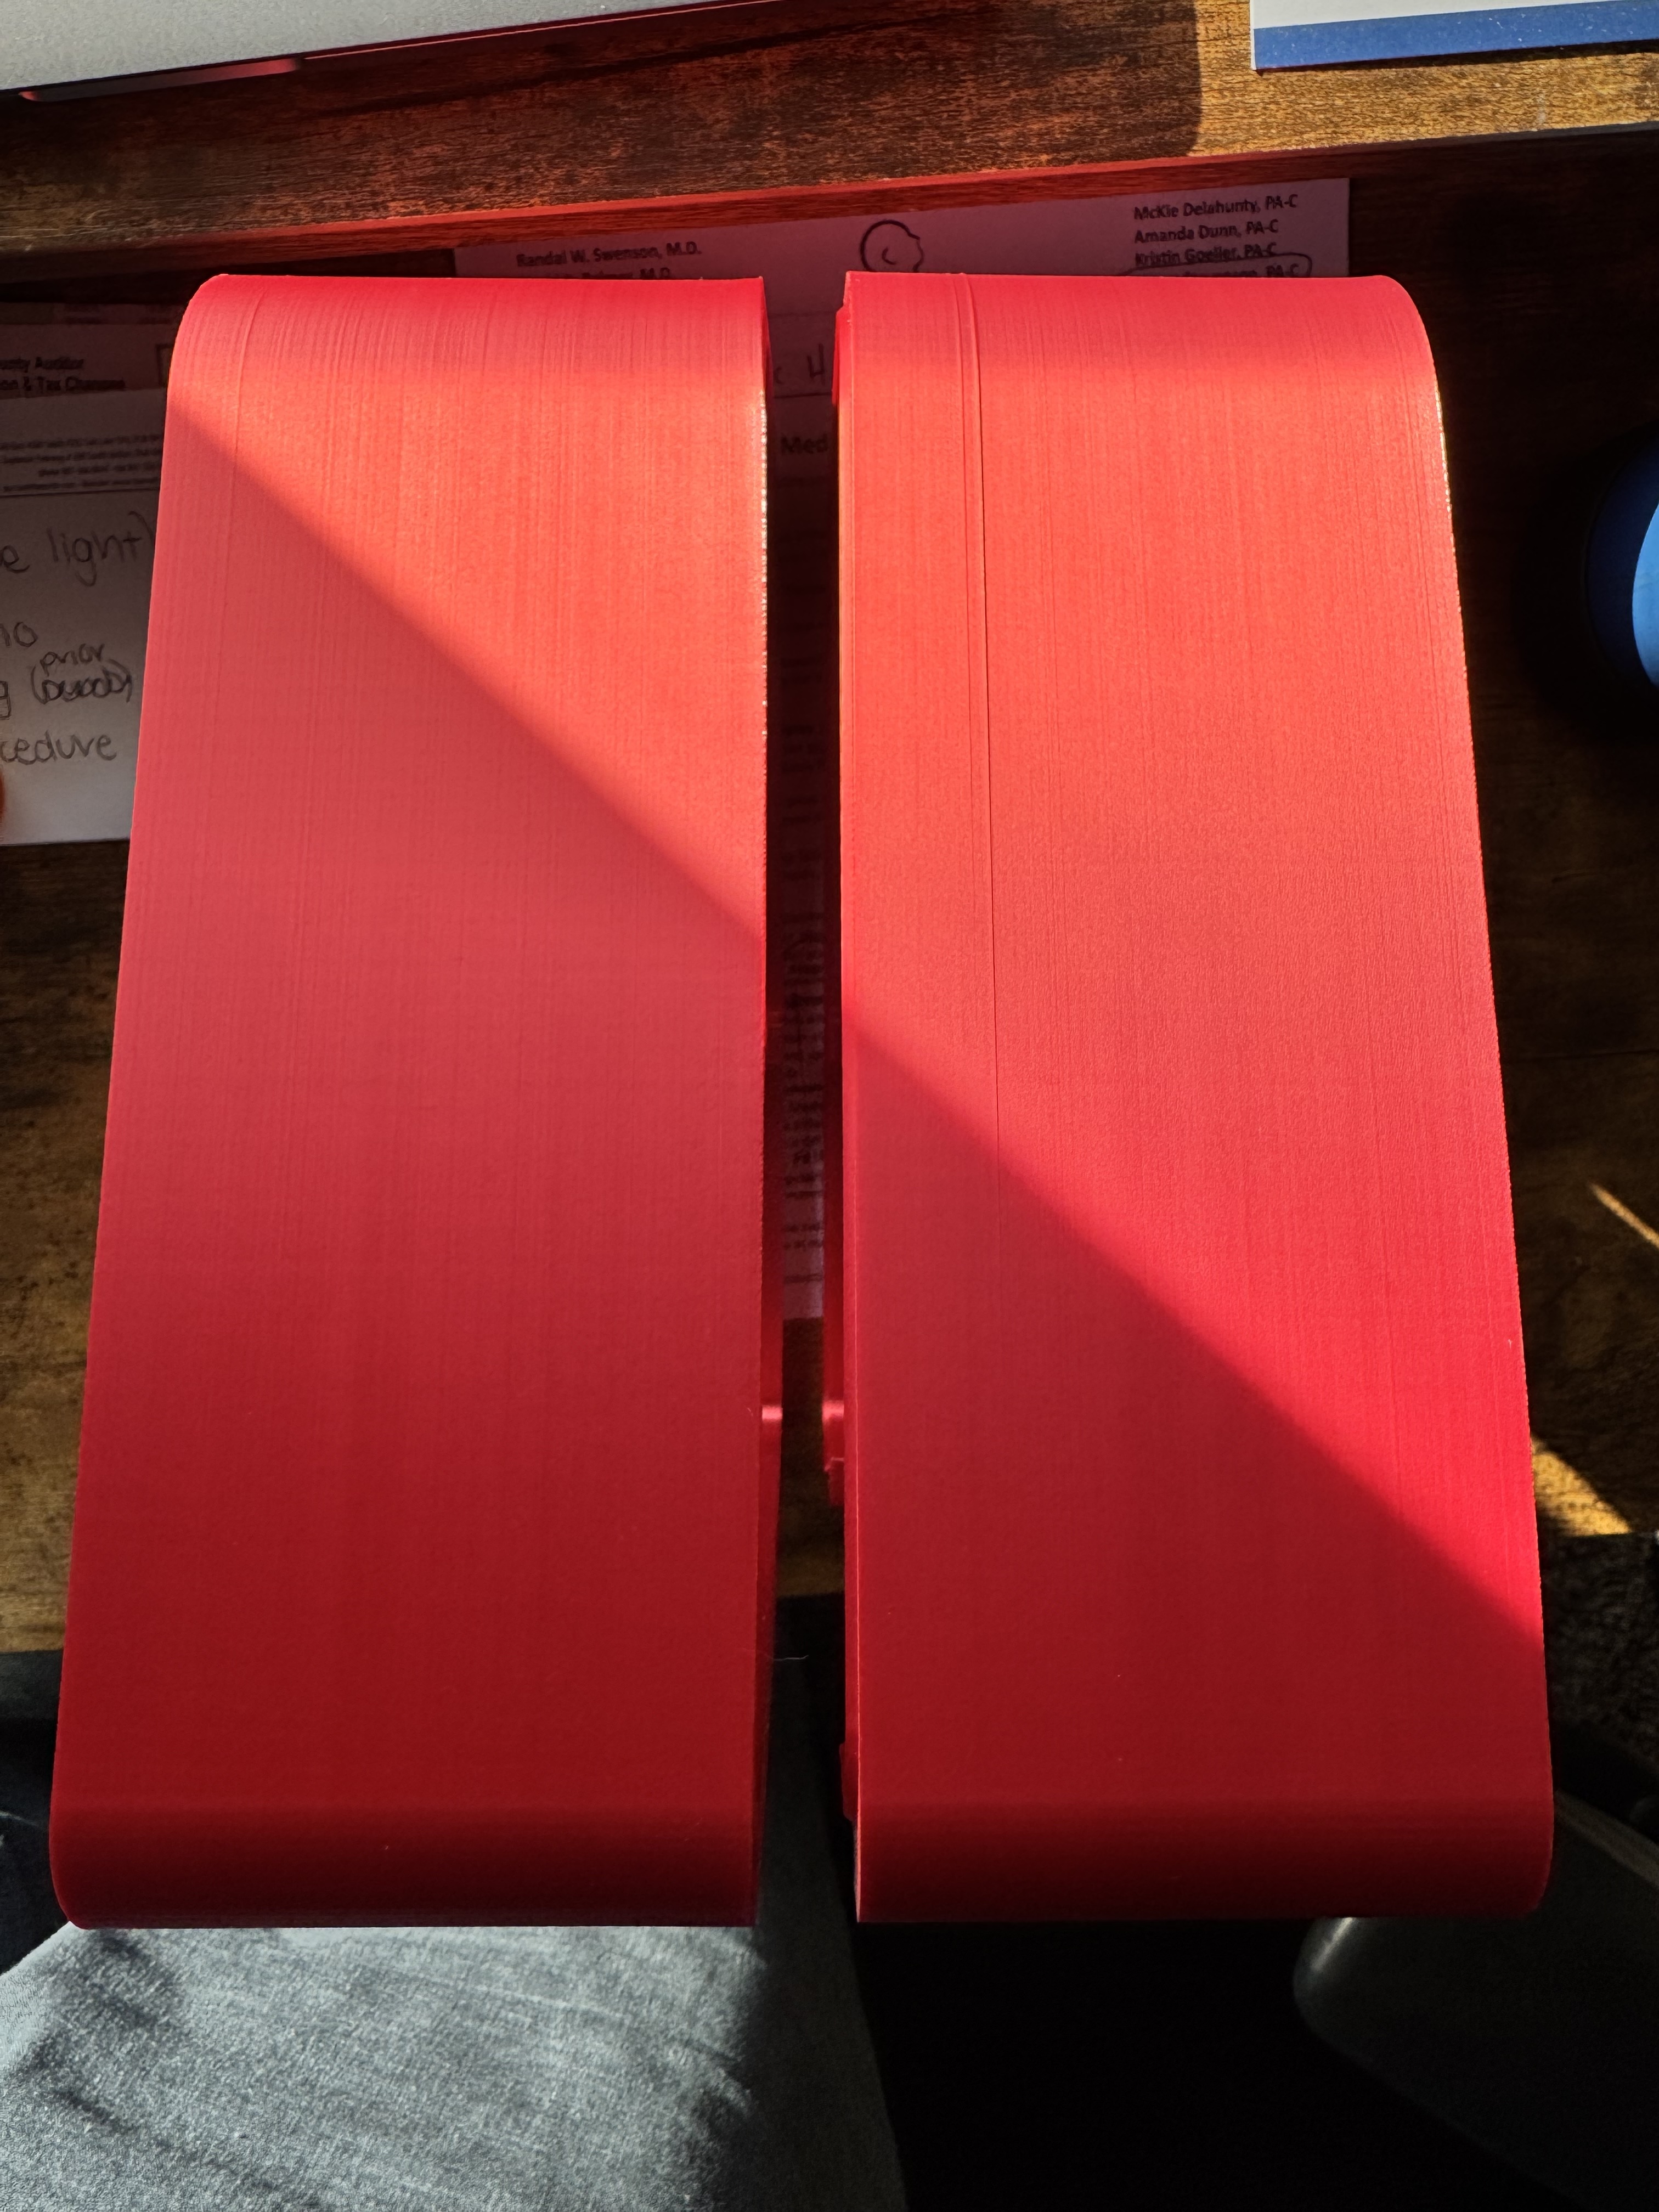 8) Another shot of this piece.
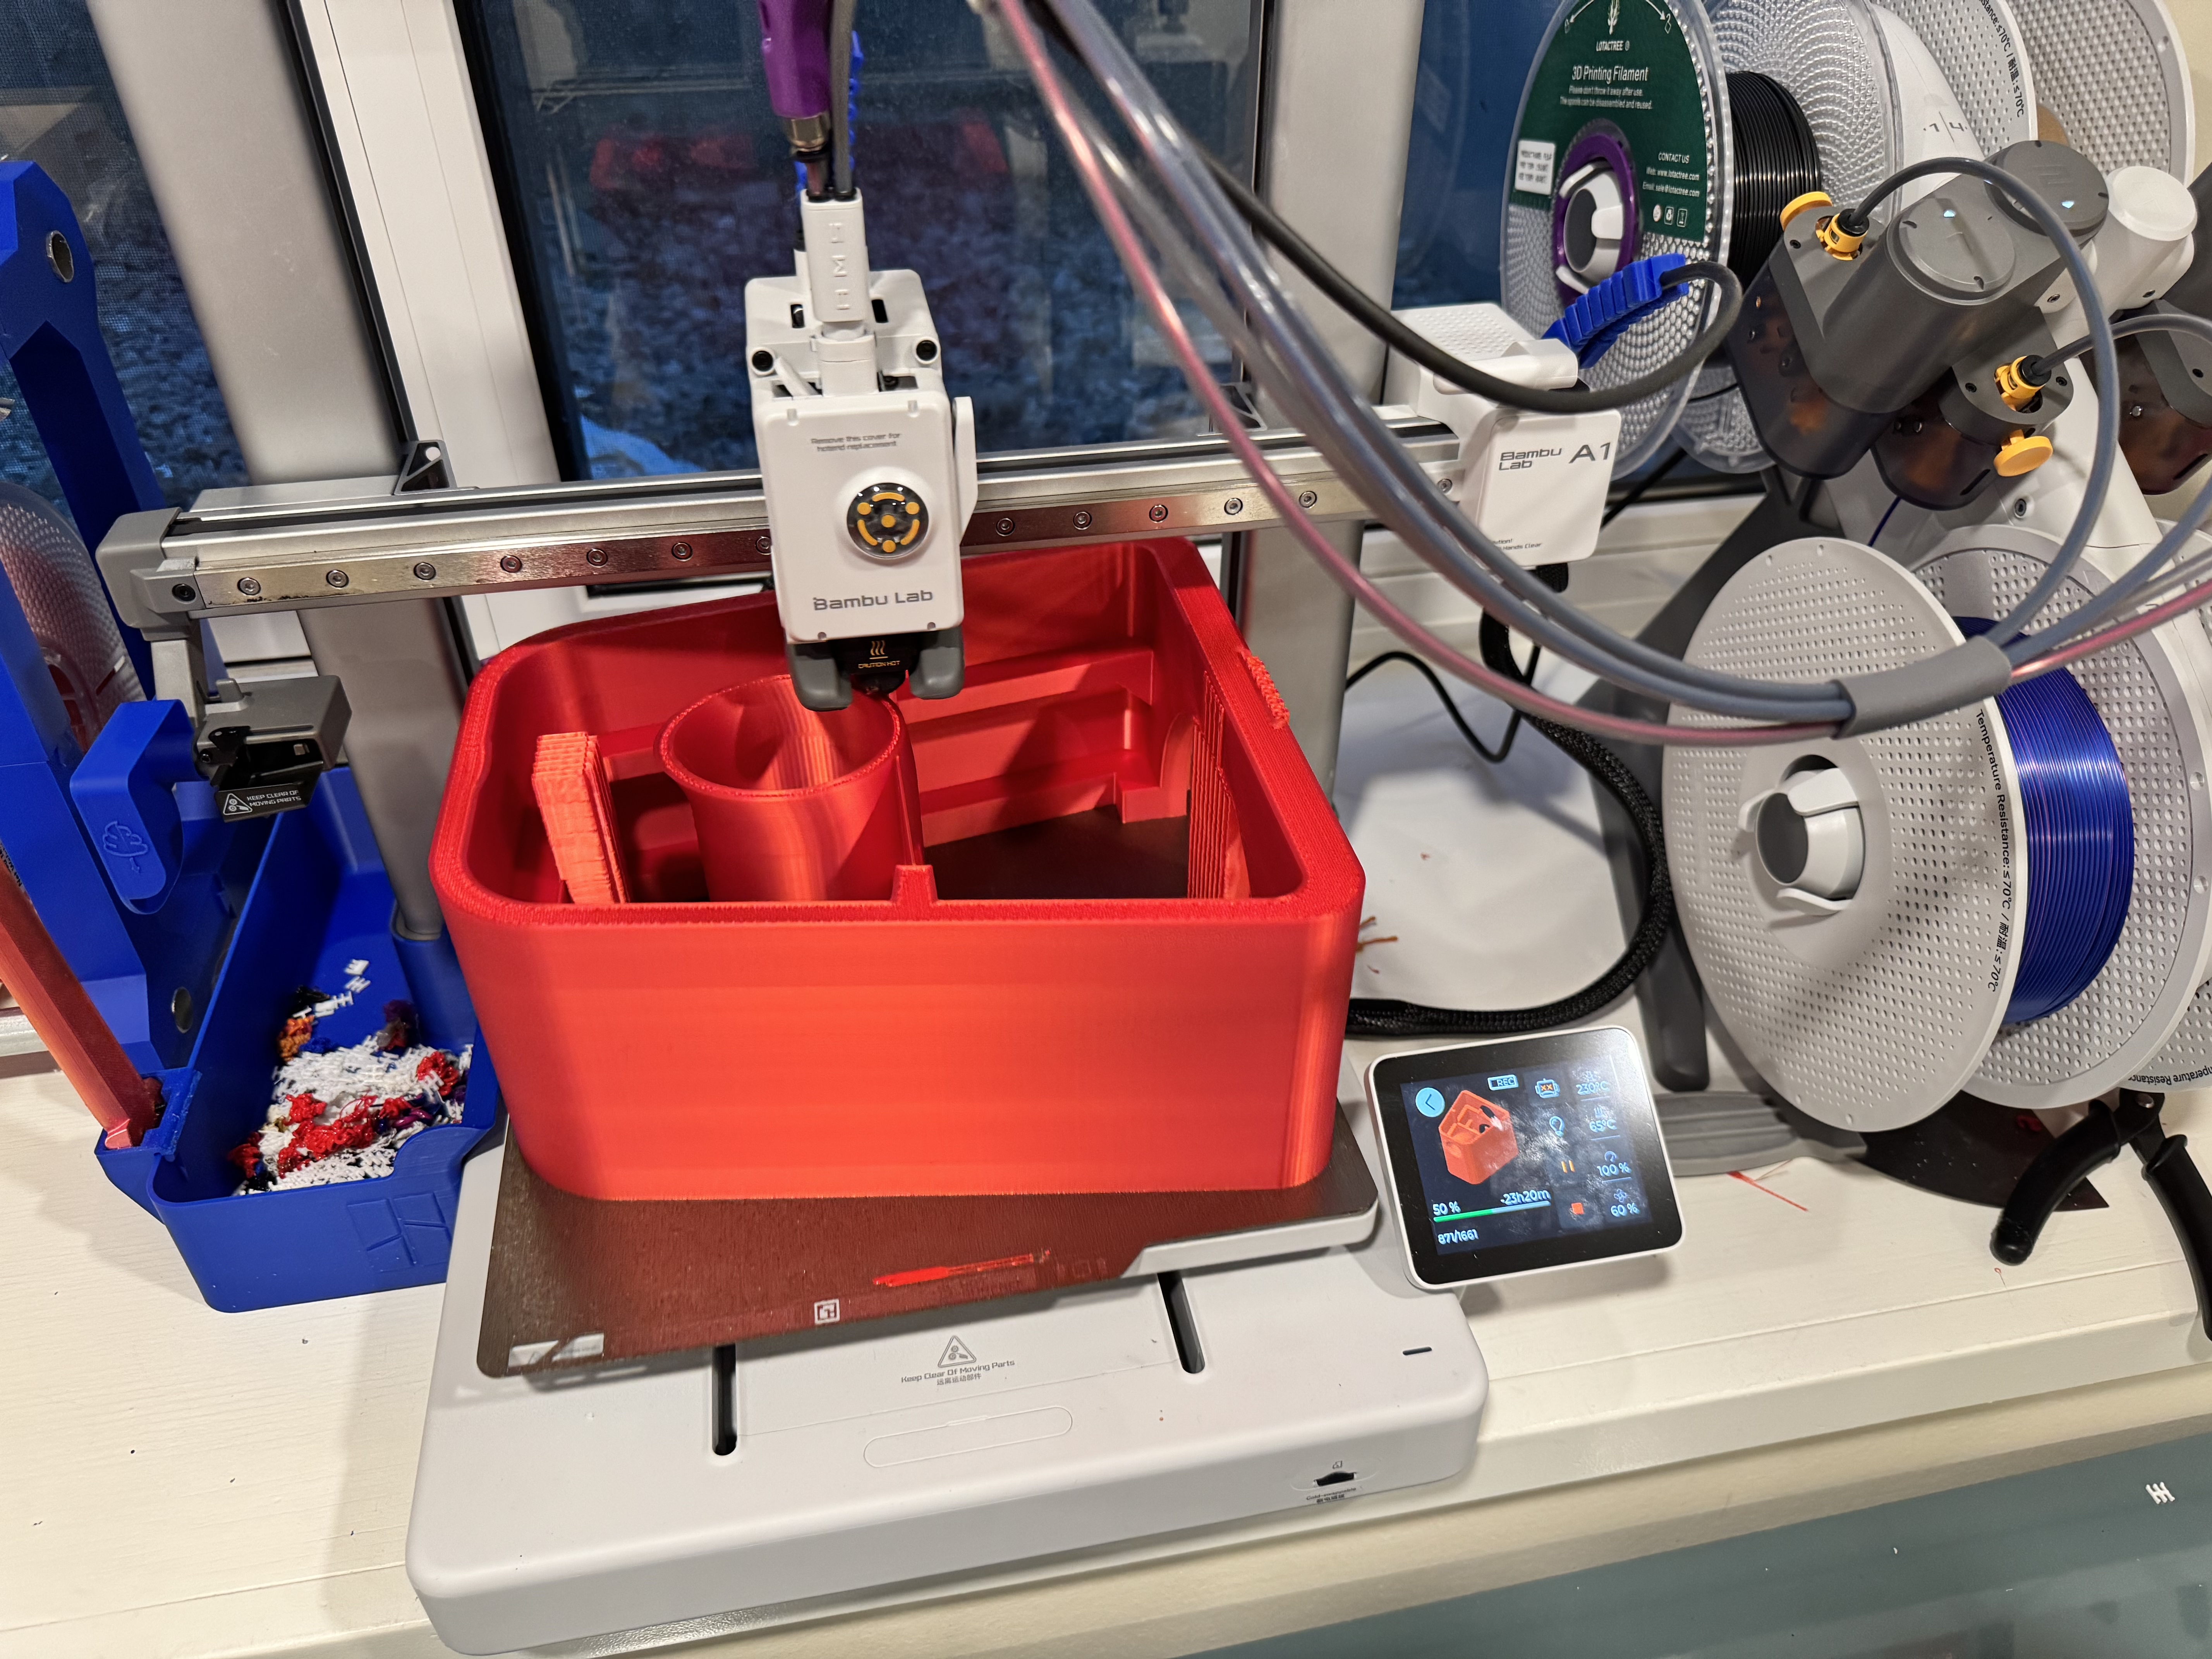
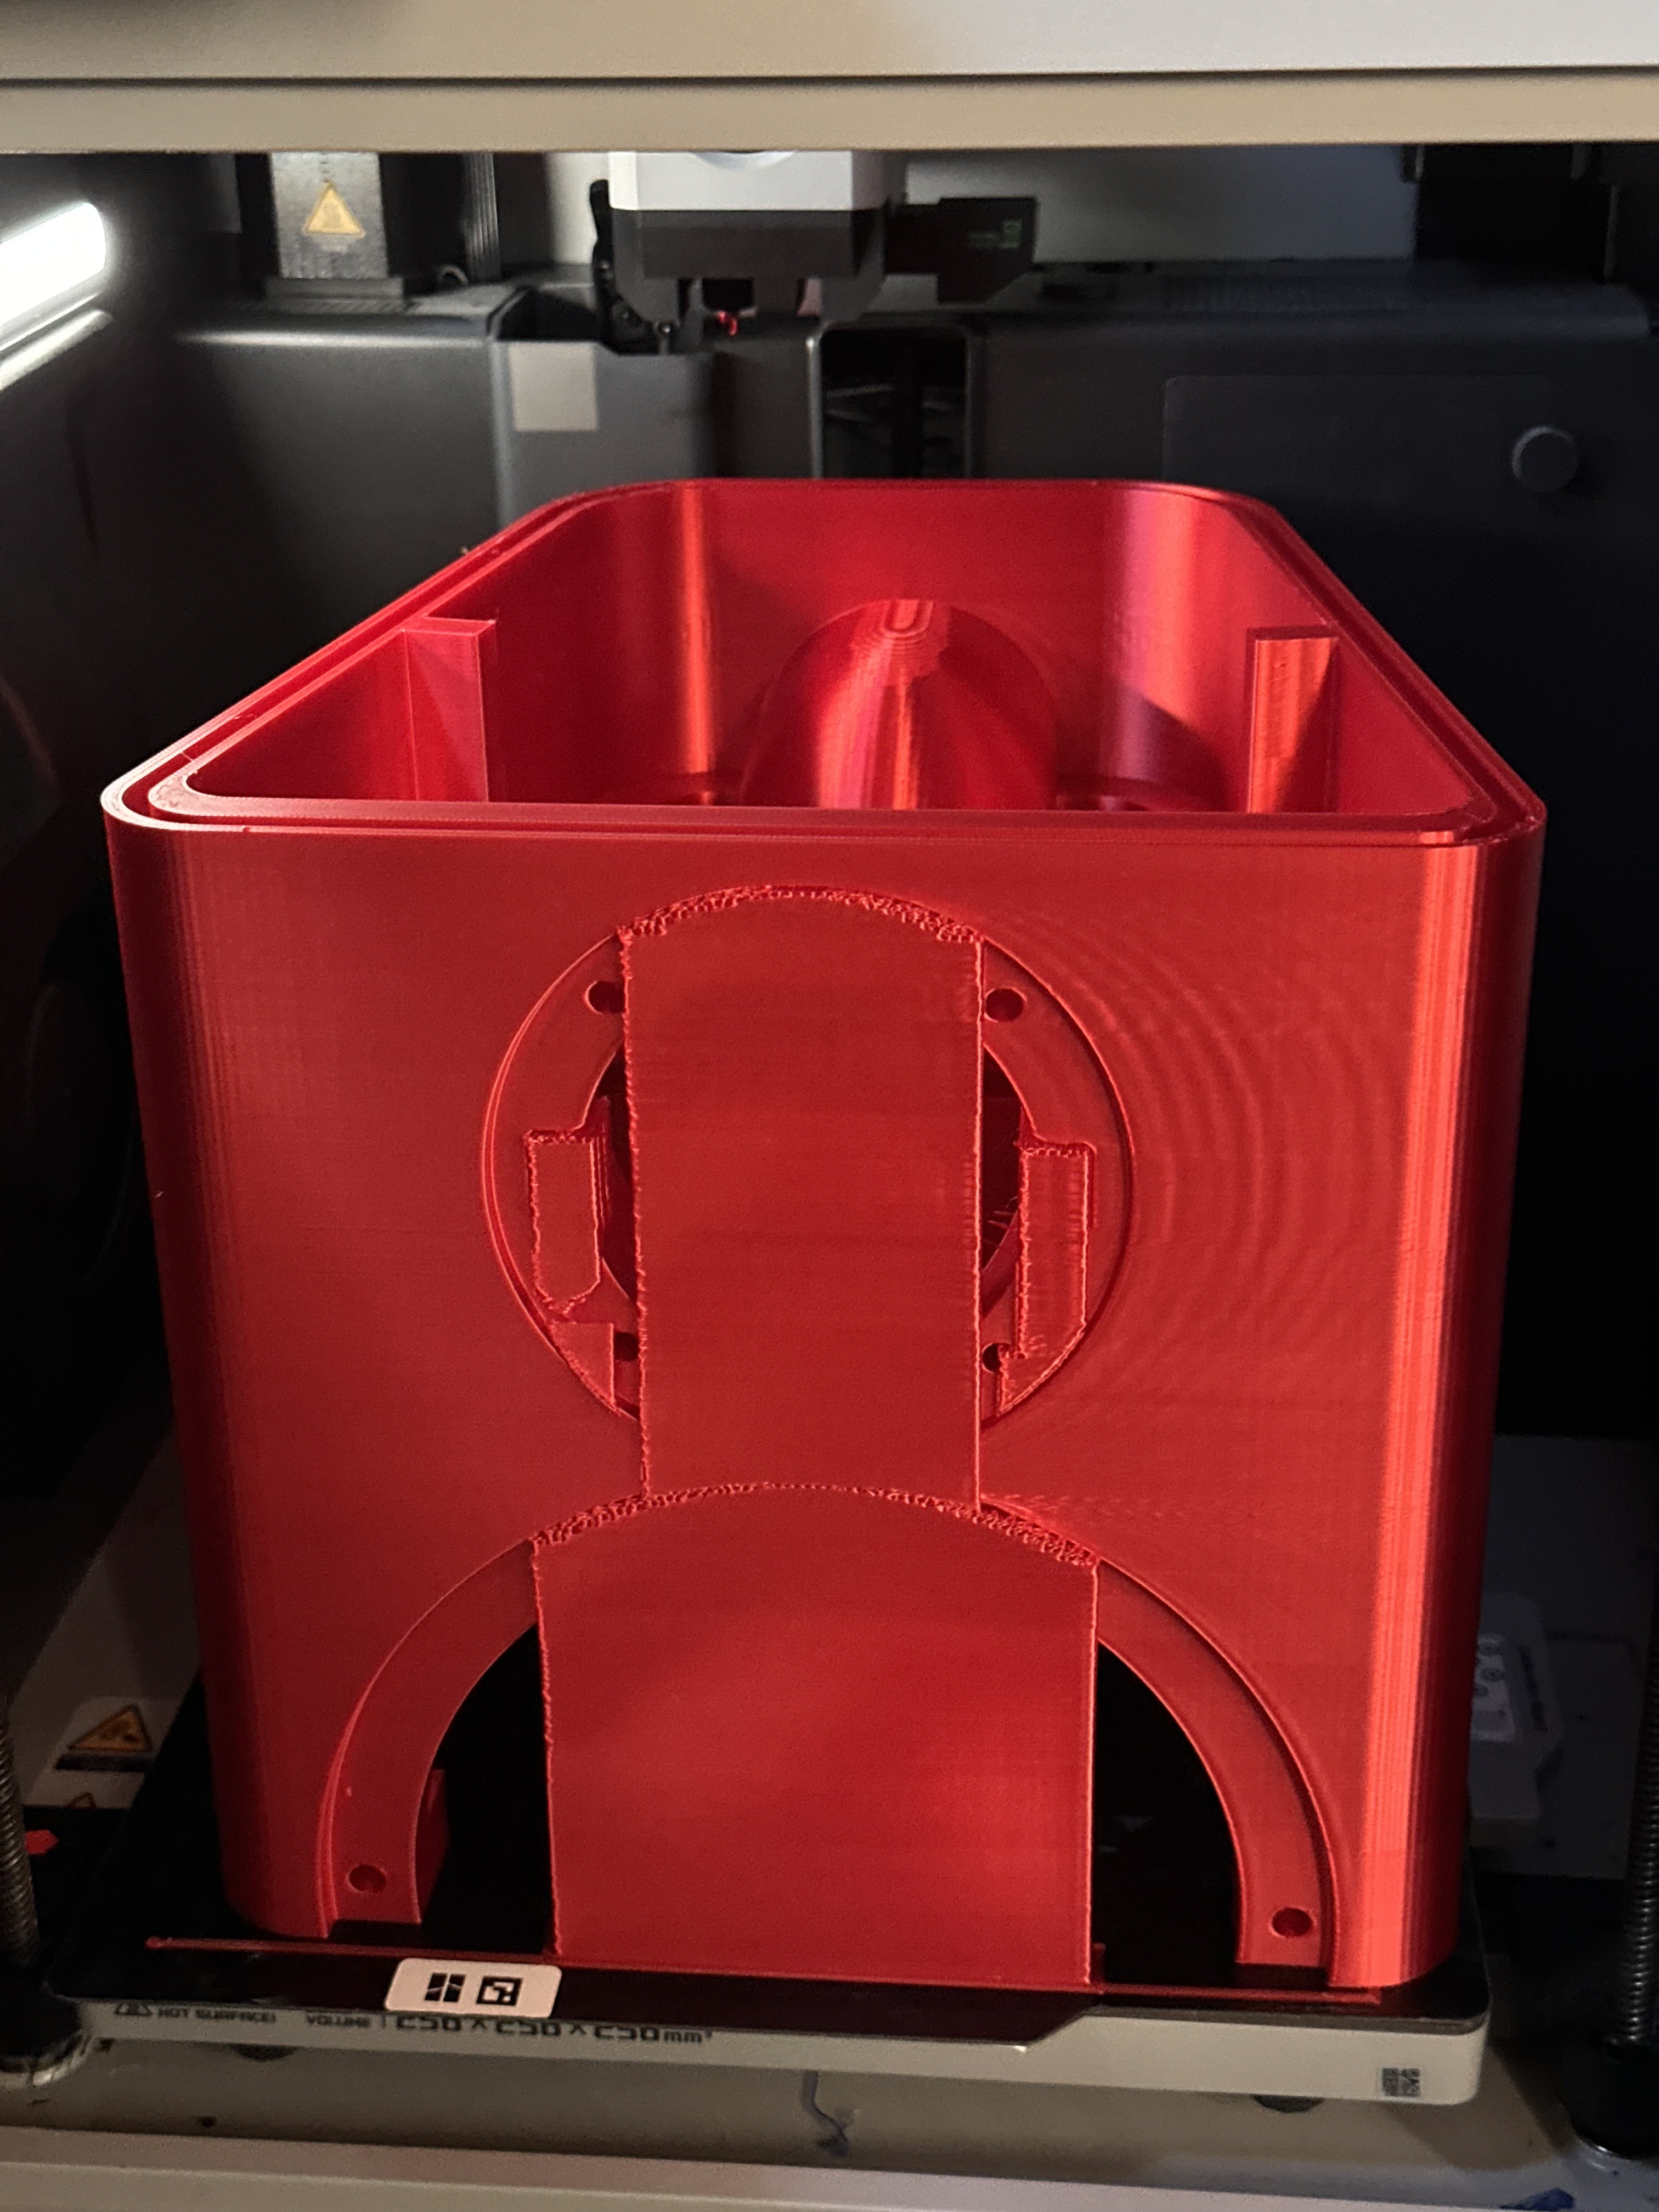
 9) I put the large enclosure section into the slicer, learned how to paint support blockers for the threaded inserts around the speakers (per the instructions) and got ready to print. 48 hours! 2 full days is what it said, yikes! It was also going to take ~1900g of material, which is almost 2 full spools of filament! This is with 4 wall loops and 35% infill as recommended. Here's about 1/4 the way into the print.
 10) Here's a video of the print in the beginning, looking good.
1.00 11) About 50% of the way in
 12) I checked on it about 75% of the way in, so 36 hours after I had started and found this. Oh no!
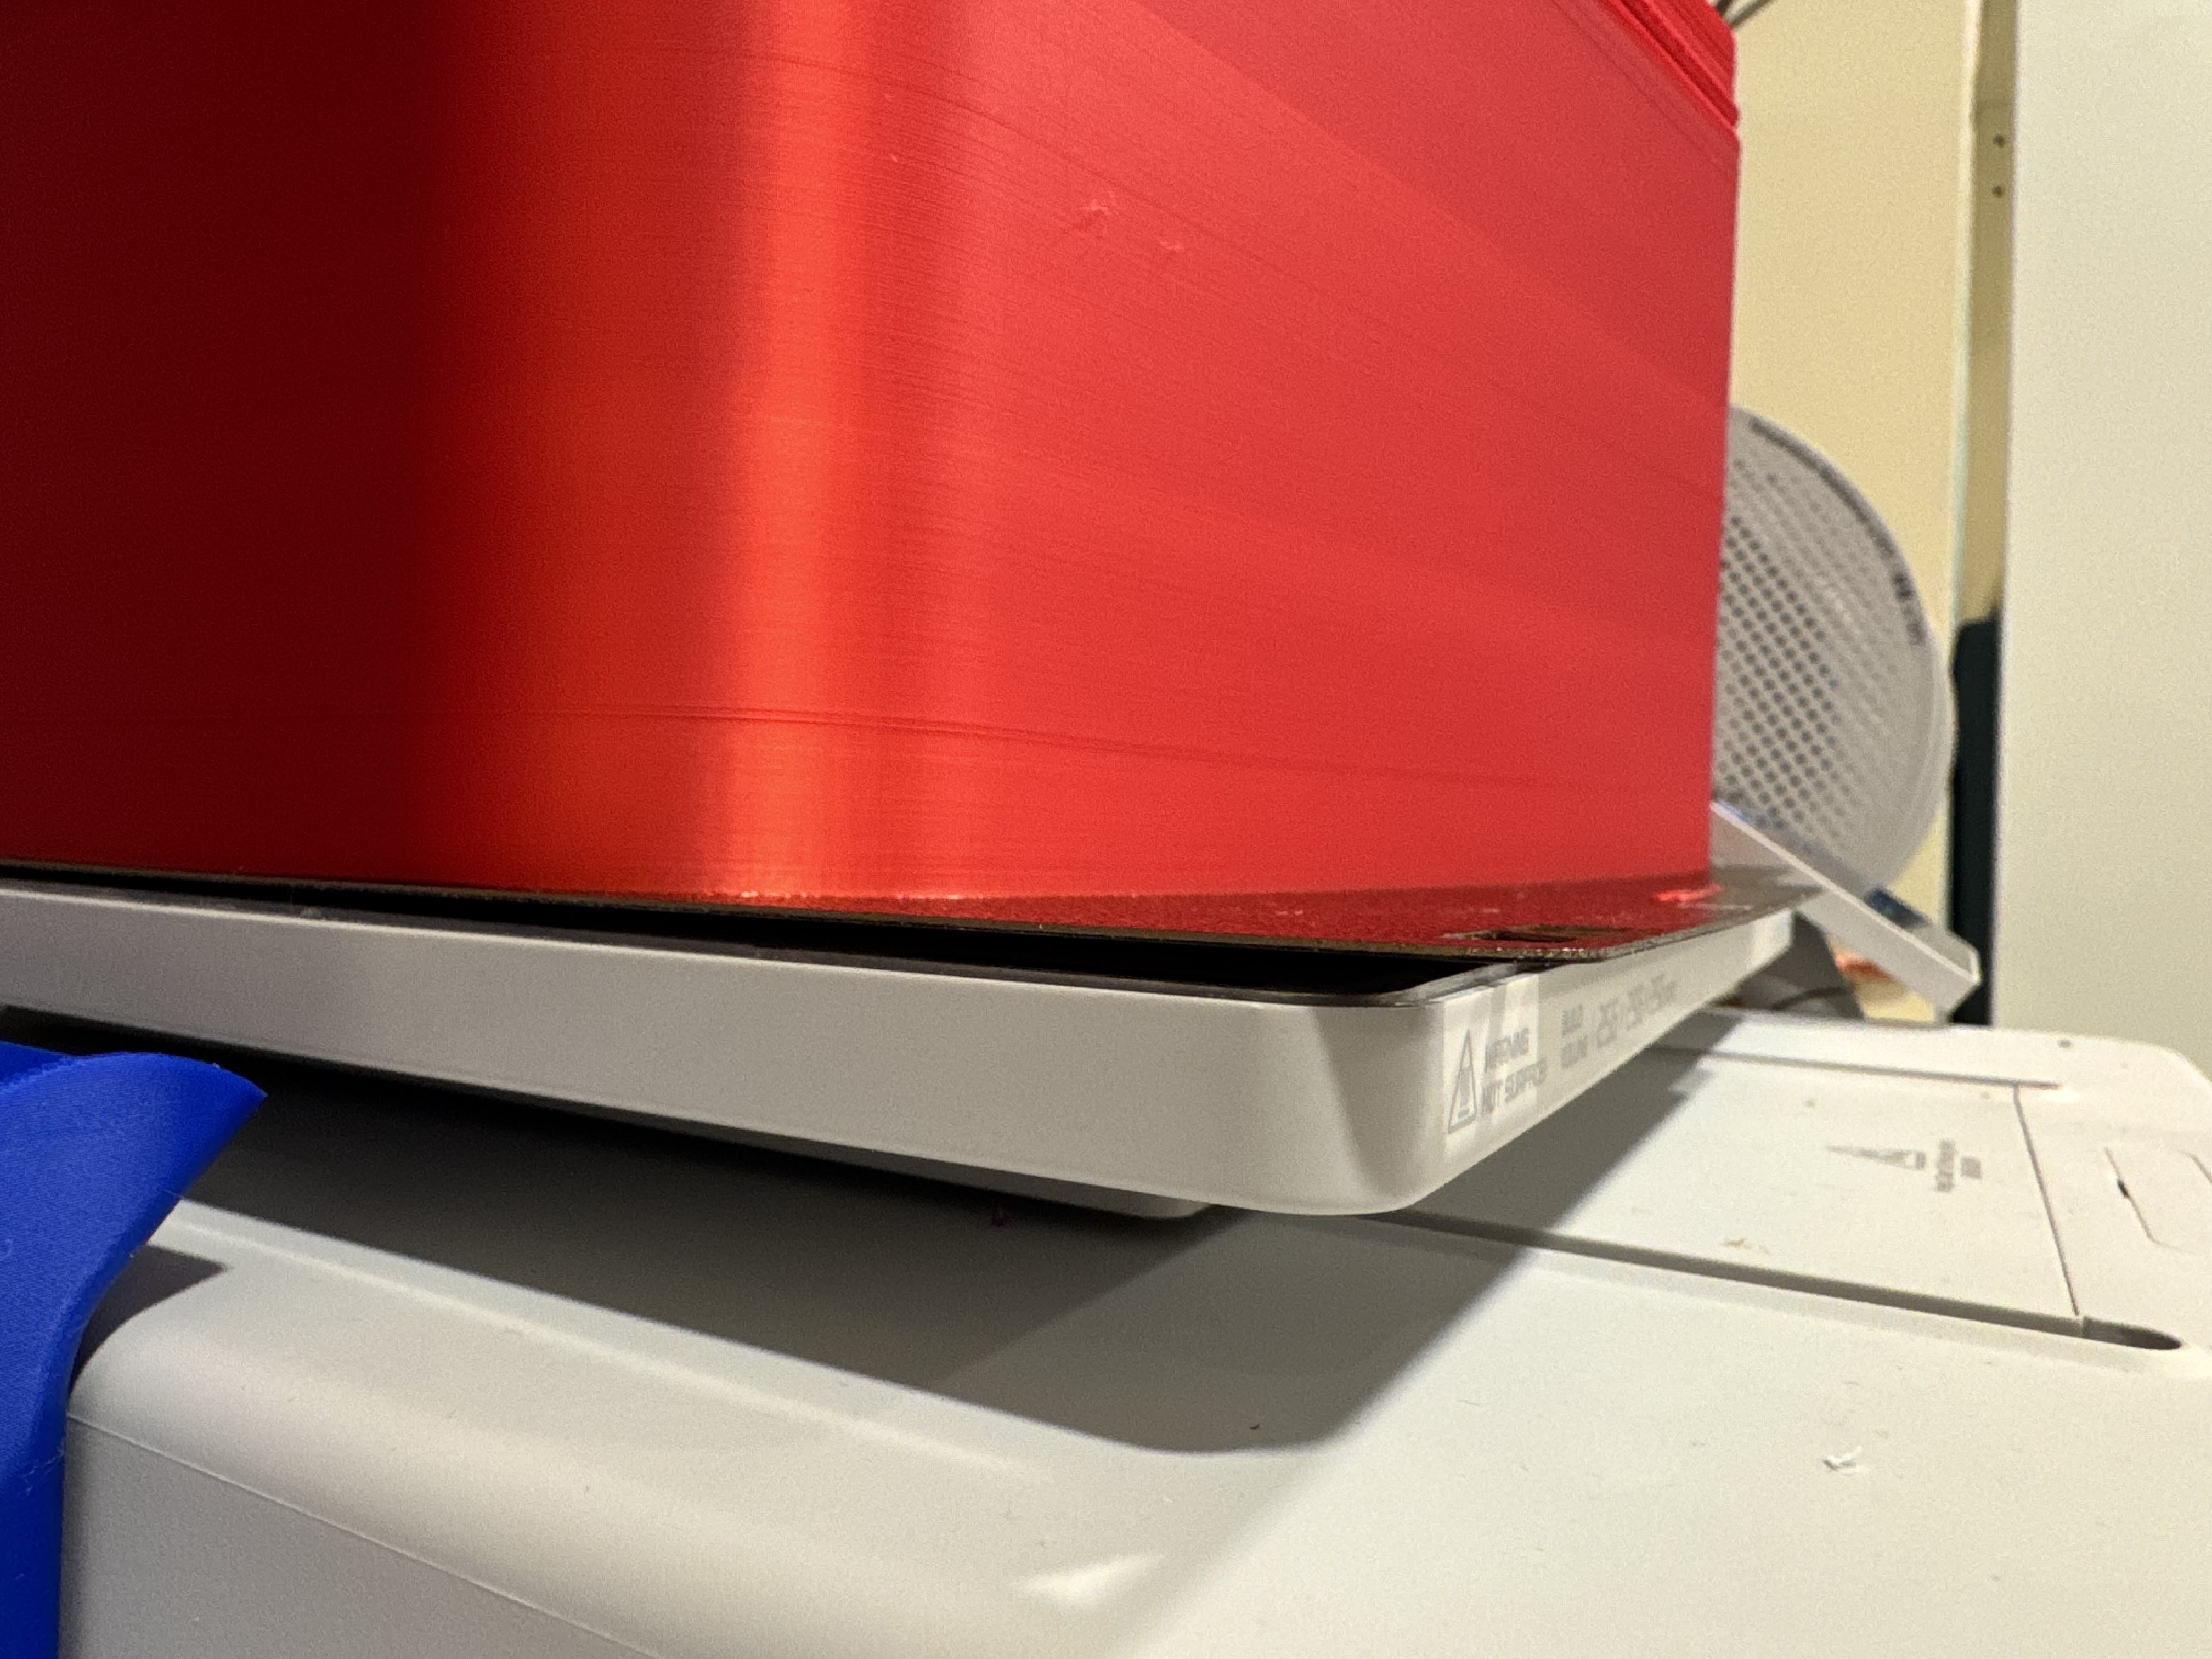
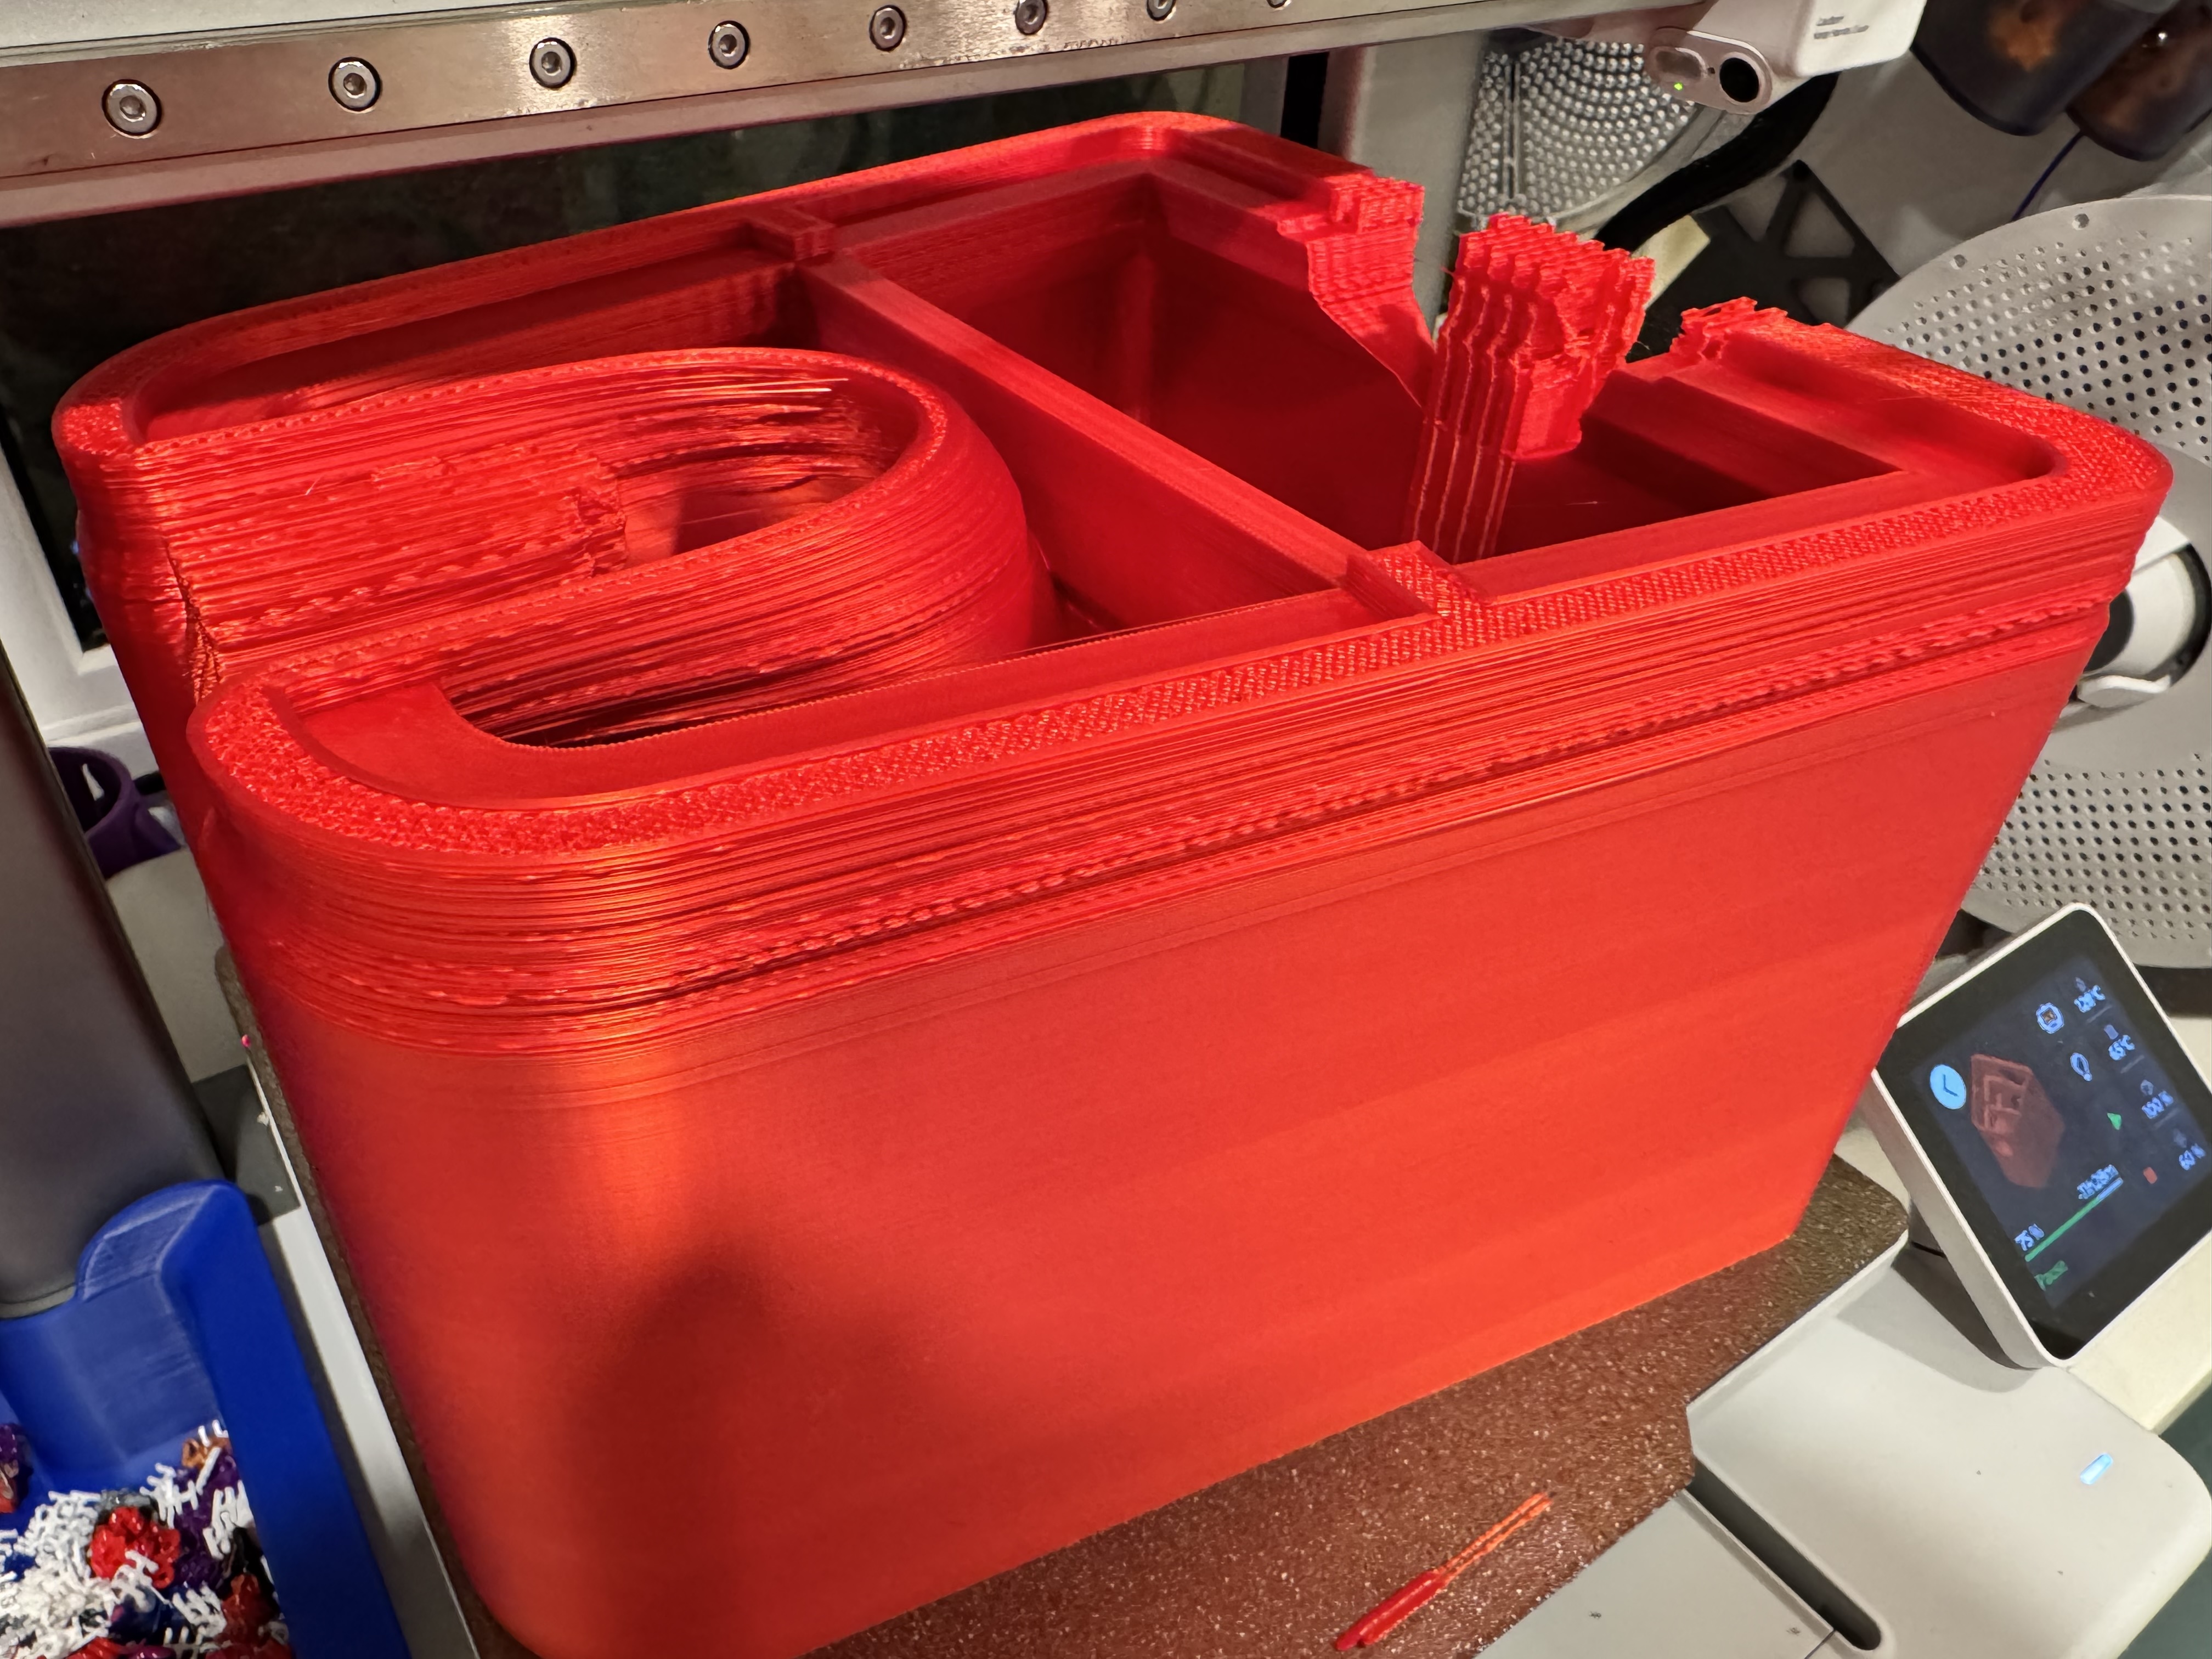 13) The print had warped, pulling the build plate up off the magnets that attach it. This caused it to shift and you get the mess from the above pic. Bah! That was like $50 in filament and a long investment for it to just mess up. I was so disenheartened at this point.
 14) After much back and forth with Hugh (the owner of this design, very nice guy!) I determined my basement's ambient temperature was too cold and would be likely to warp the print if I tried again. I looked into covers, space heaters, increasing the bed temperature, etc, etc, etc. Ultimately, I decided to use my friend's Bambu X1C which is fully enclosed to try again. So, after waiting for more spools of filament to show up, here's that print starting on his machine. Oh, I also changed the infill pattern to Gyroid at Hugh's suggestion (my first try used Rectilinear).
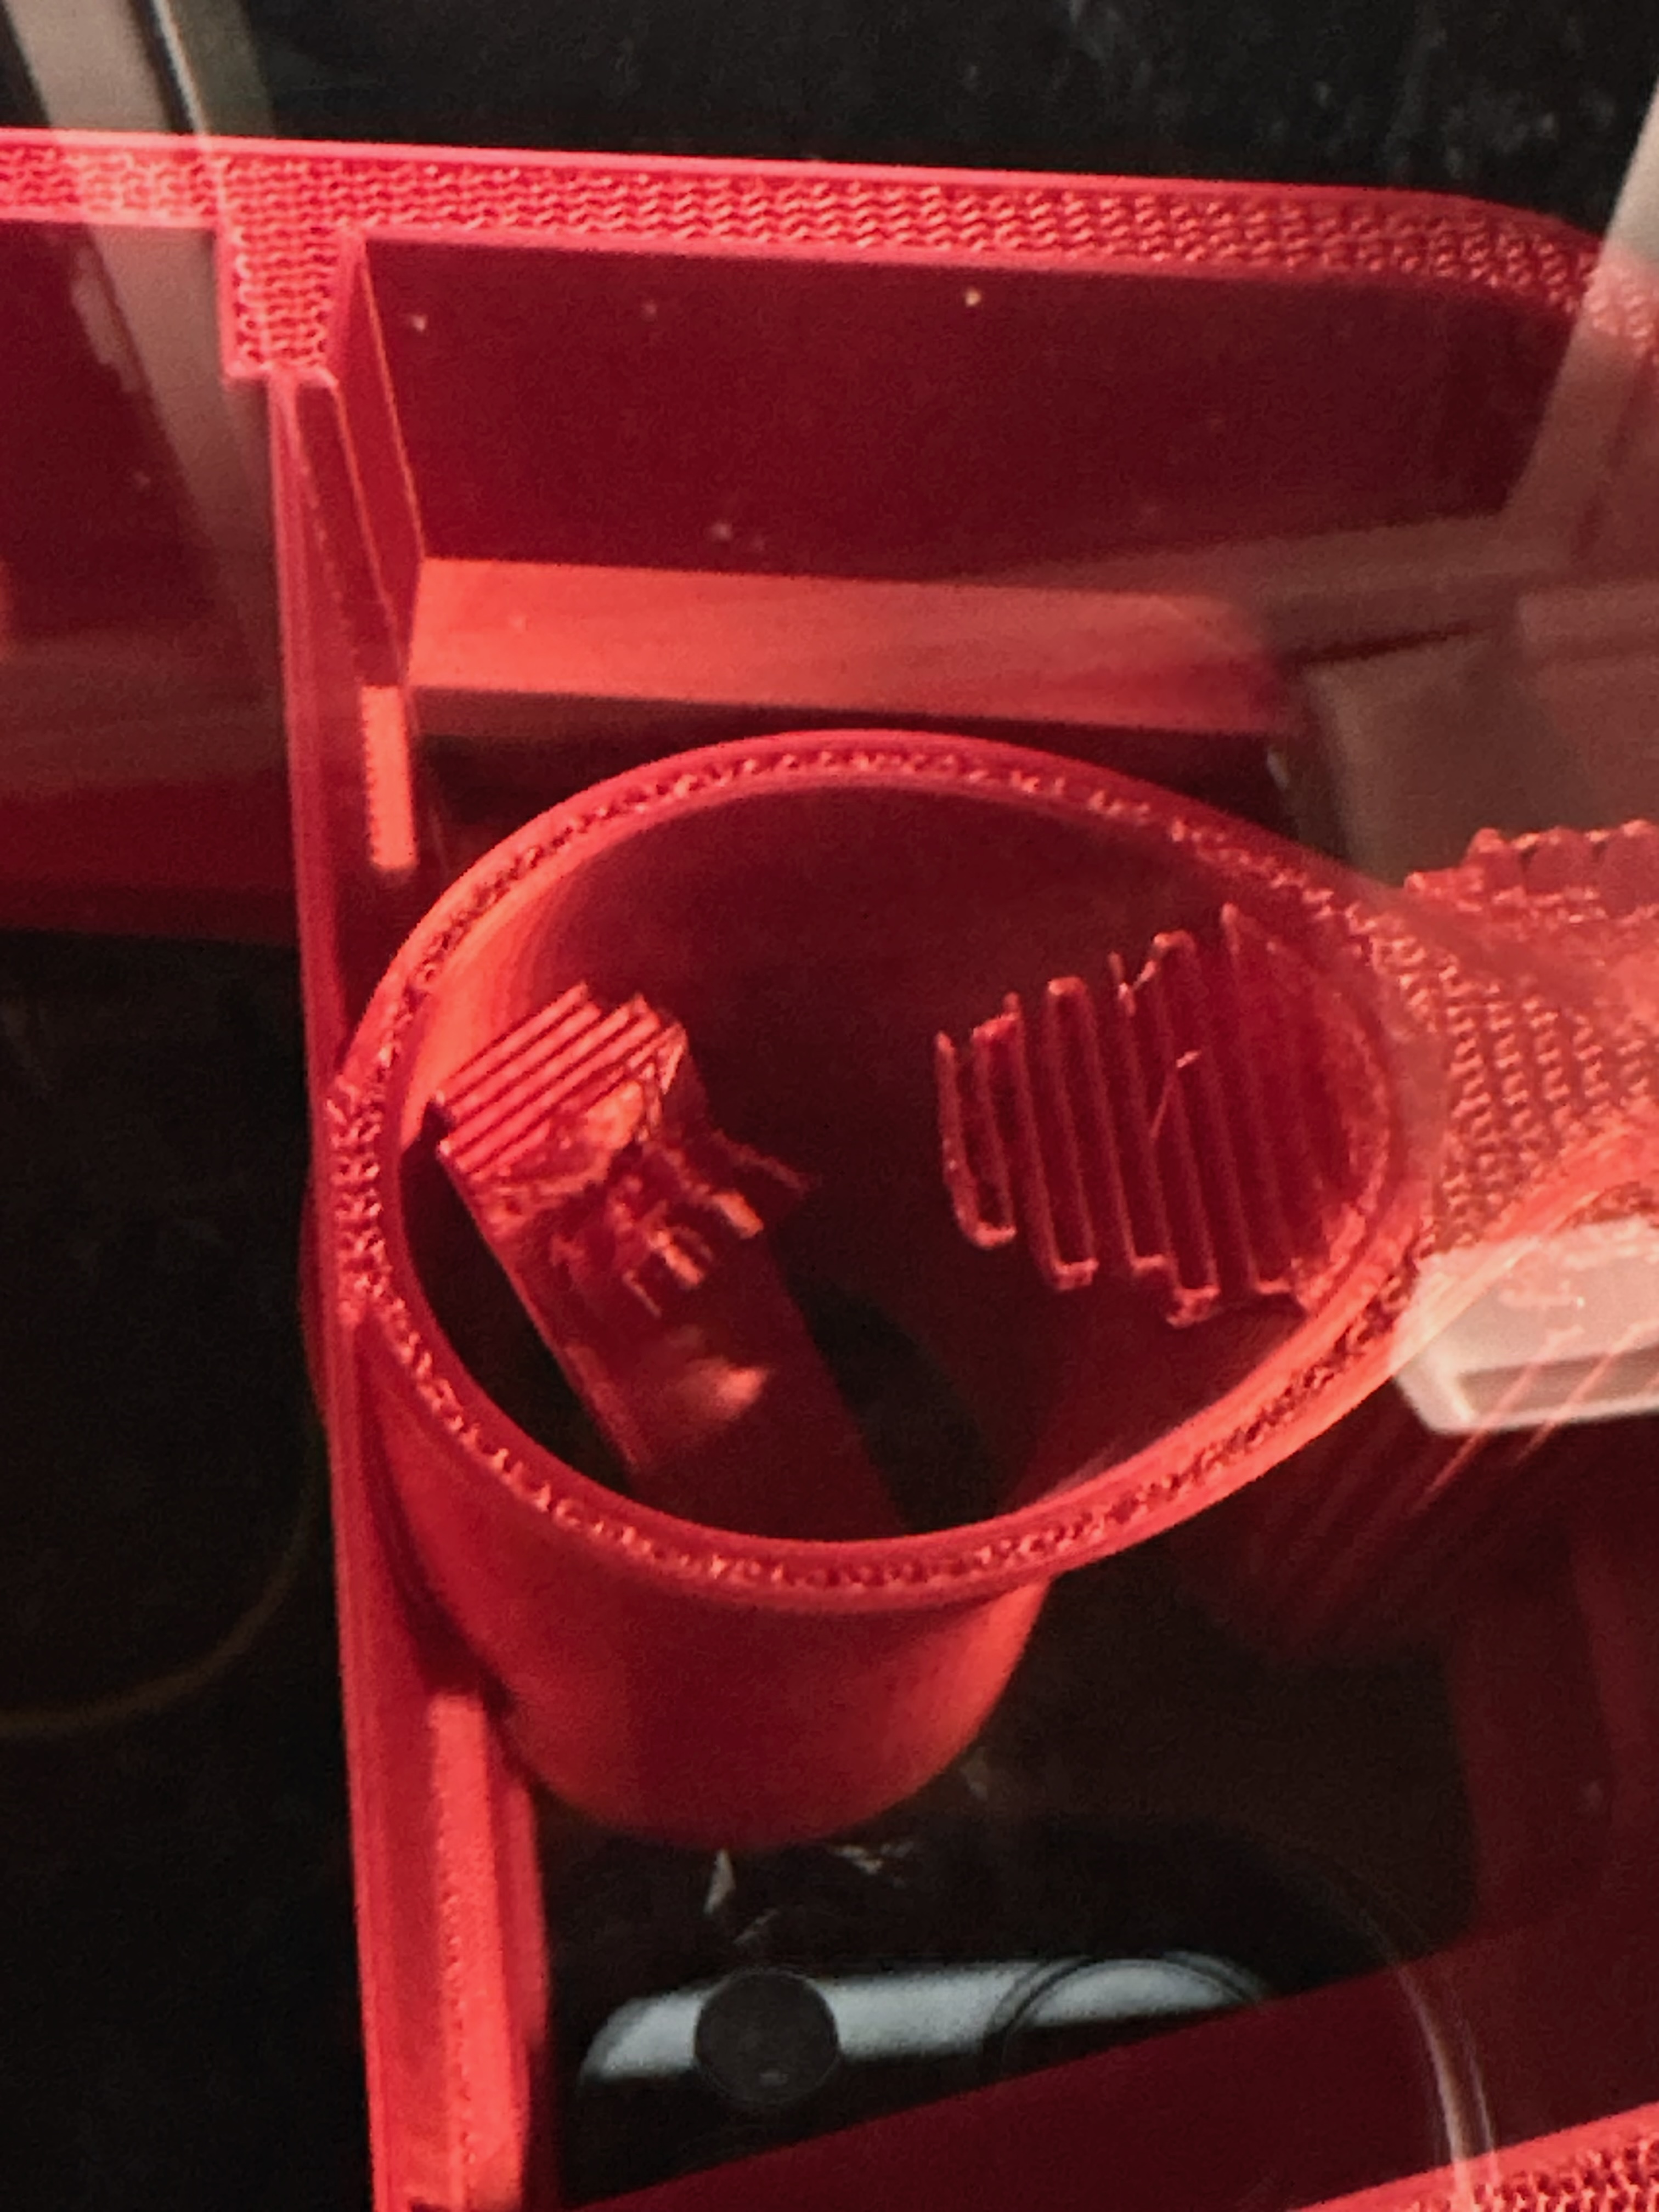
 15) This is about 75% of the way into the print where my previous try had failed. The support inside the bass tube had fallen off, but thank goodness enough had stuck around that it ended up ok!
 16) And, complete! My friend has a cool build plate pattern, too bad all of this will be hidden once assembled. He gave me the links to these build plates and I ordered some.
 17) While I was waiting for the large enclosure to print (2d 7h), I got started on the crossovers. Placed the first inductor coil on the board.
 18) Most of the components placed.
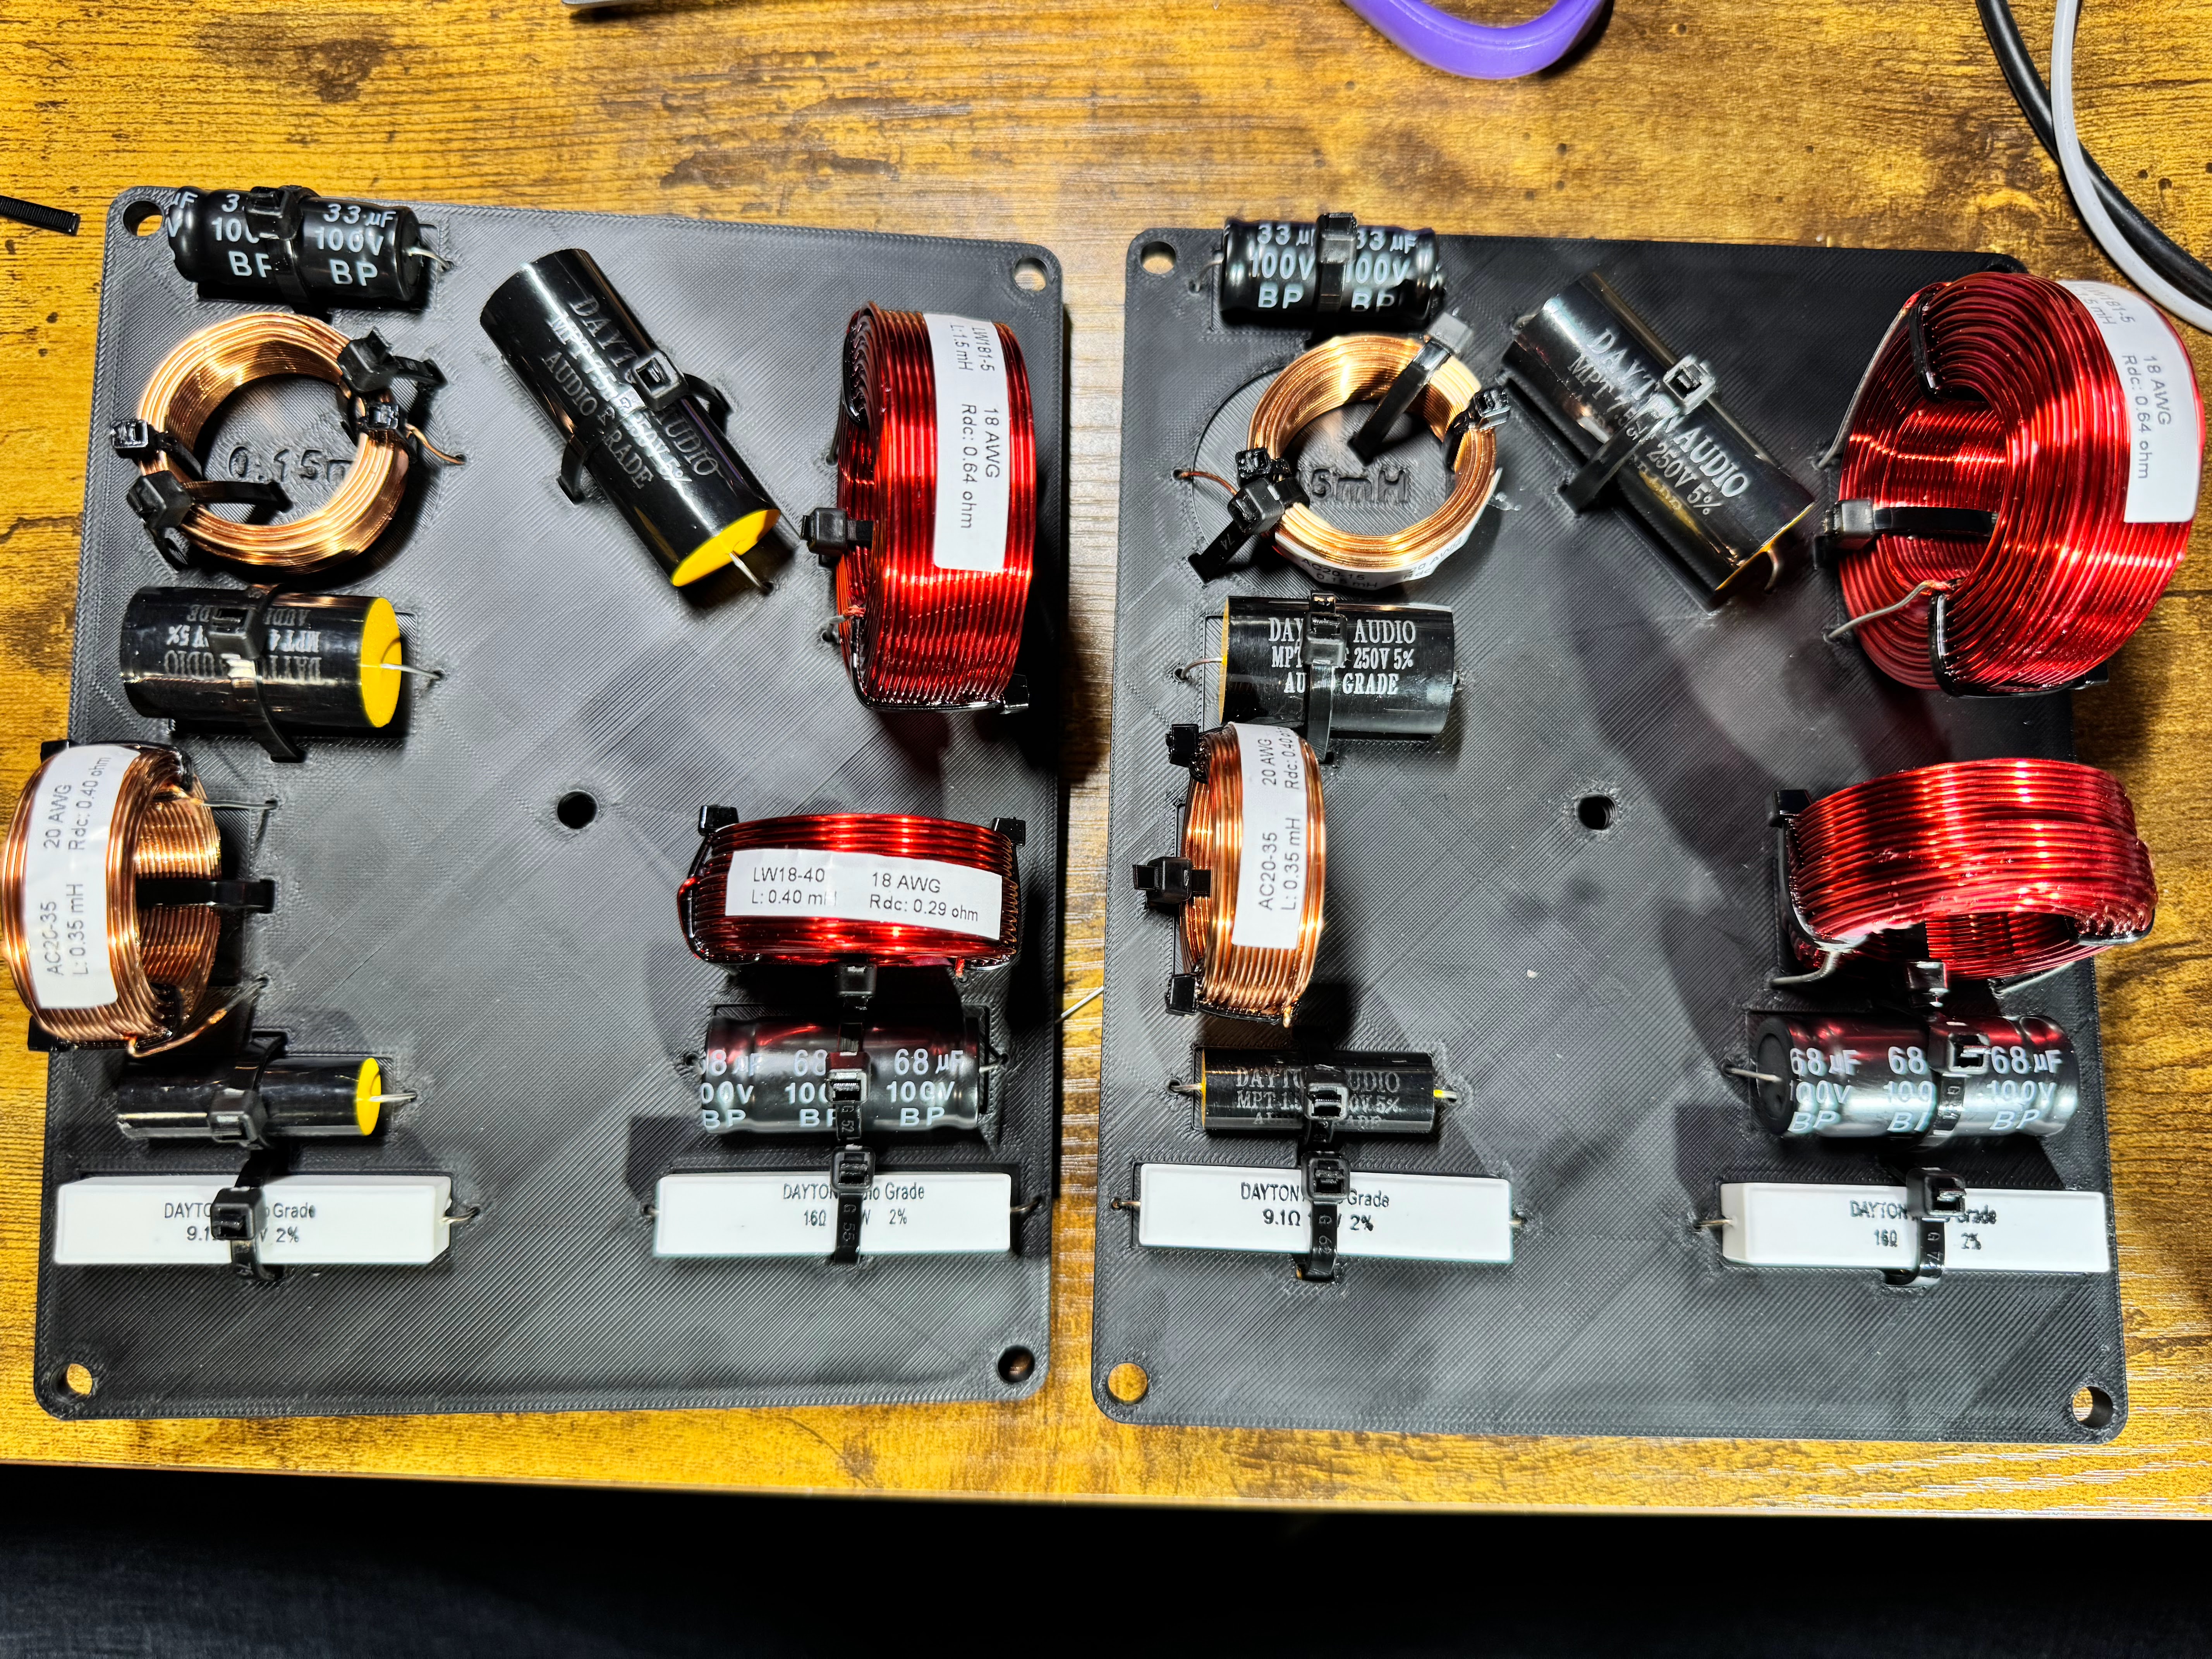
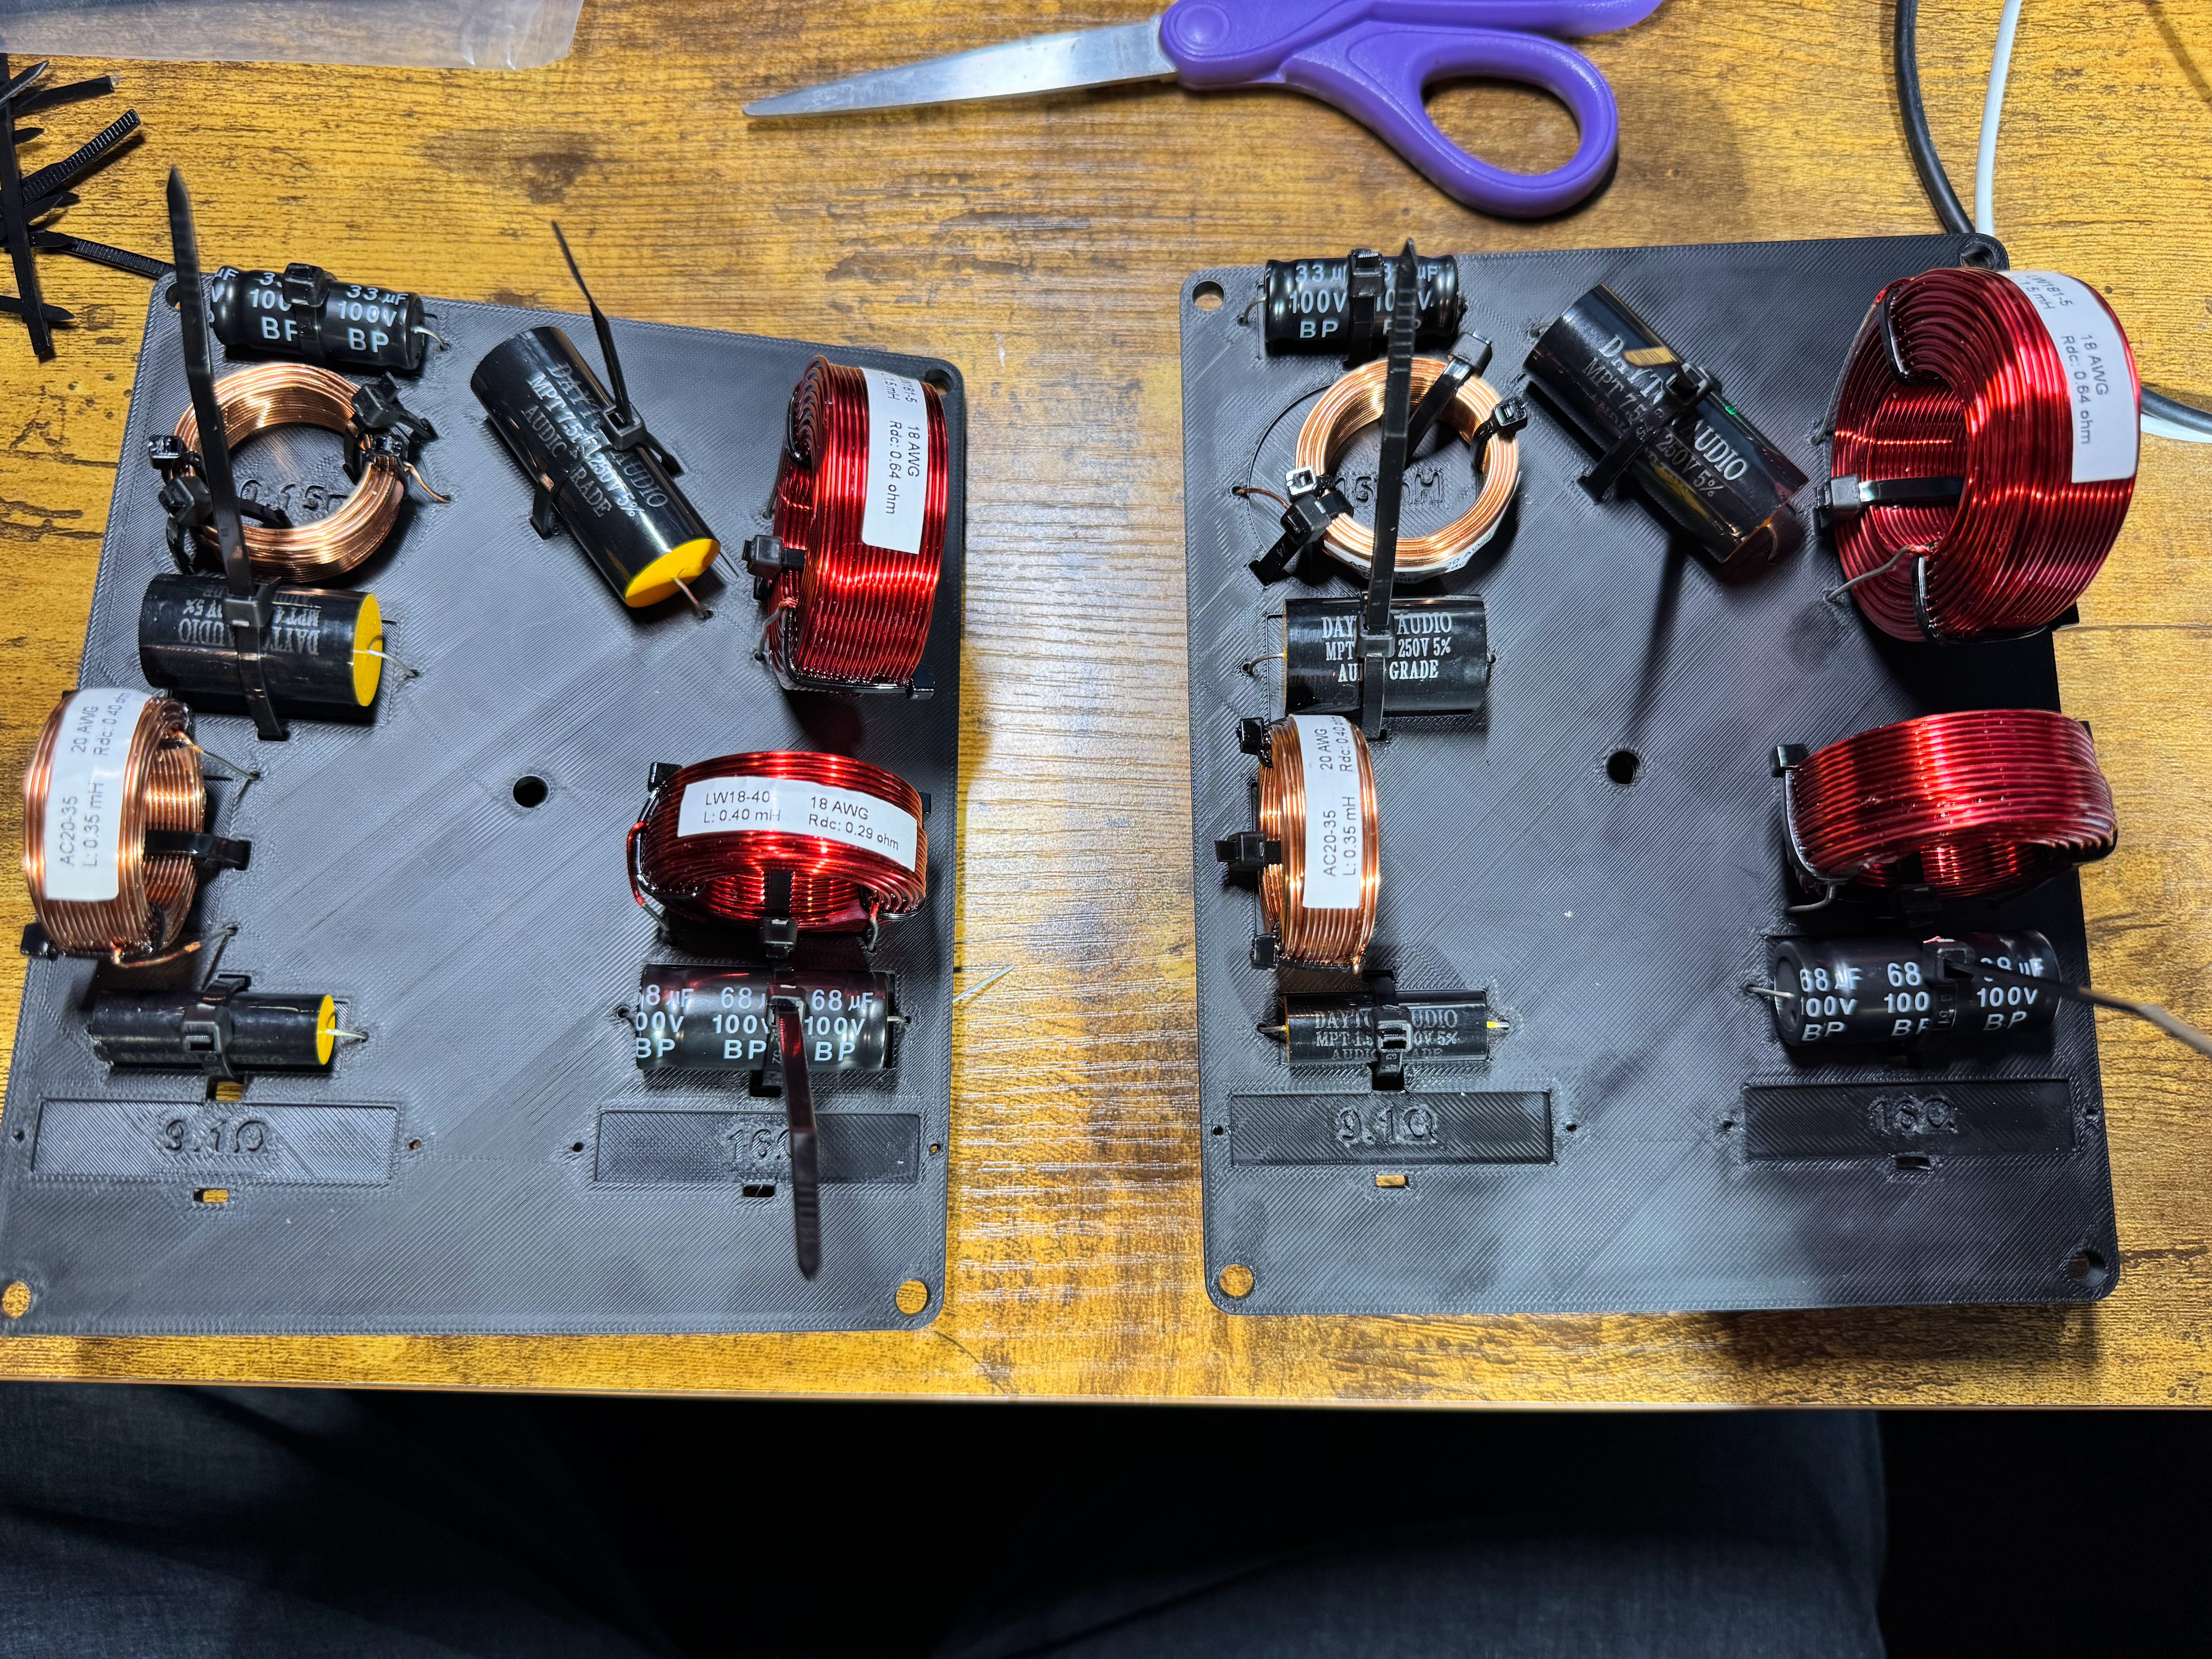 19) All components placed and zip ties snipped.
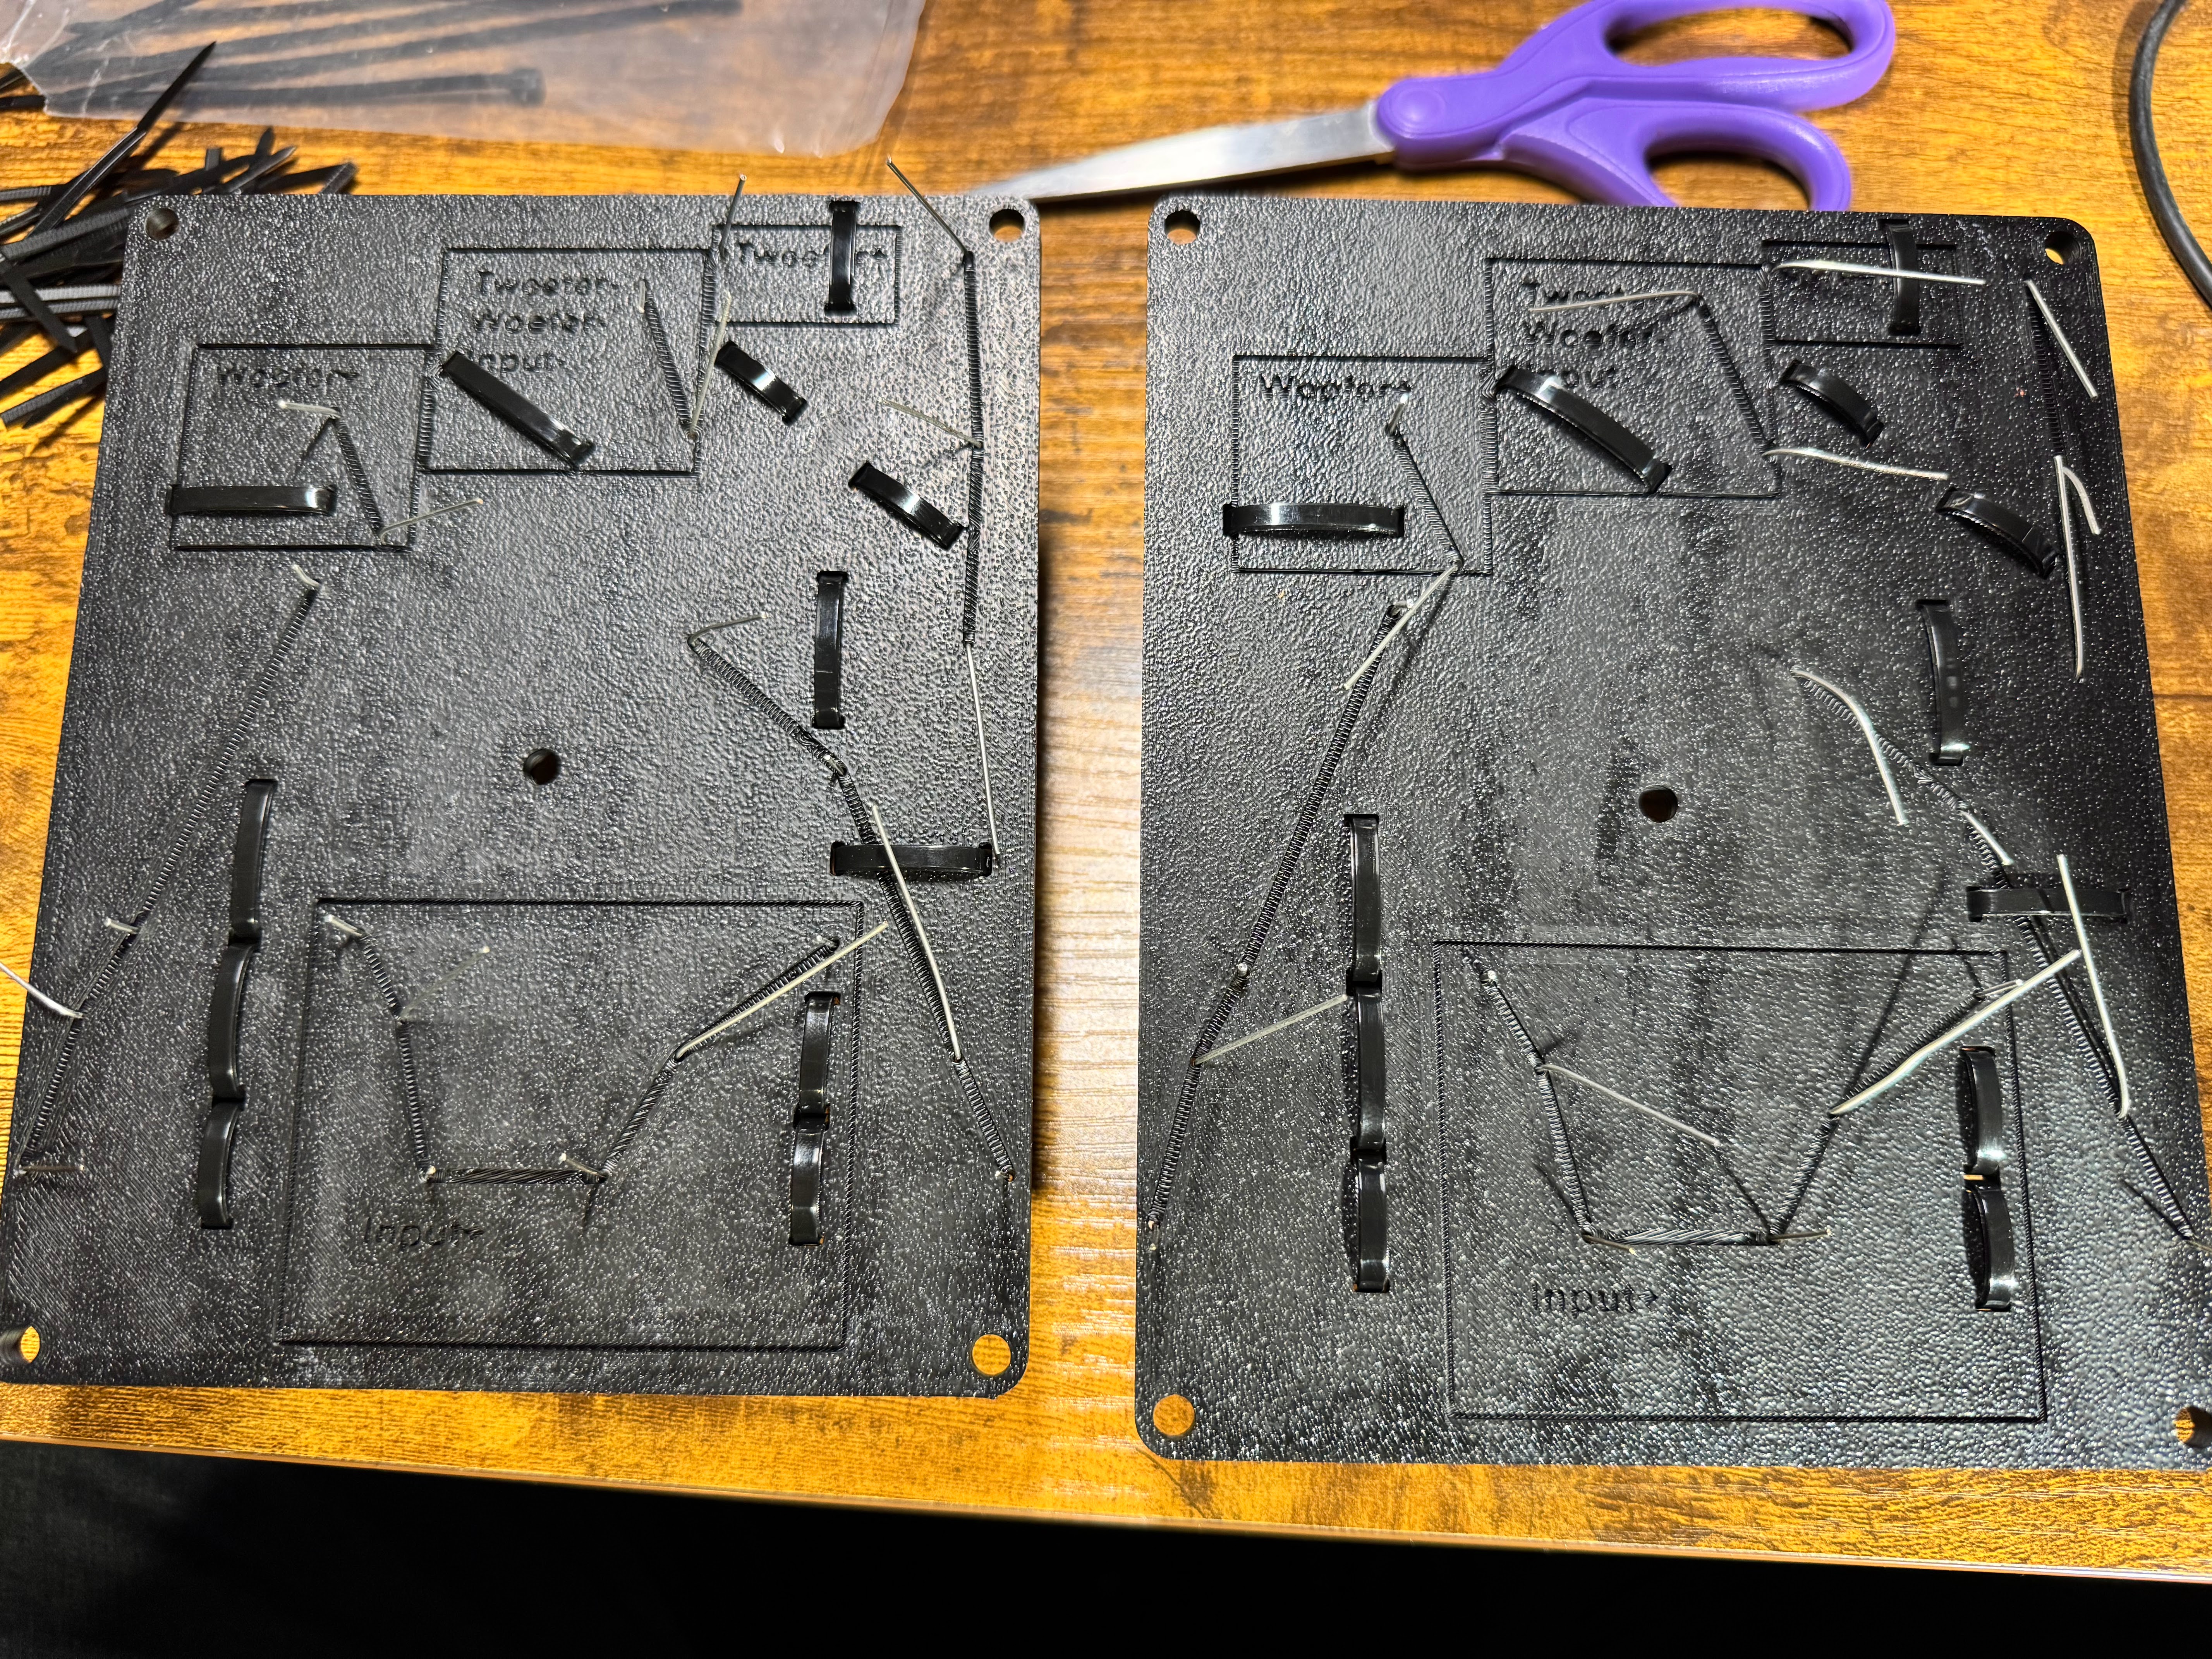
 20) Backside of the crossover boards, time to connect all the pieces, following the appropriate traces. So easy!
 21) All wired up and ready for solder! This may look easy but it probably took me 1.5-2 hours to go from the last step to this one.
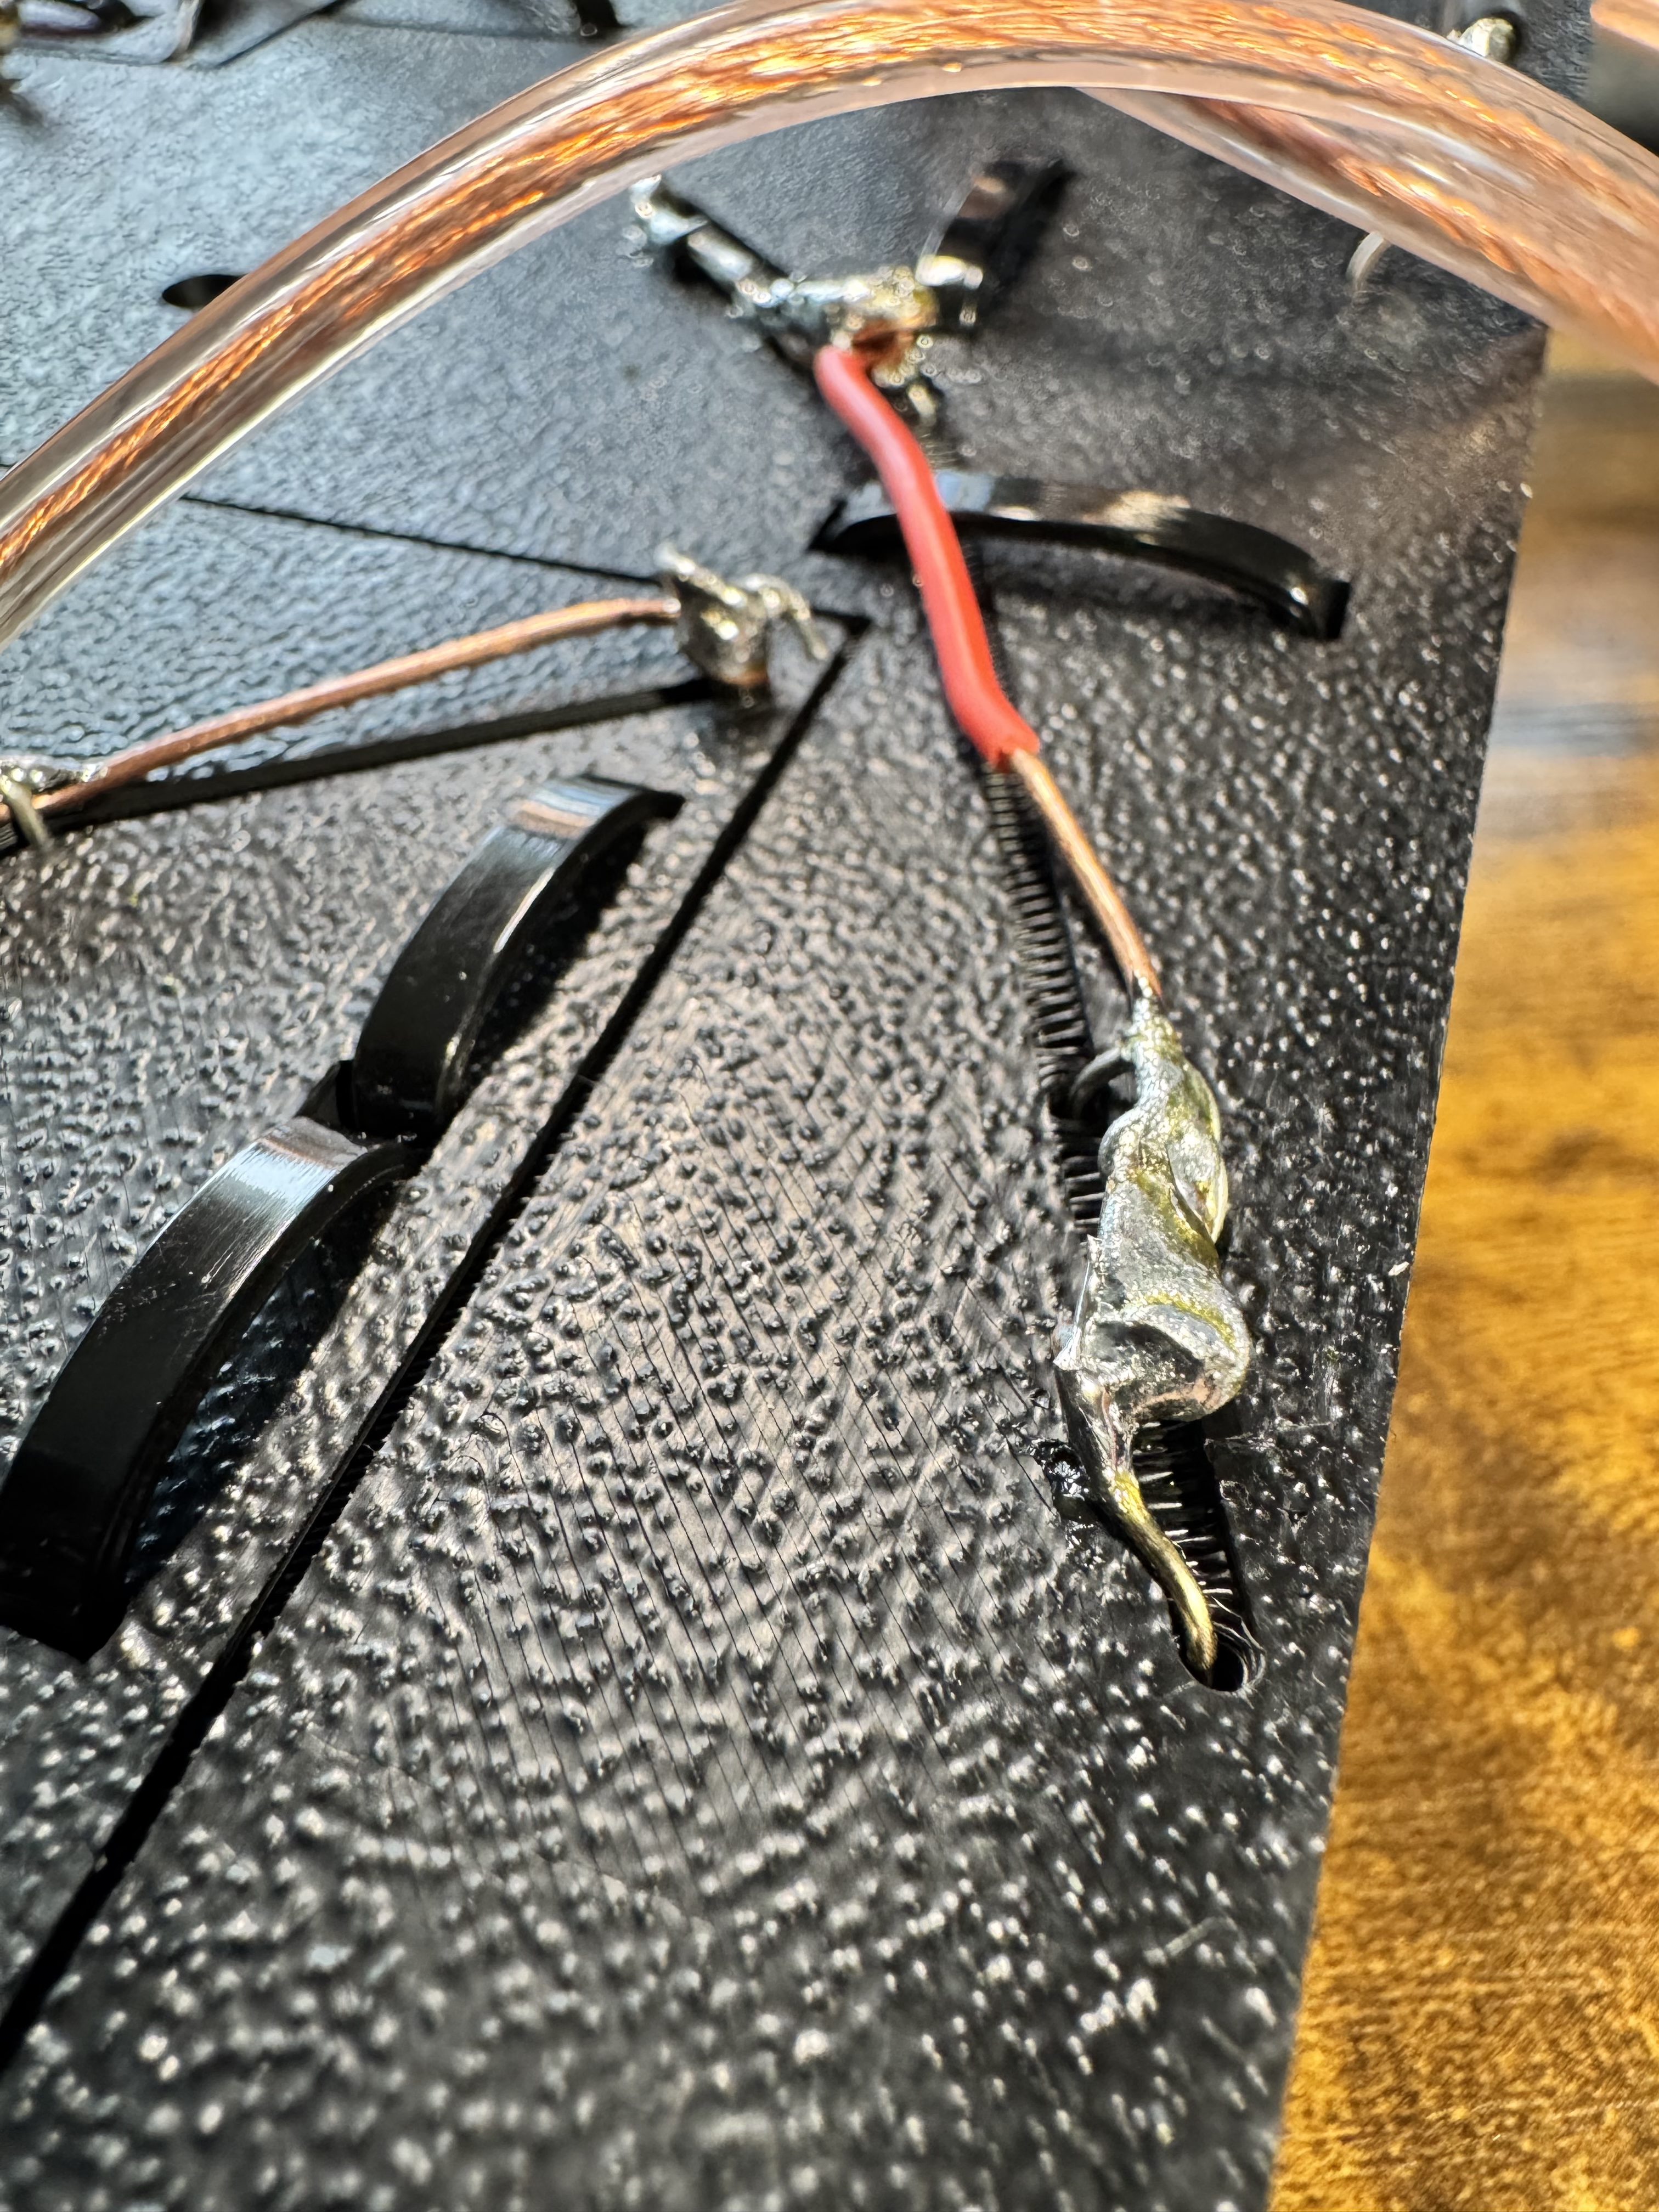
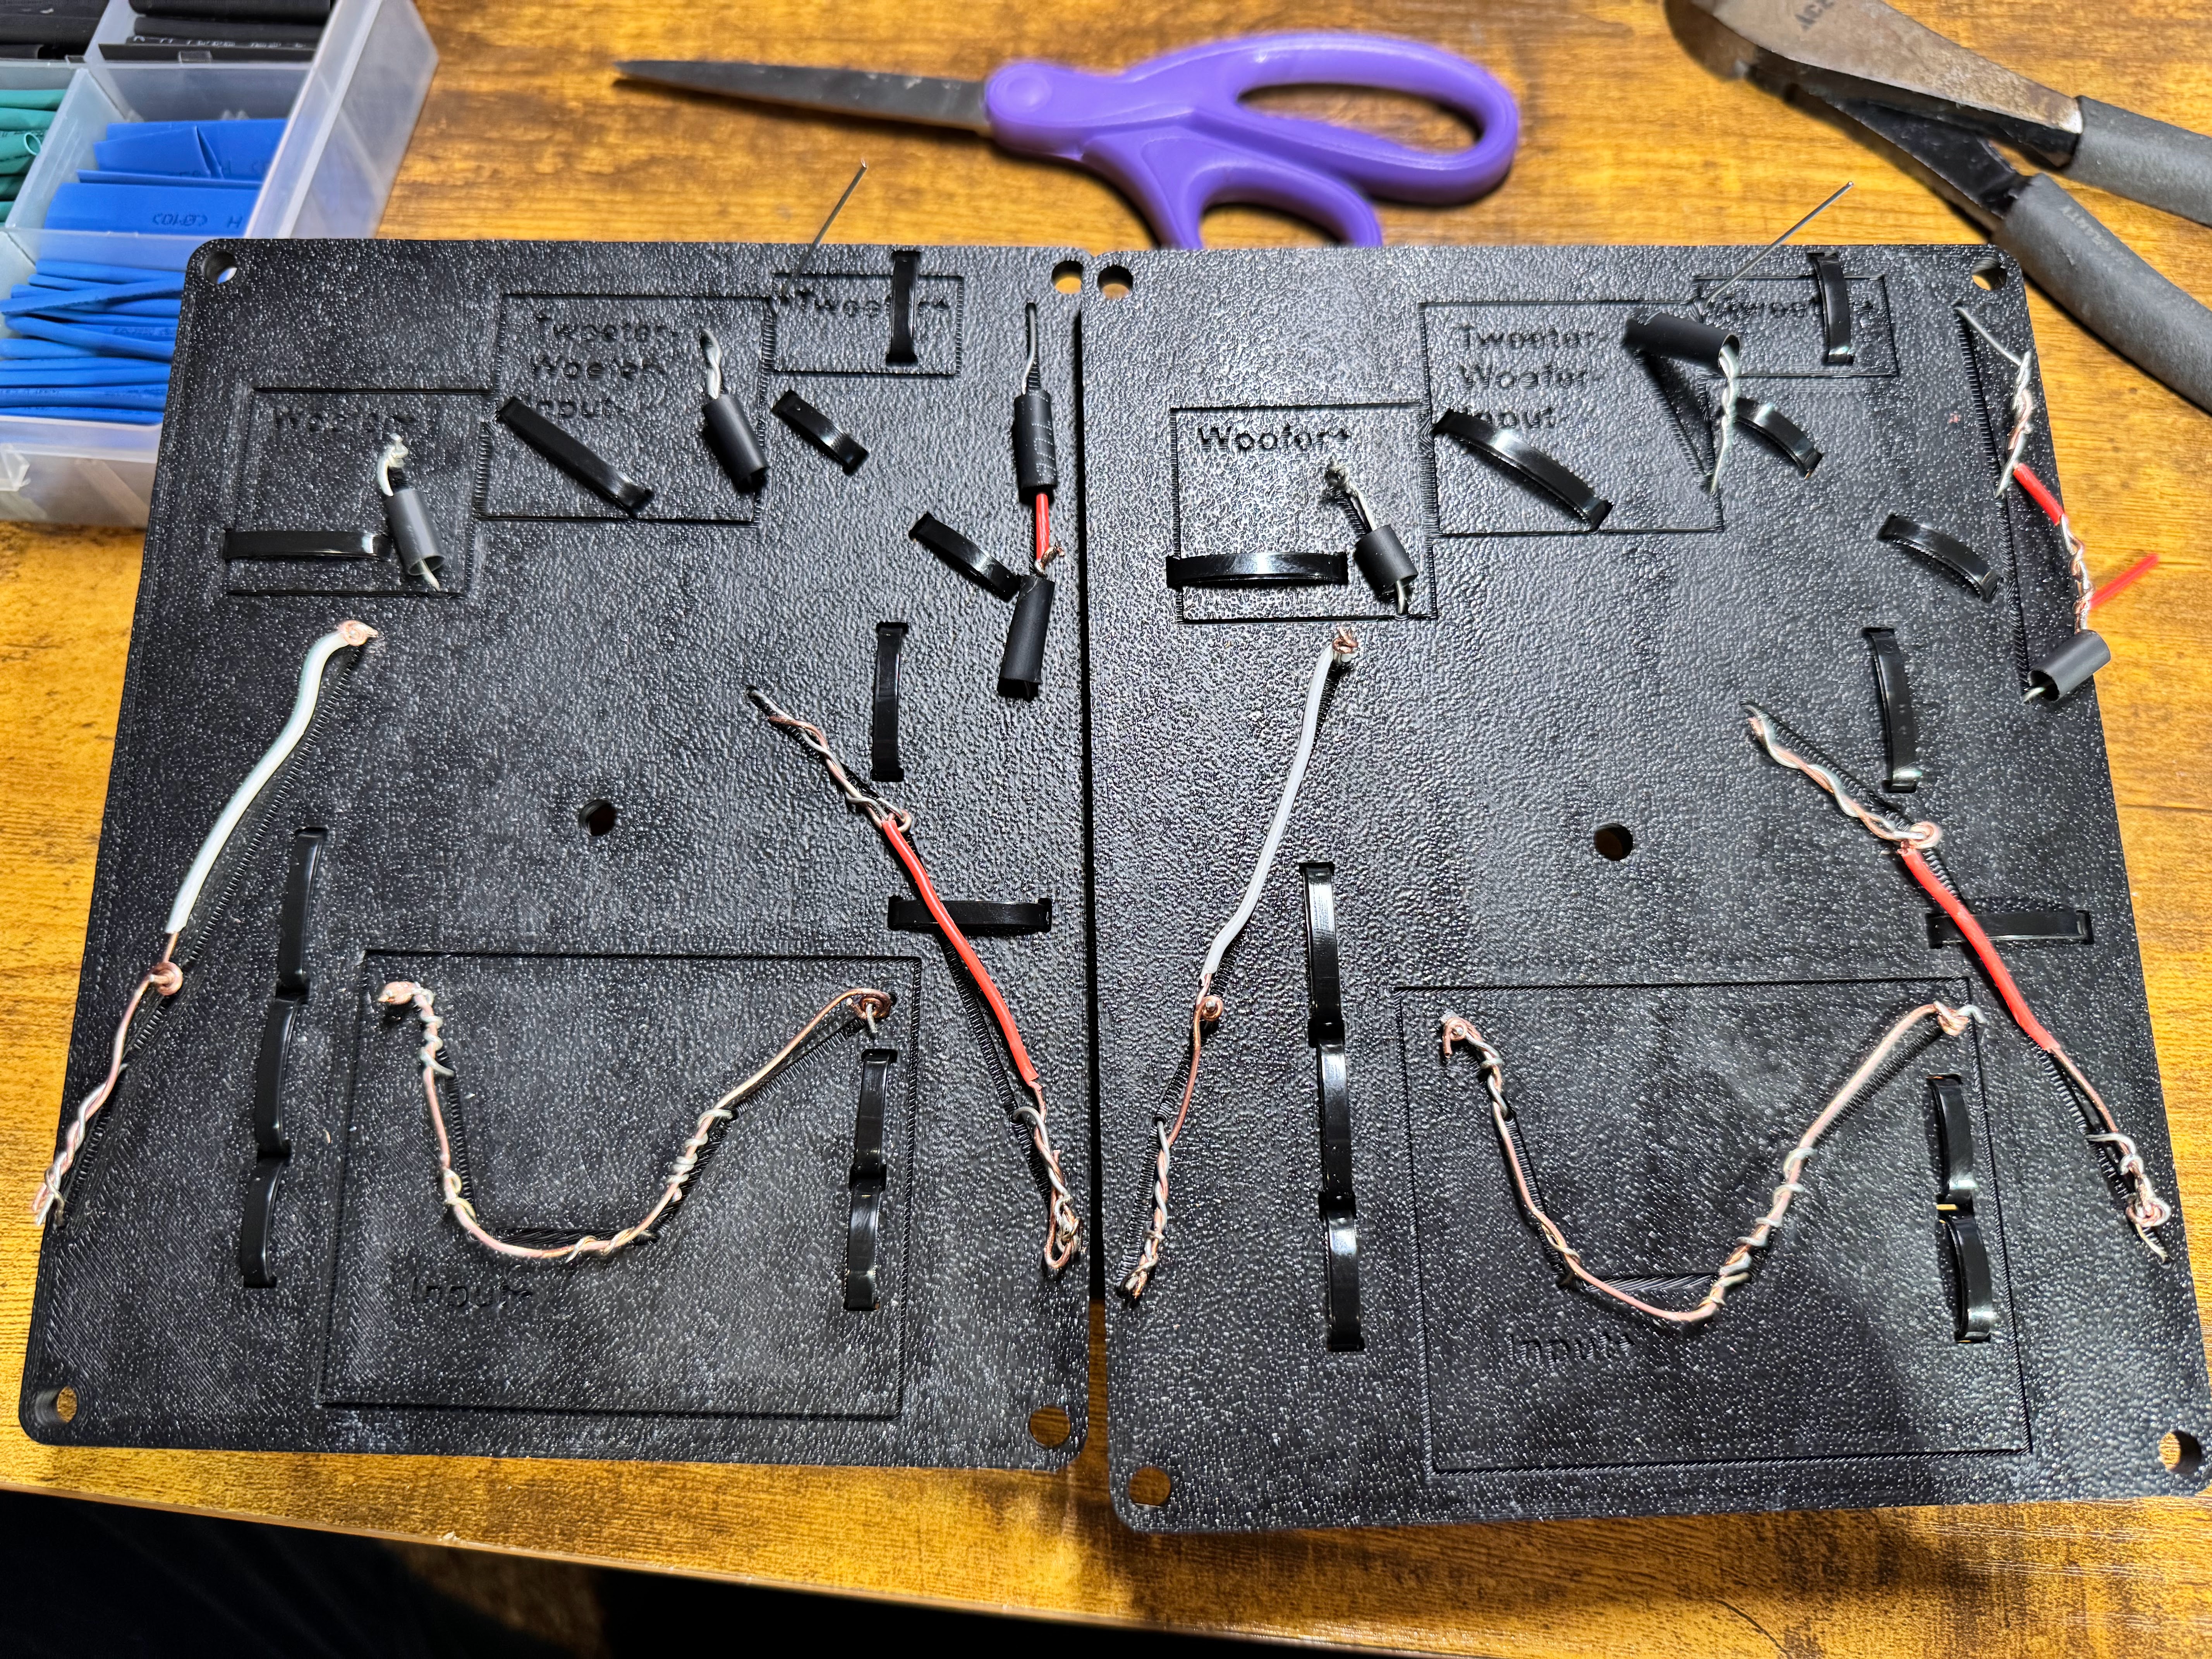 22) Close up of one of the solder-prepped traces. I used some 18/2 Bell Wire to bridge the gaps between component connections.
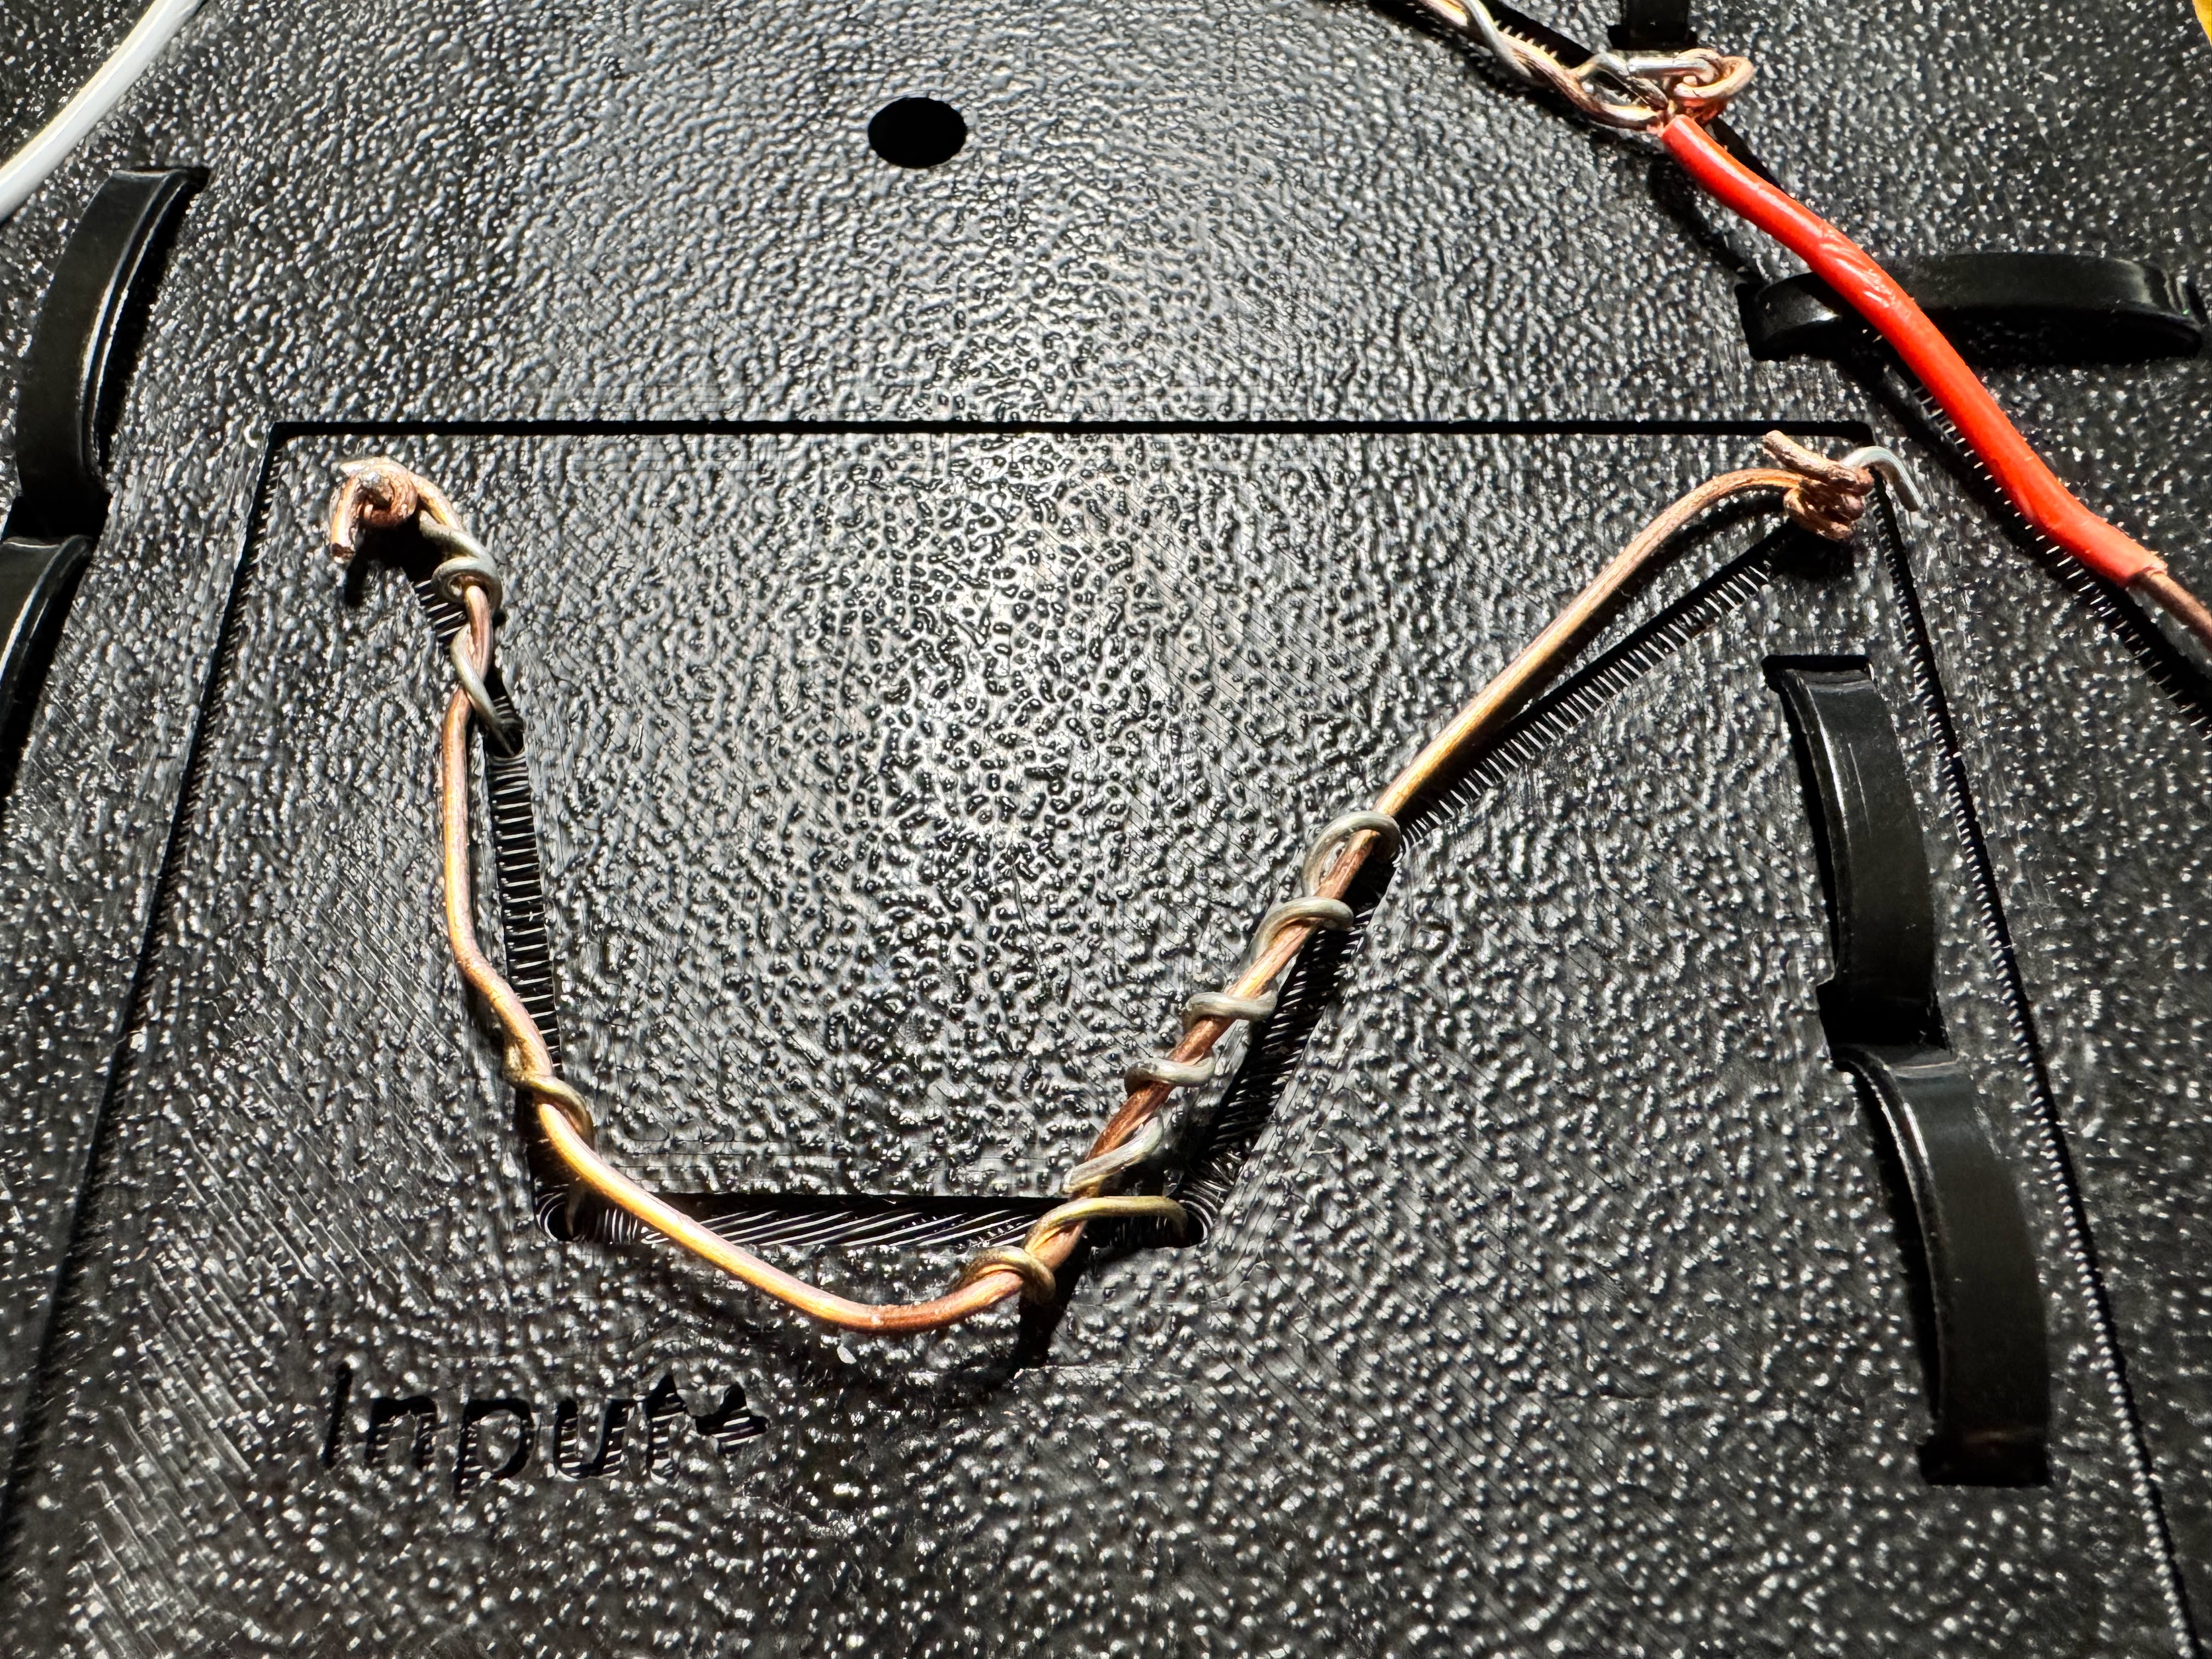 23) Another close-up shot.
 24) A close-up of the soldering being done. I used WBT 0800 Silver Solder as the solder. This stuff is incredibly nice to work with and makes very solid connections.
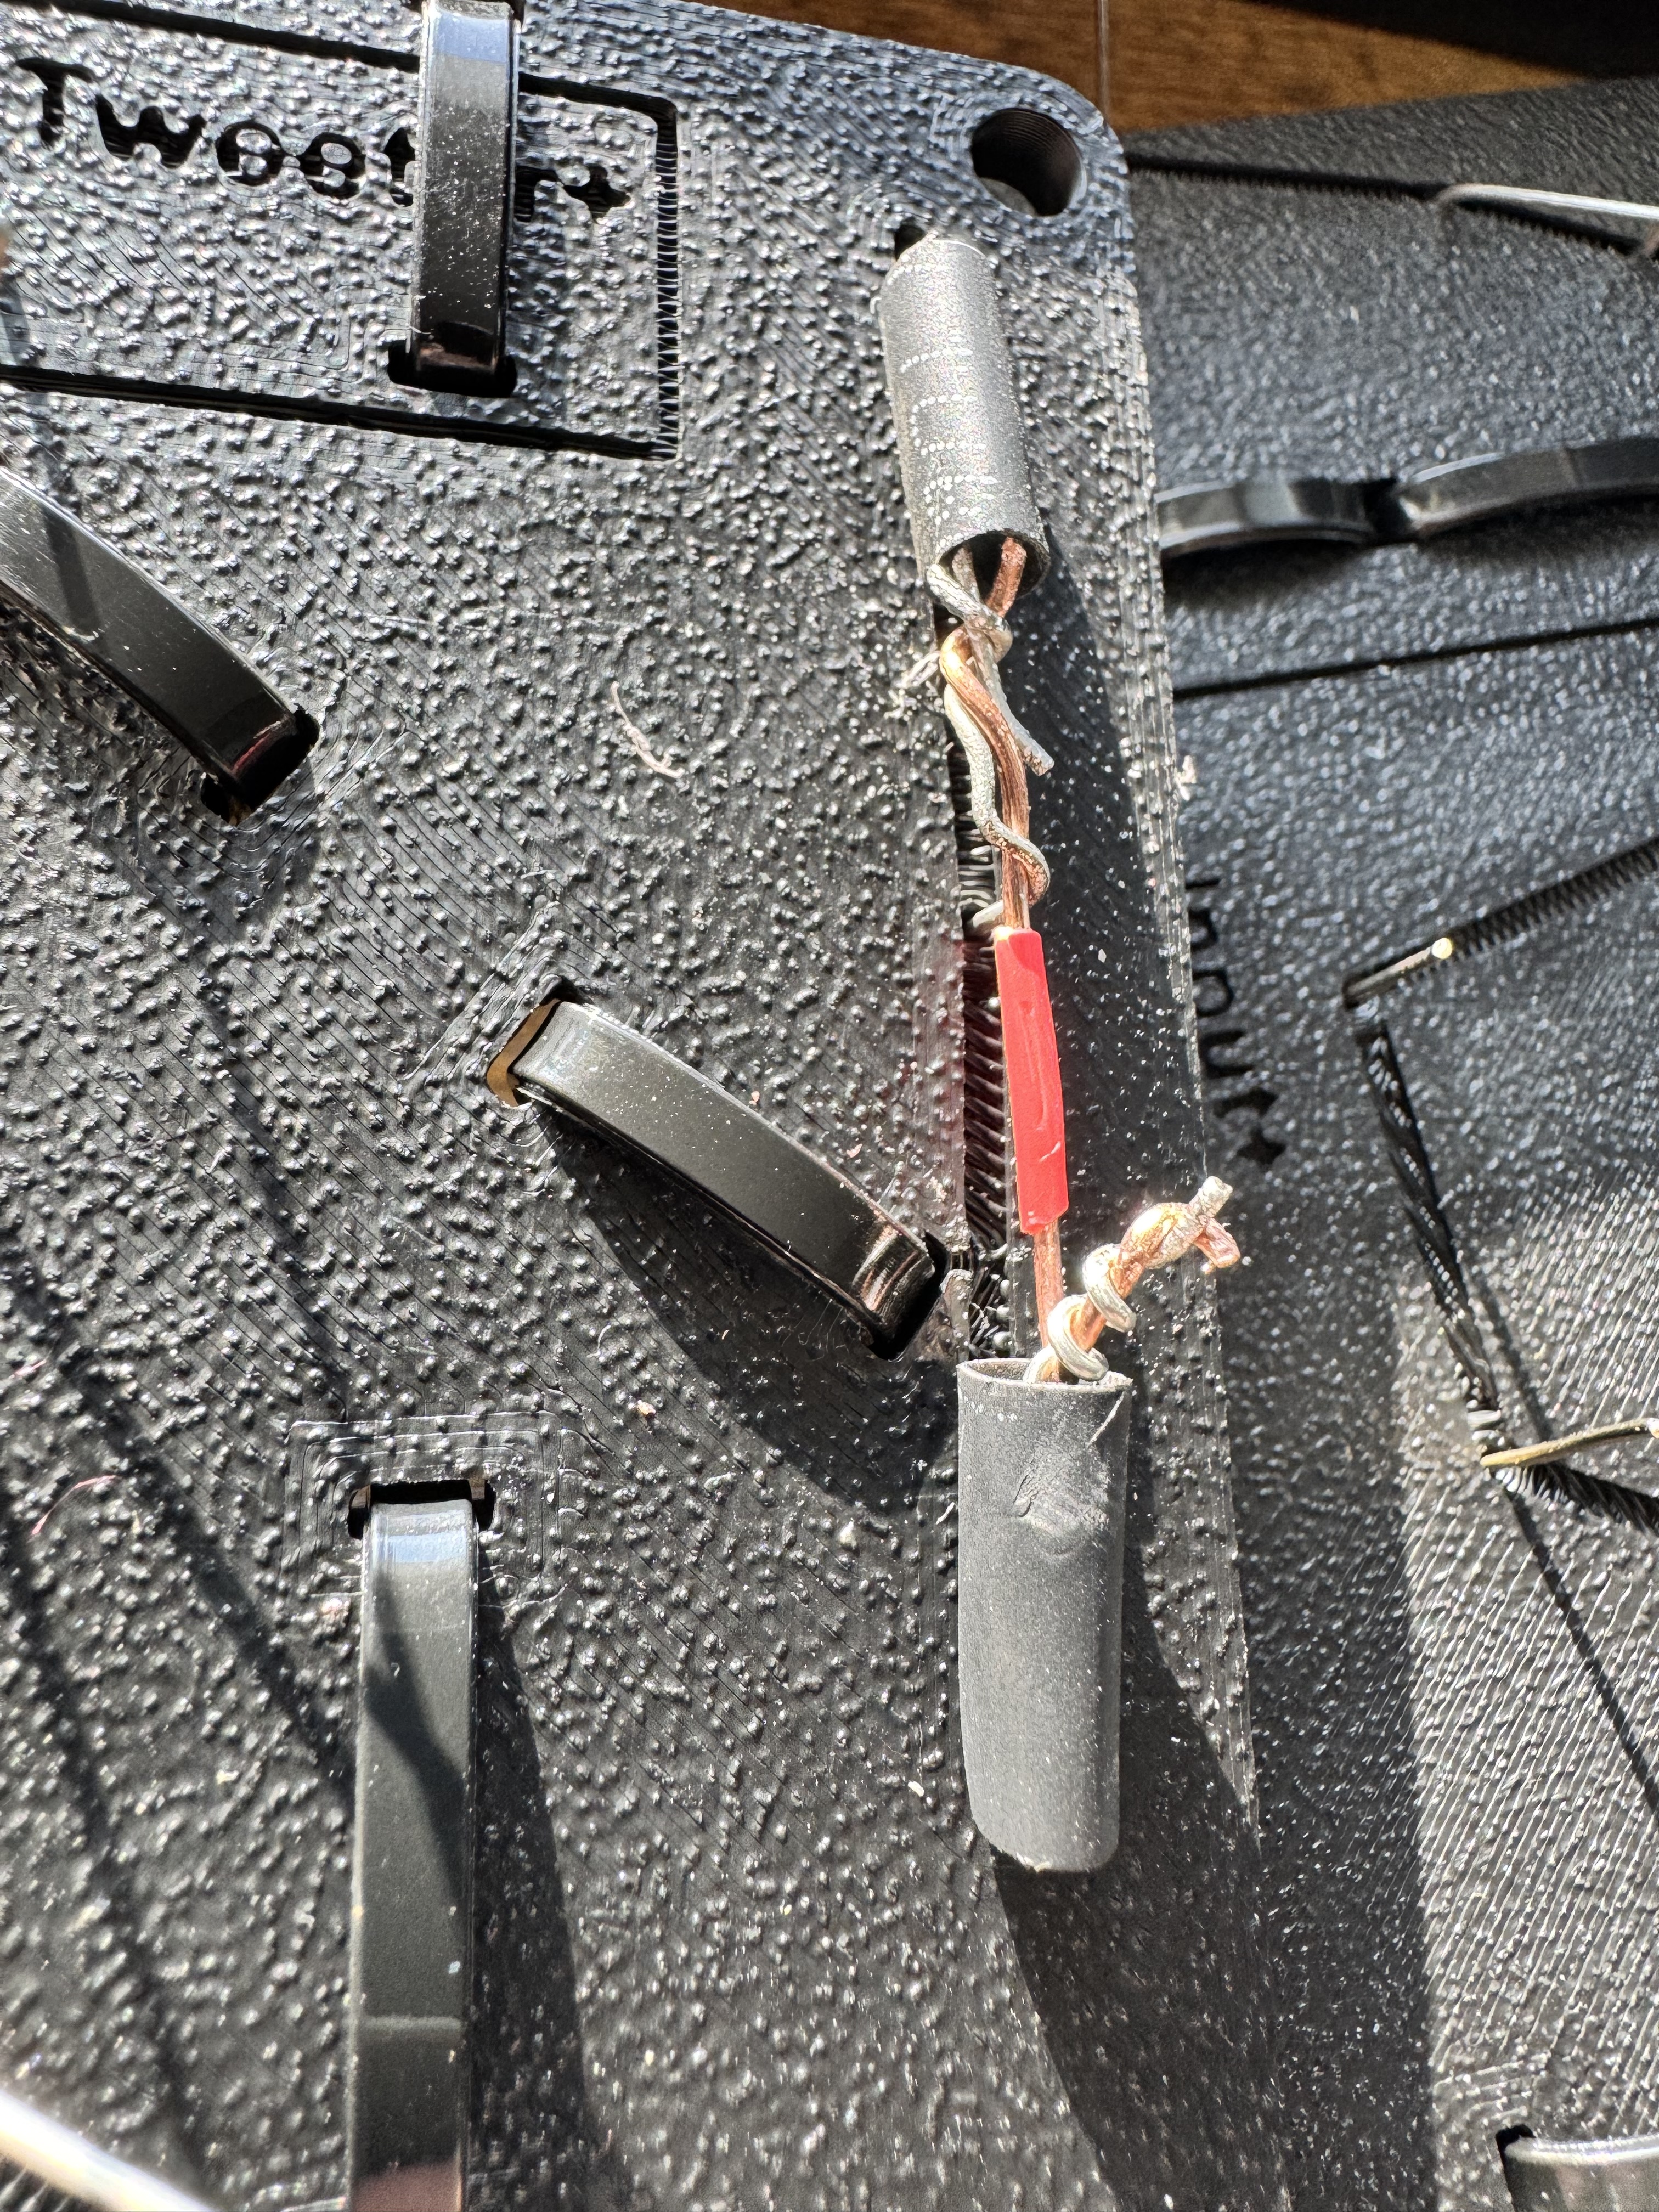
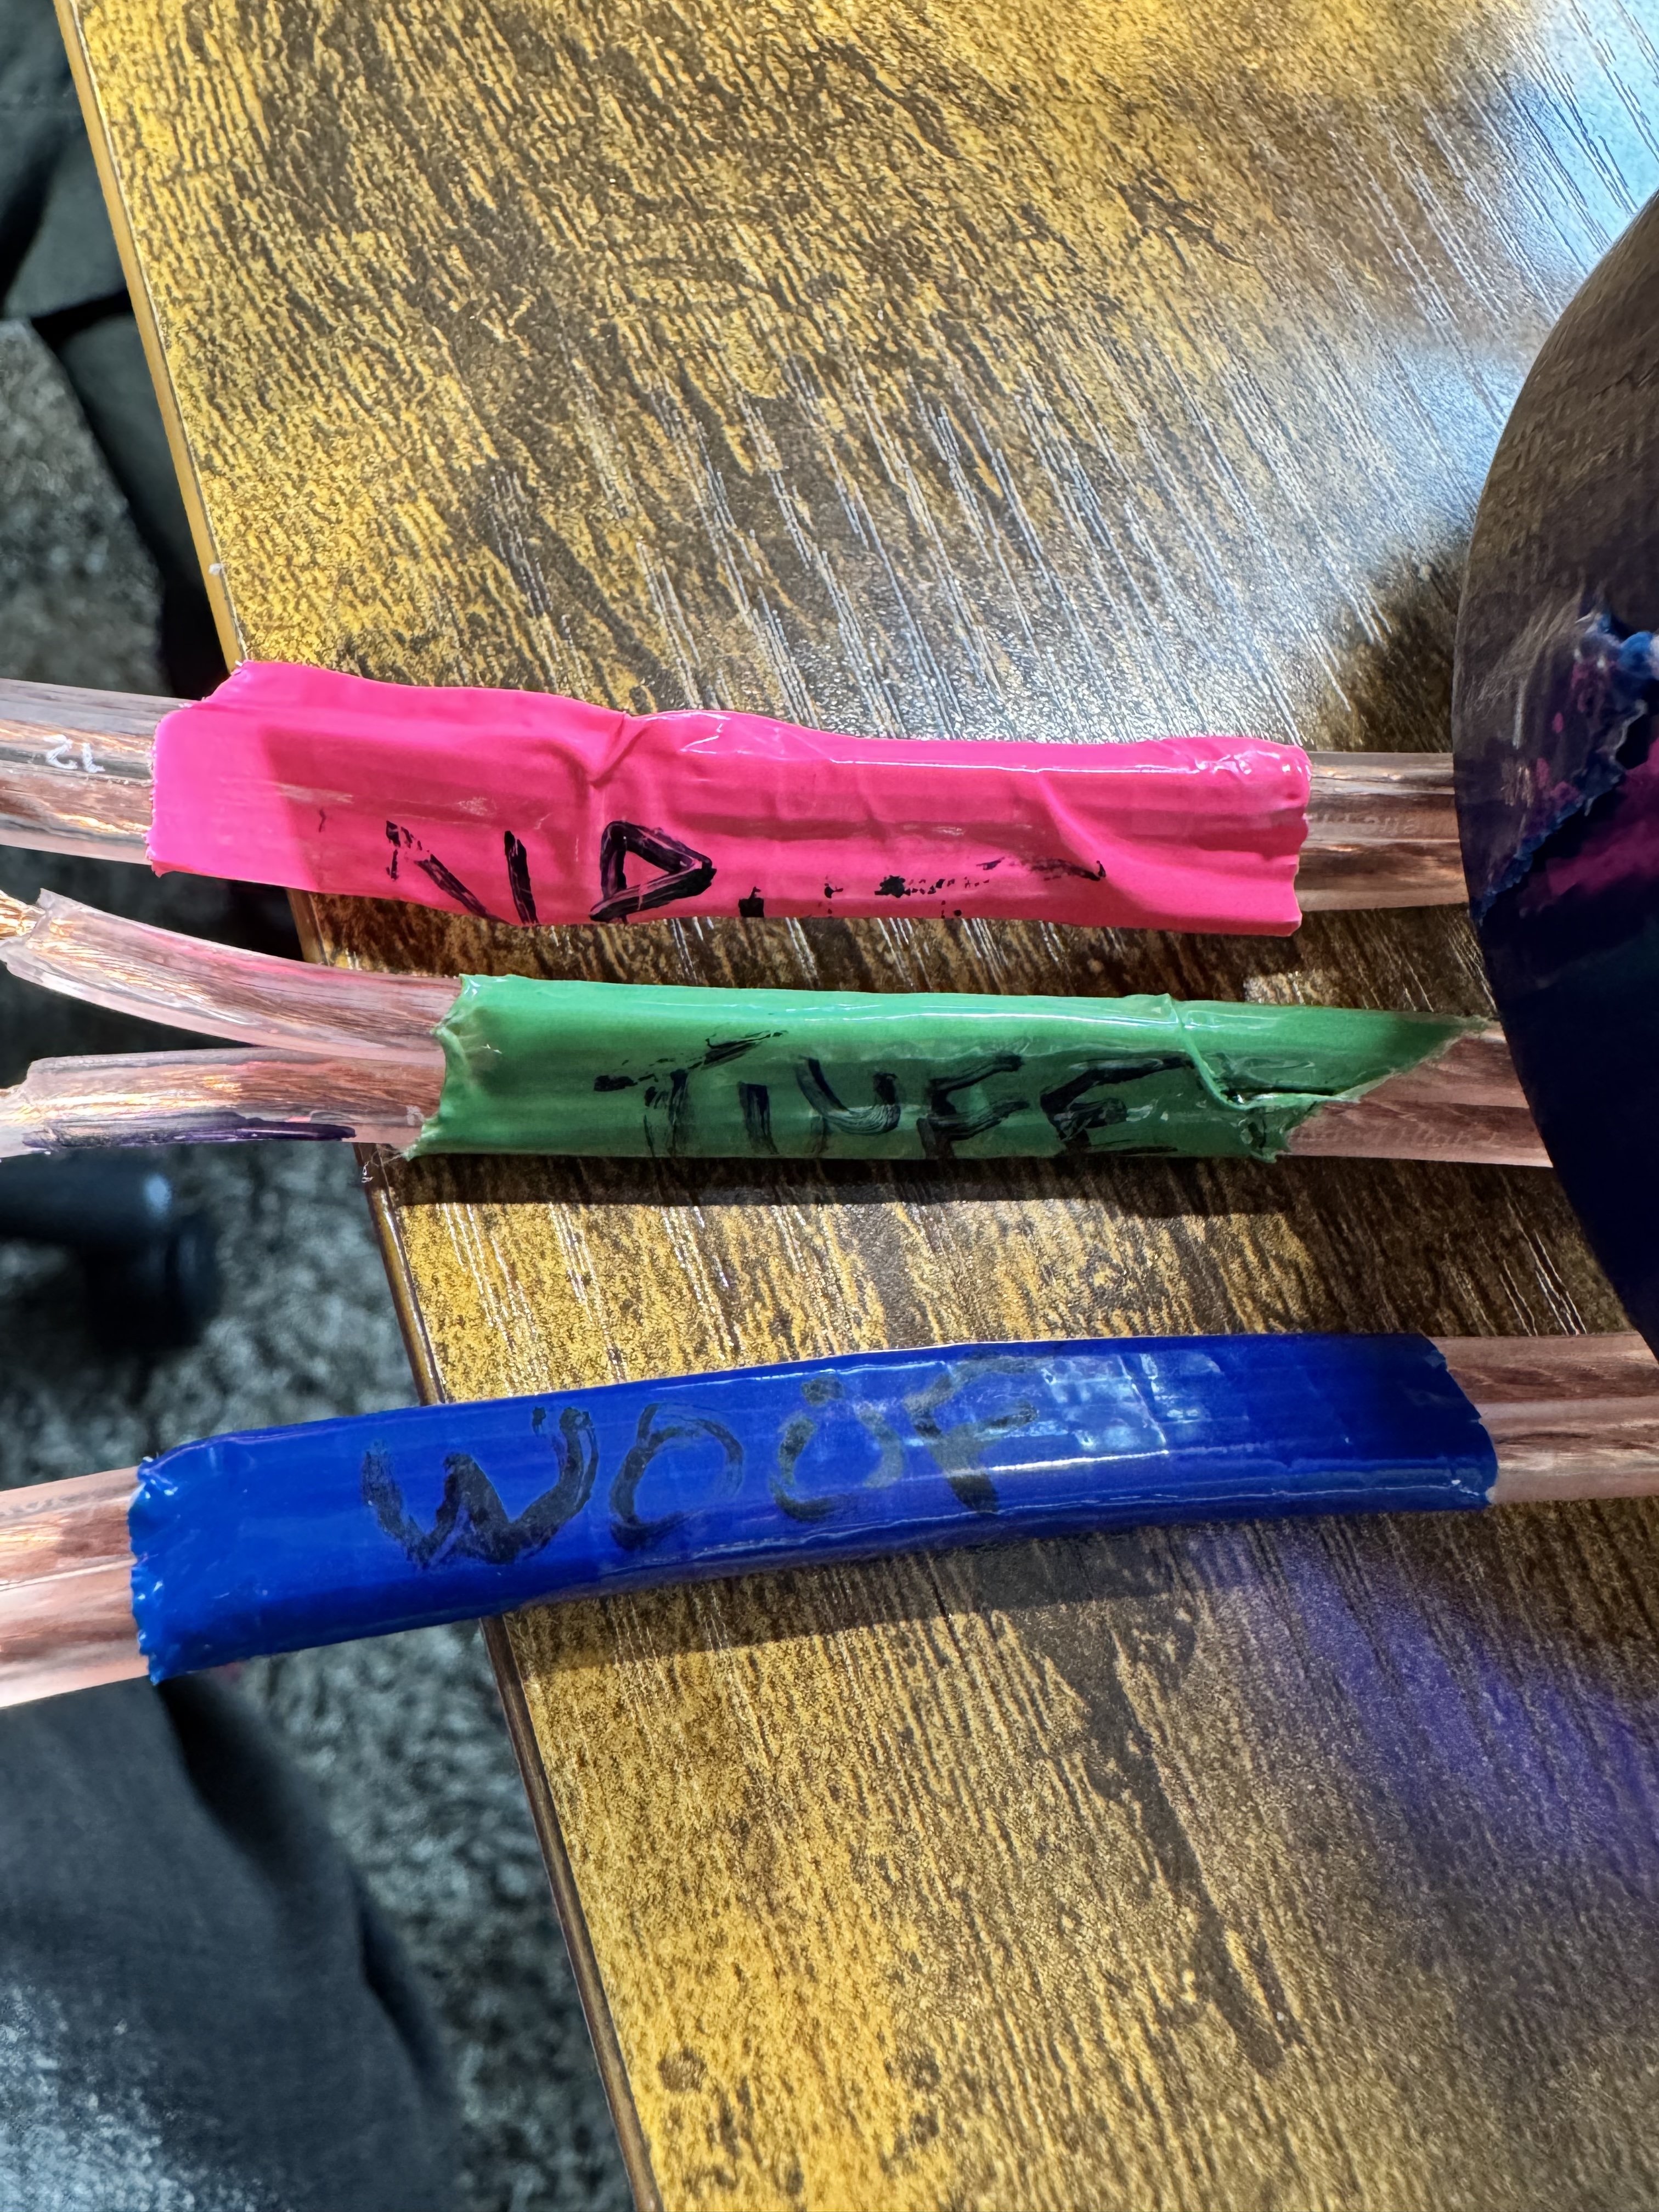
 25) I added labels for each driver and the input, marking the negative terminal with a black mark to ensure everything will be wired with the correct polarity.
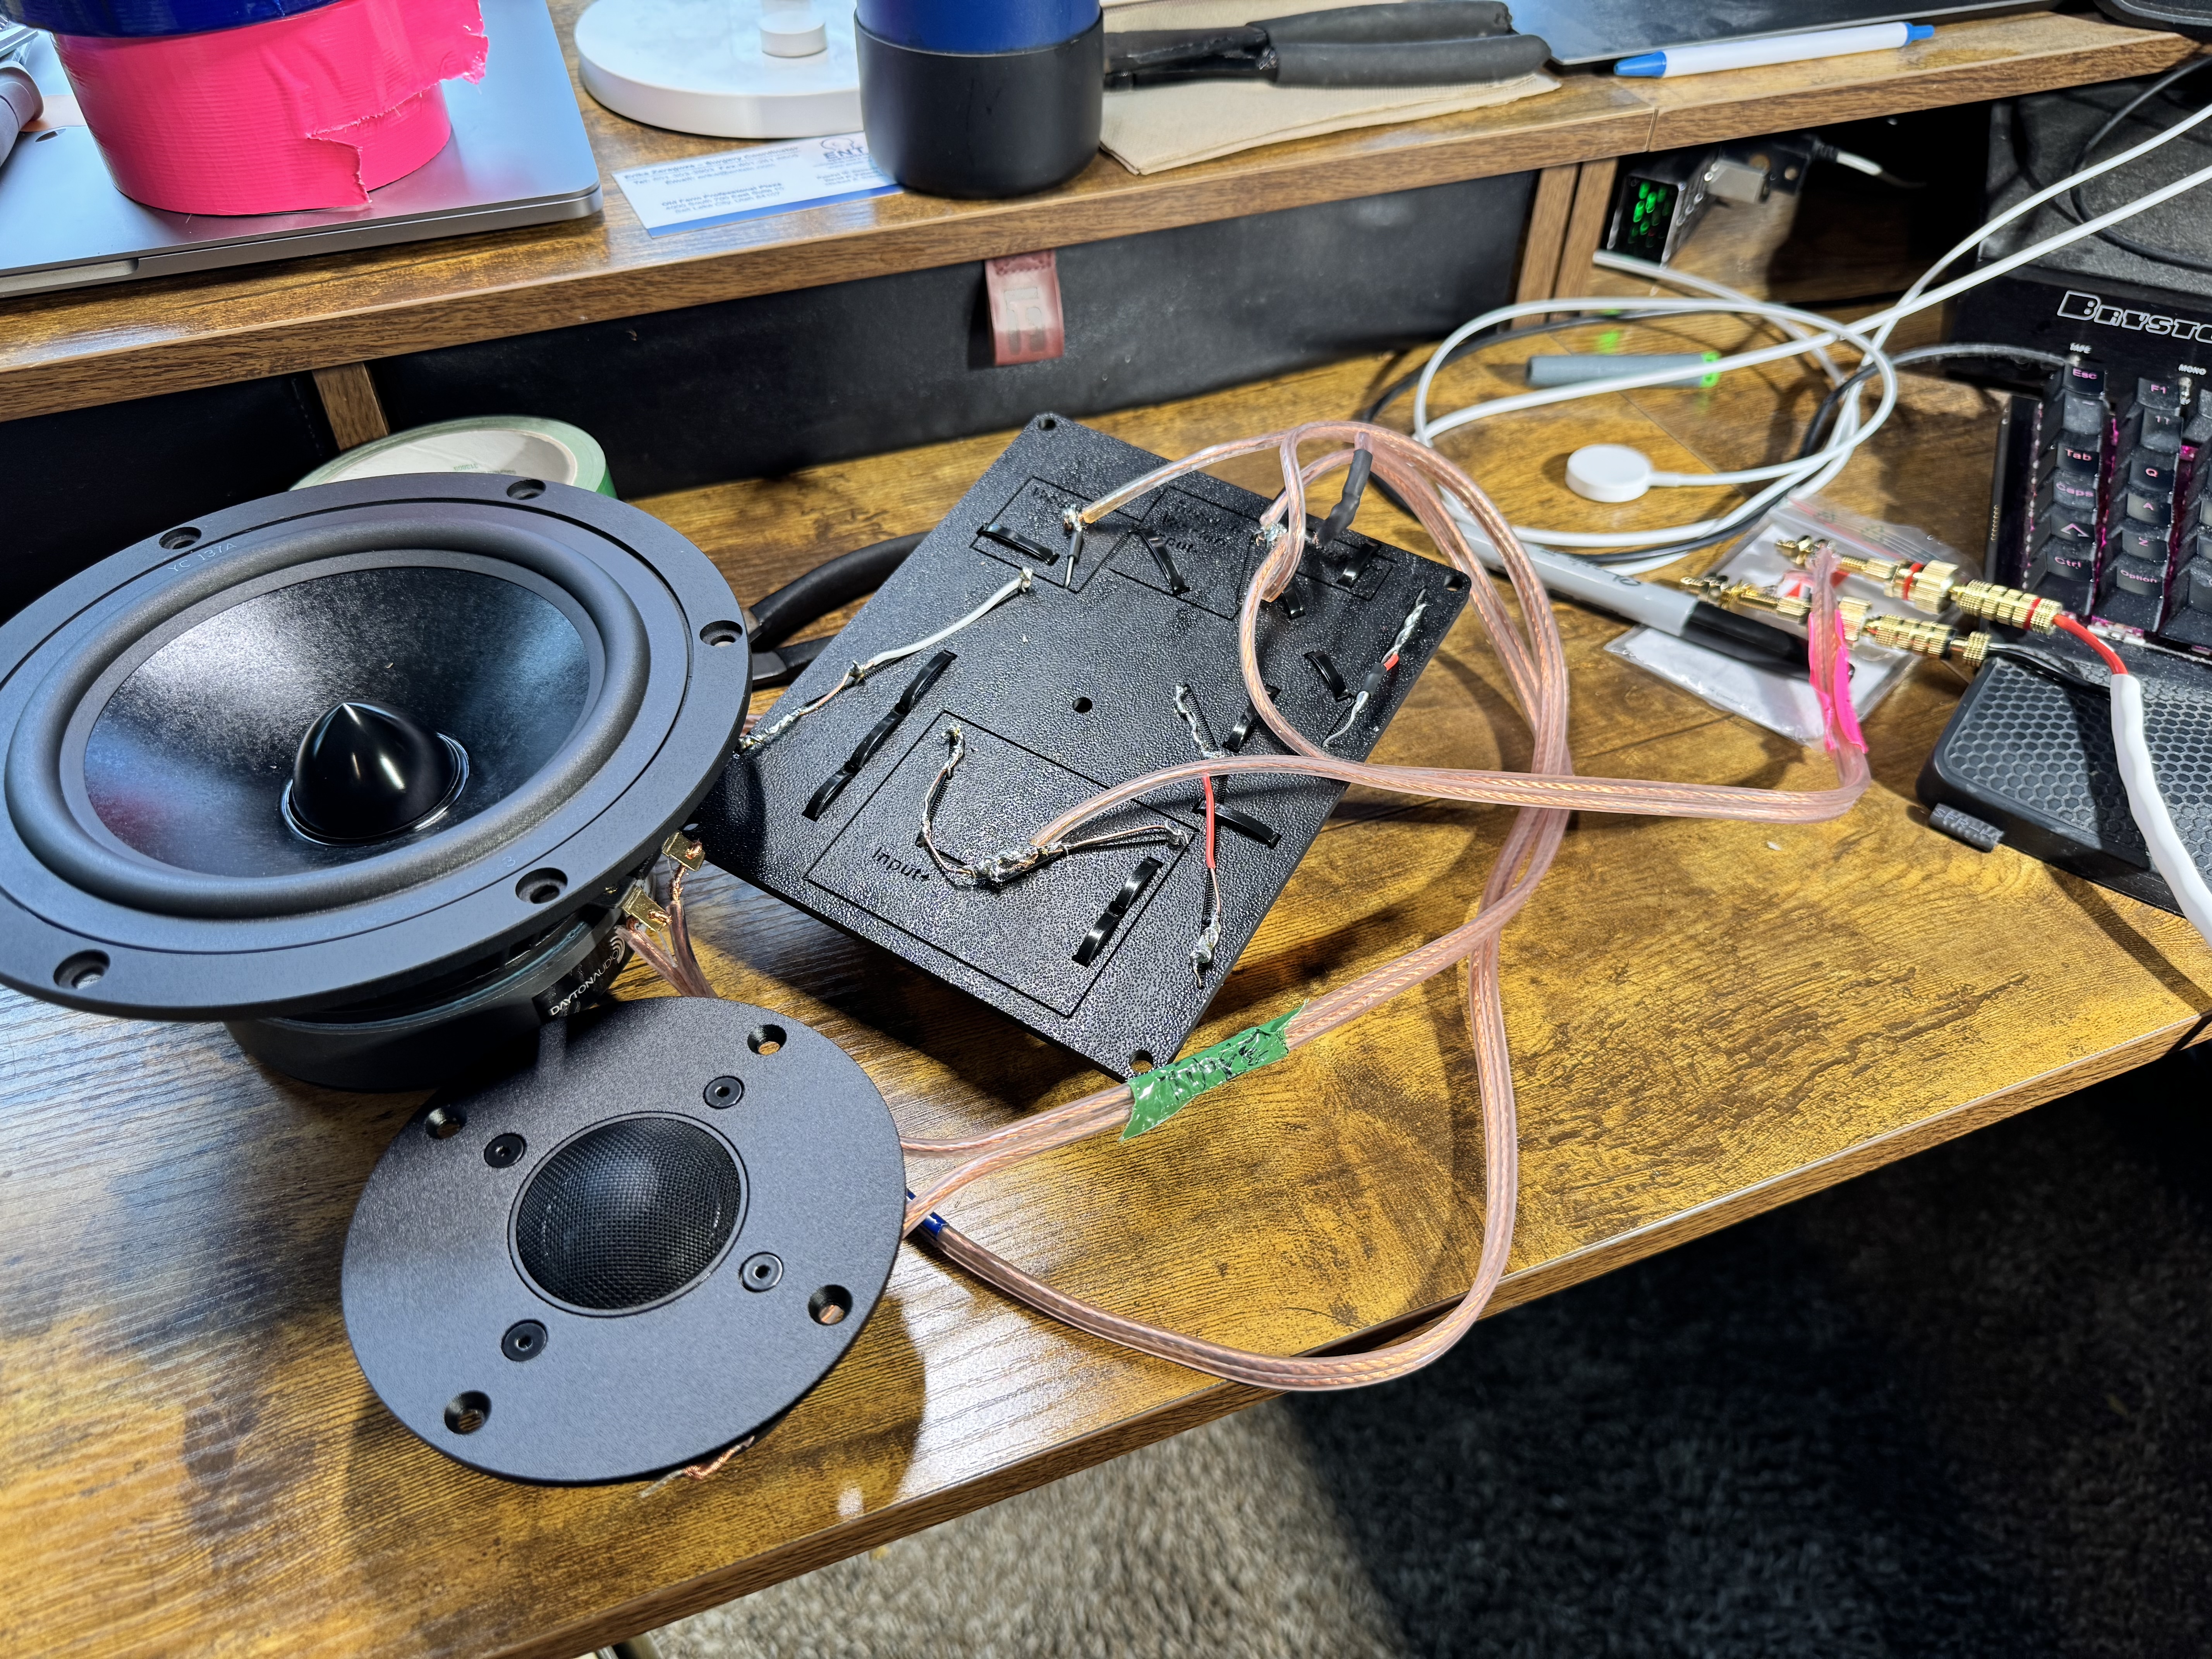
 26) After finishing the crossovers I briefly hooked up the drivers to ensure everything worked. I suggested Hugh add this step to his build guide as it gets increasingly hard to fix as the speaker gets assembled.
 27) Video of the crossover/speaker test. I used a Topping T30 integrated amp with streaming from a Google Chromecast as a source.
1.00 28) Here's the large enclosure with the supports fresh from a print (still inside my friend's X1C).
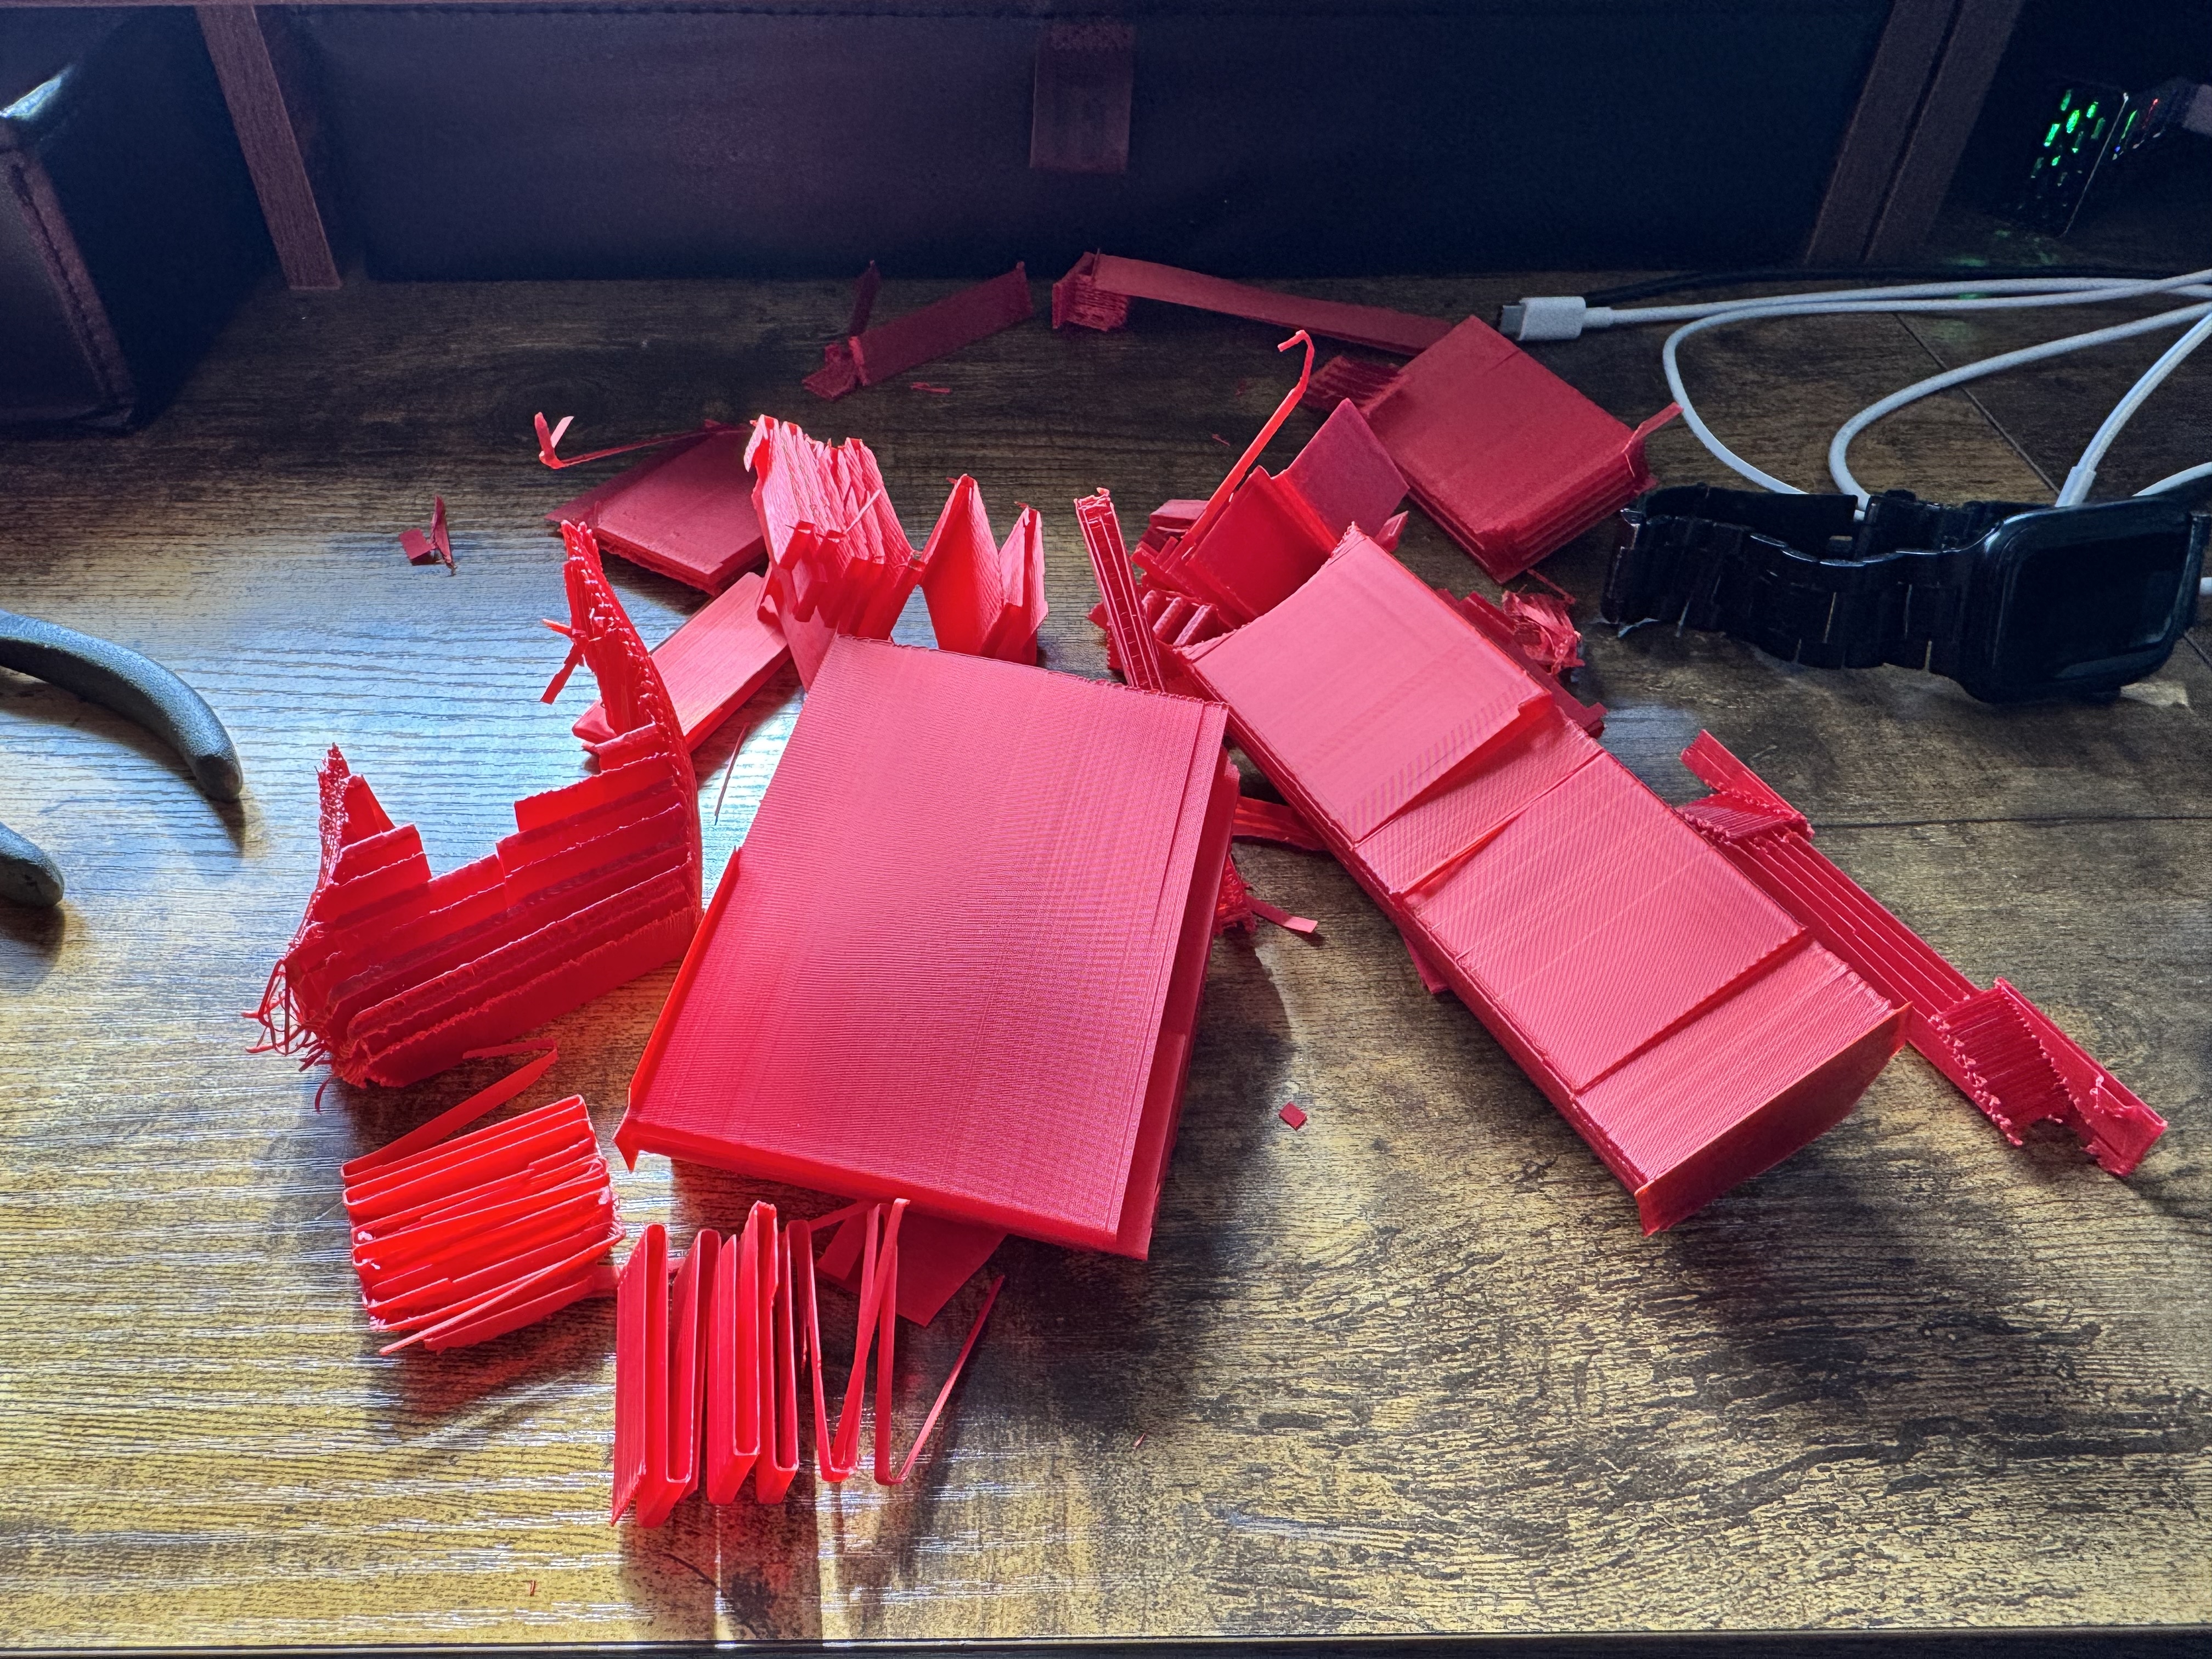
 29) Removing supports from the large enclosure, here's the pile of them. This is just for 1 speaker.
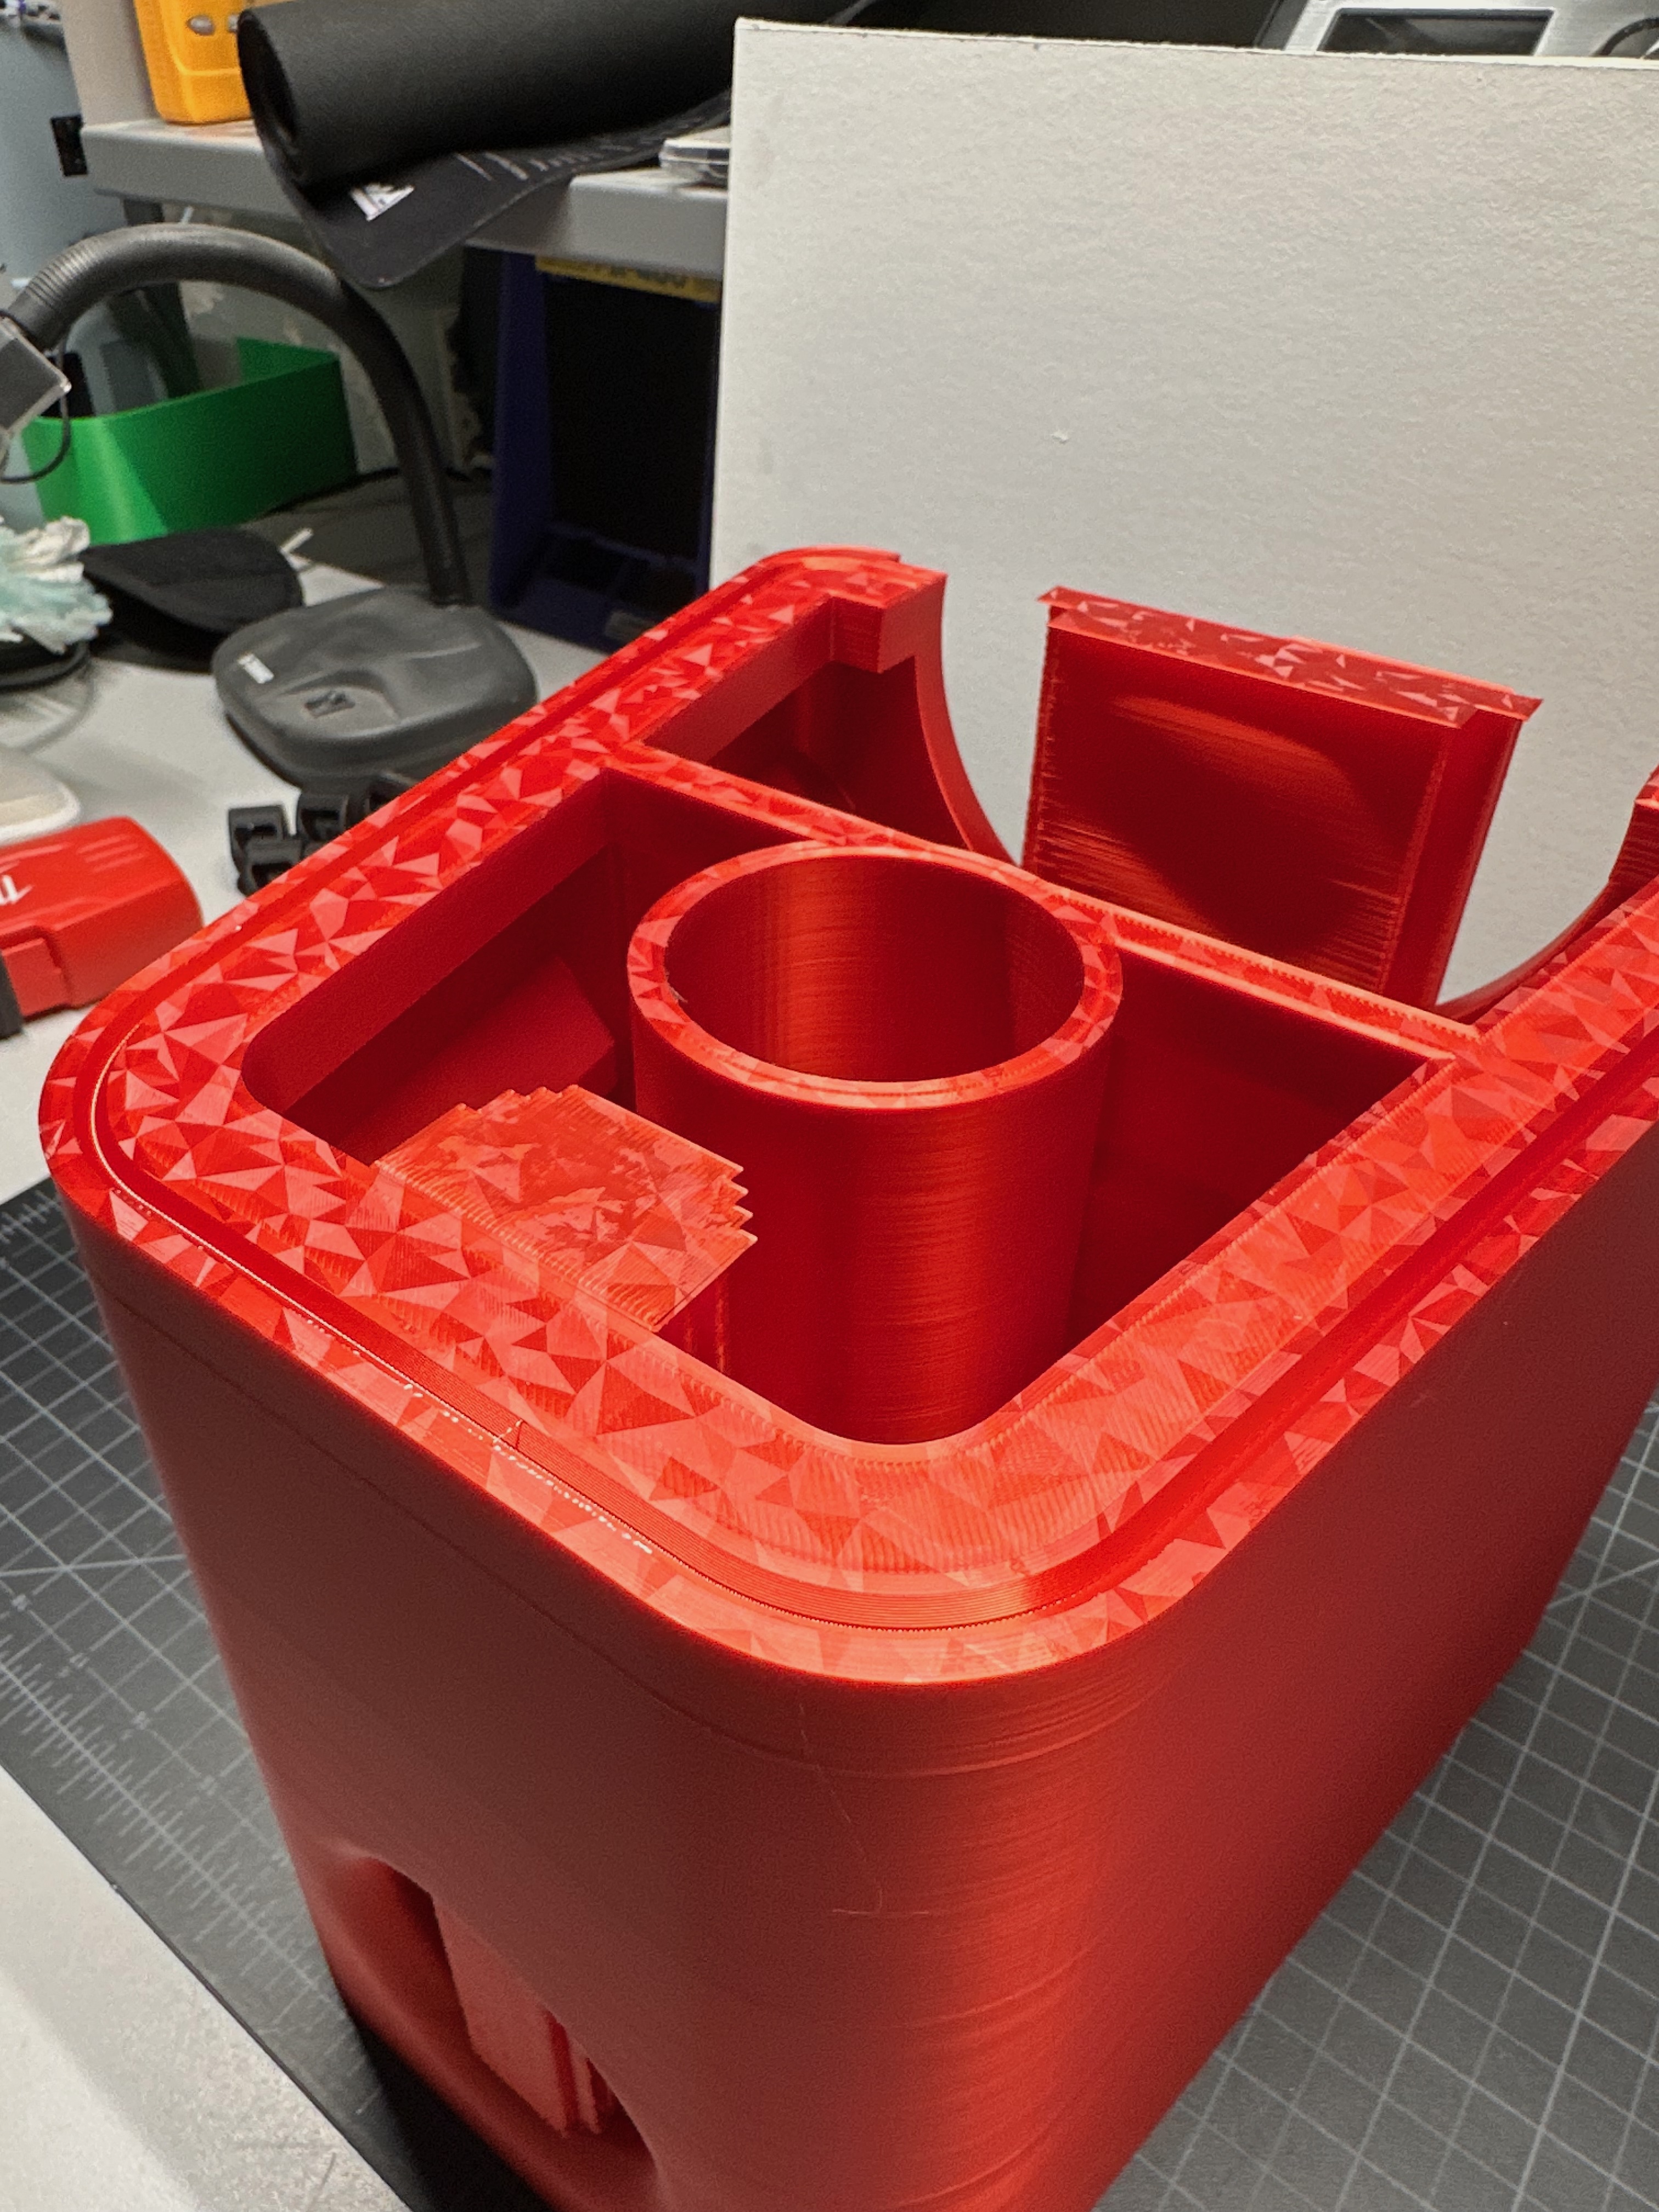
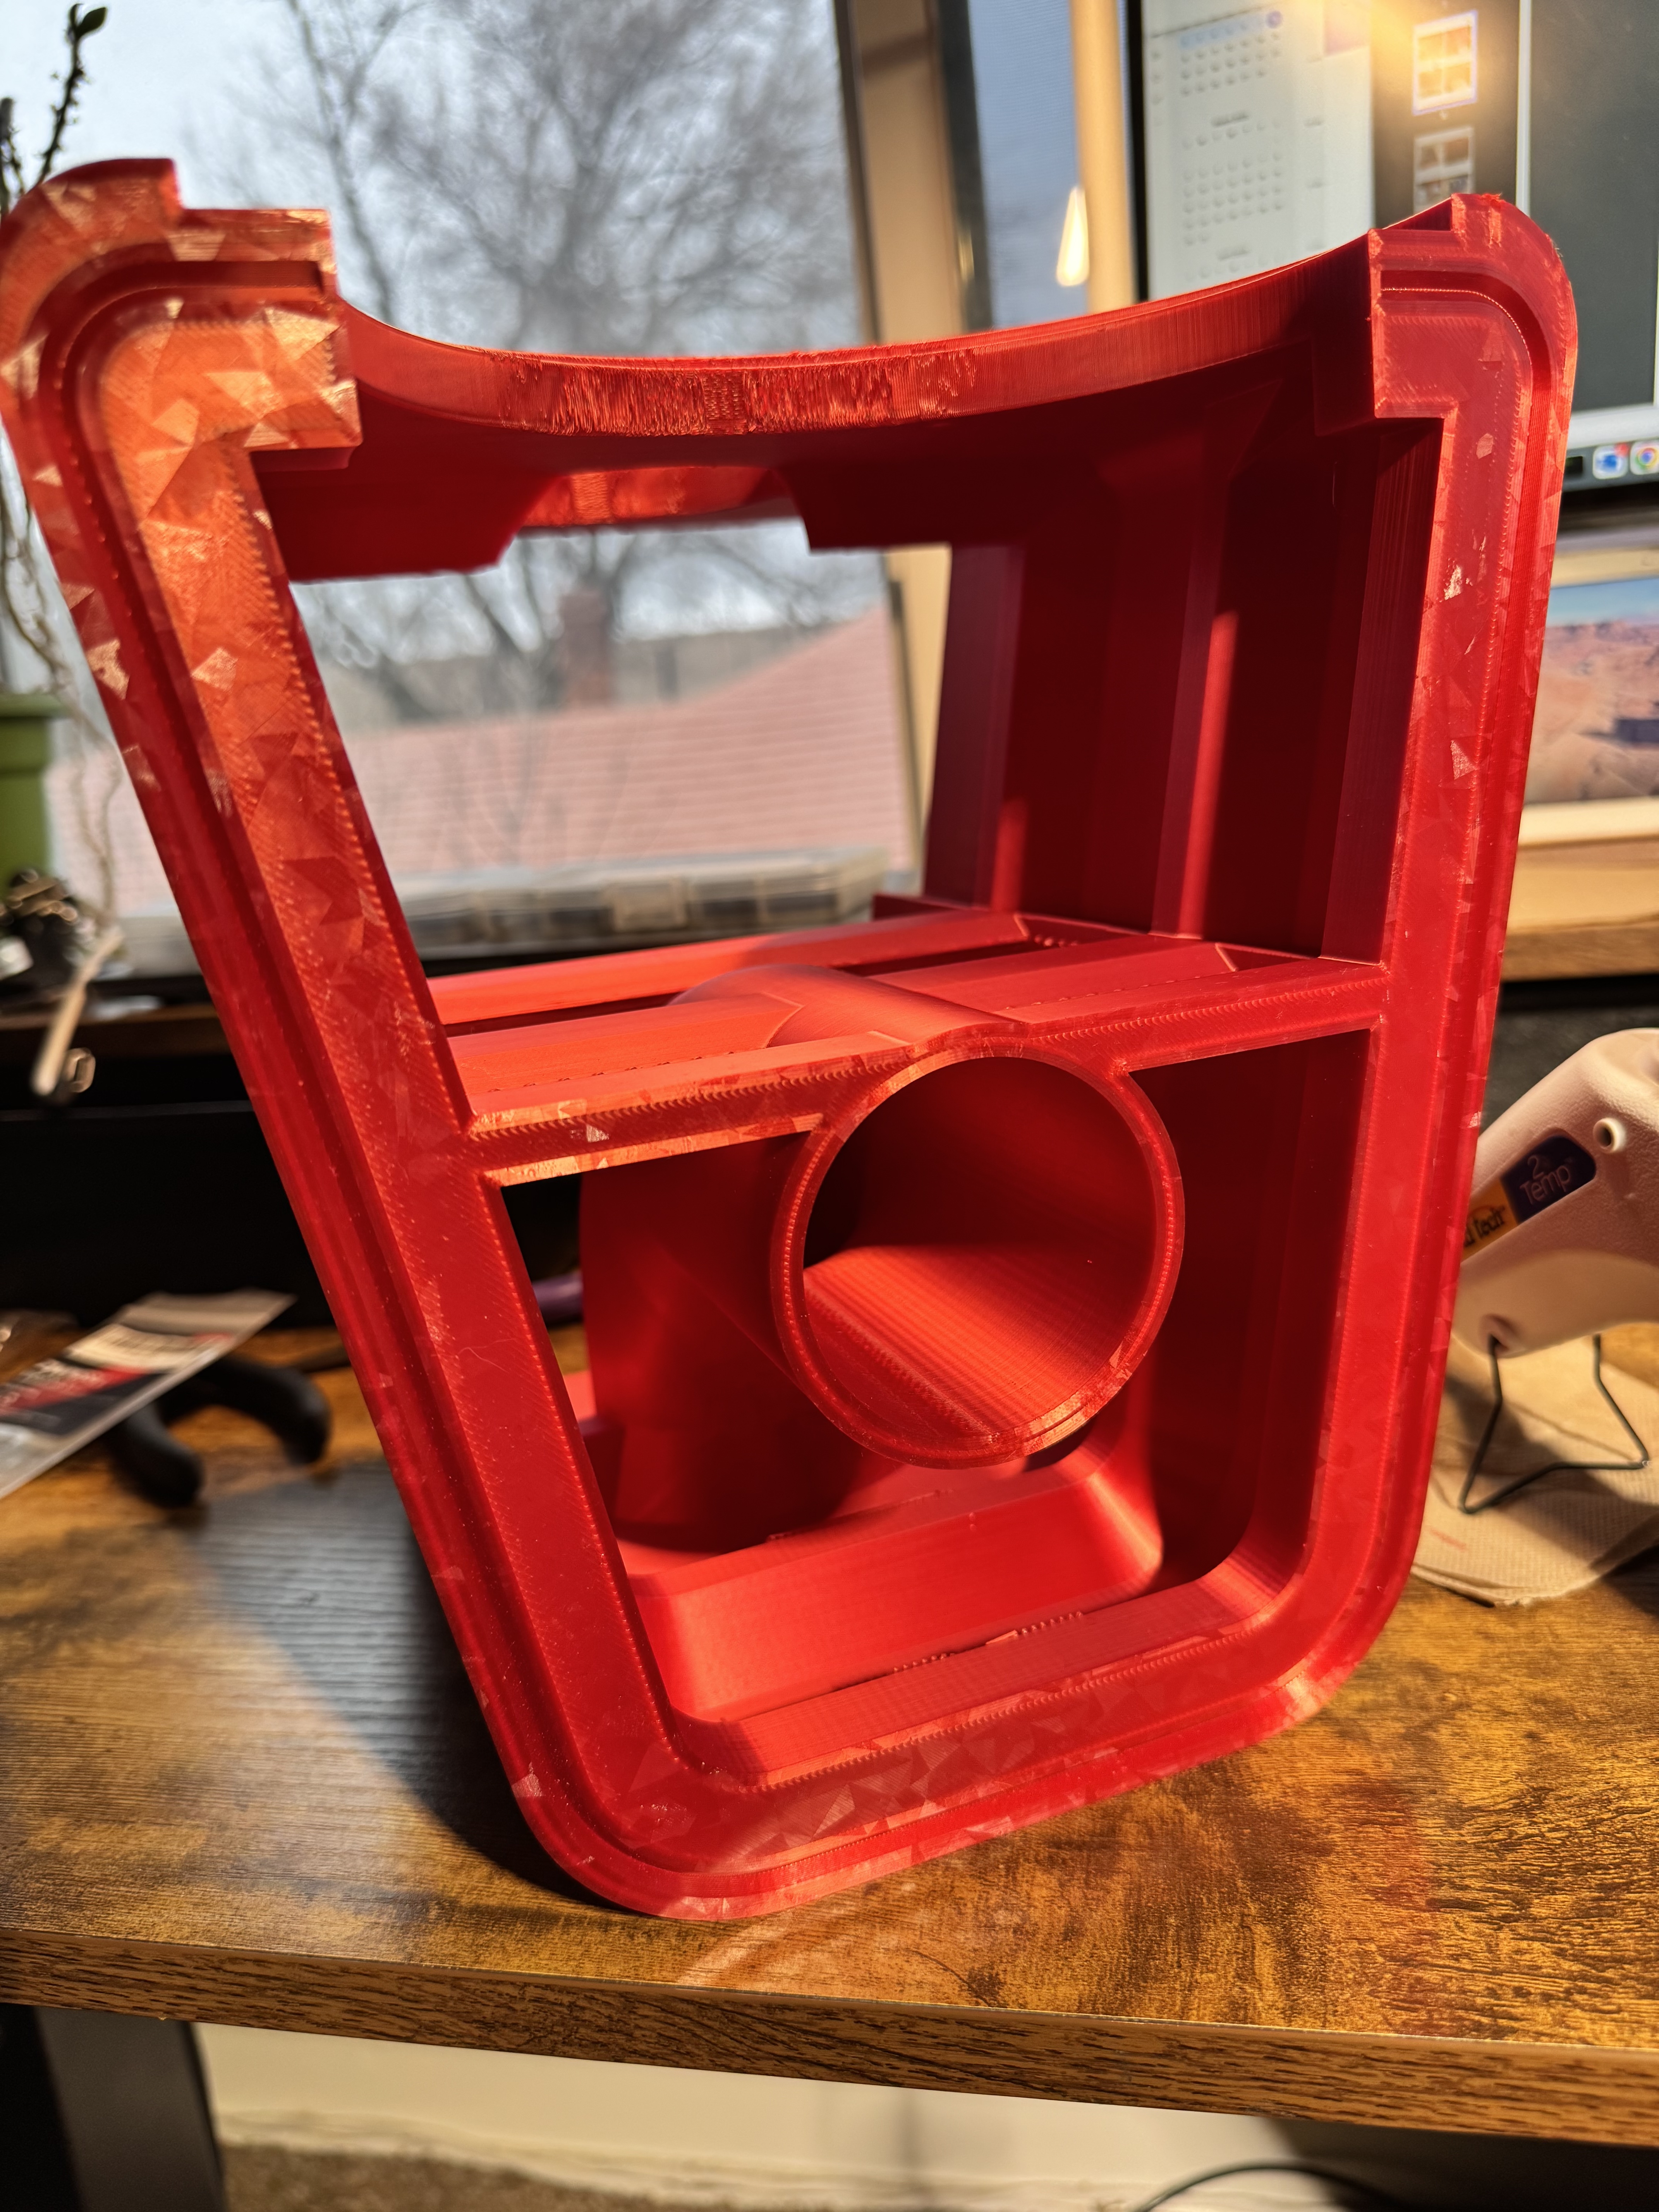
 30) Enclosure with the supports removed. I sanded the port around its opening with some 220 grit, still looks a little rough.
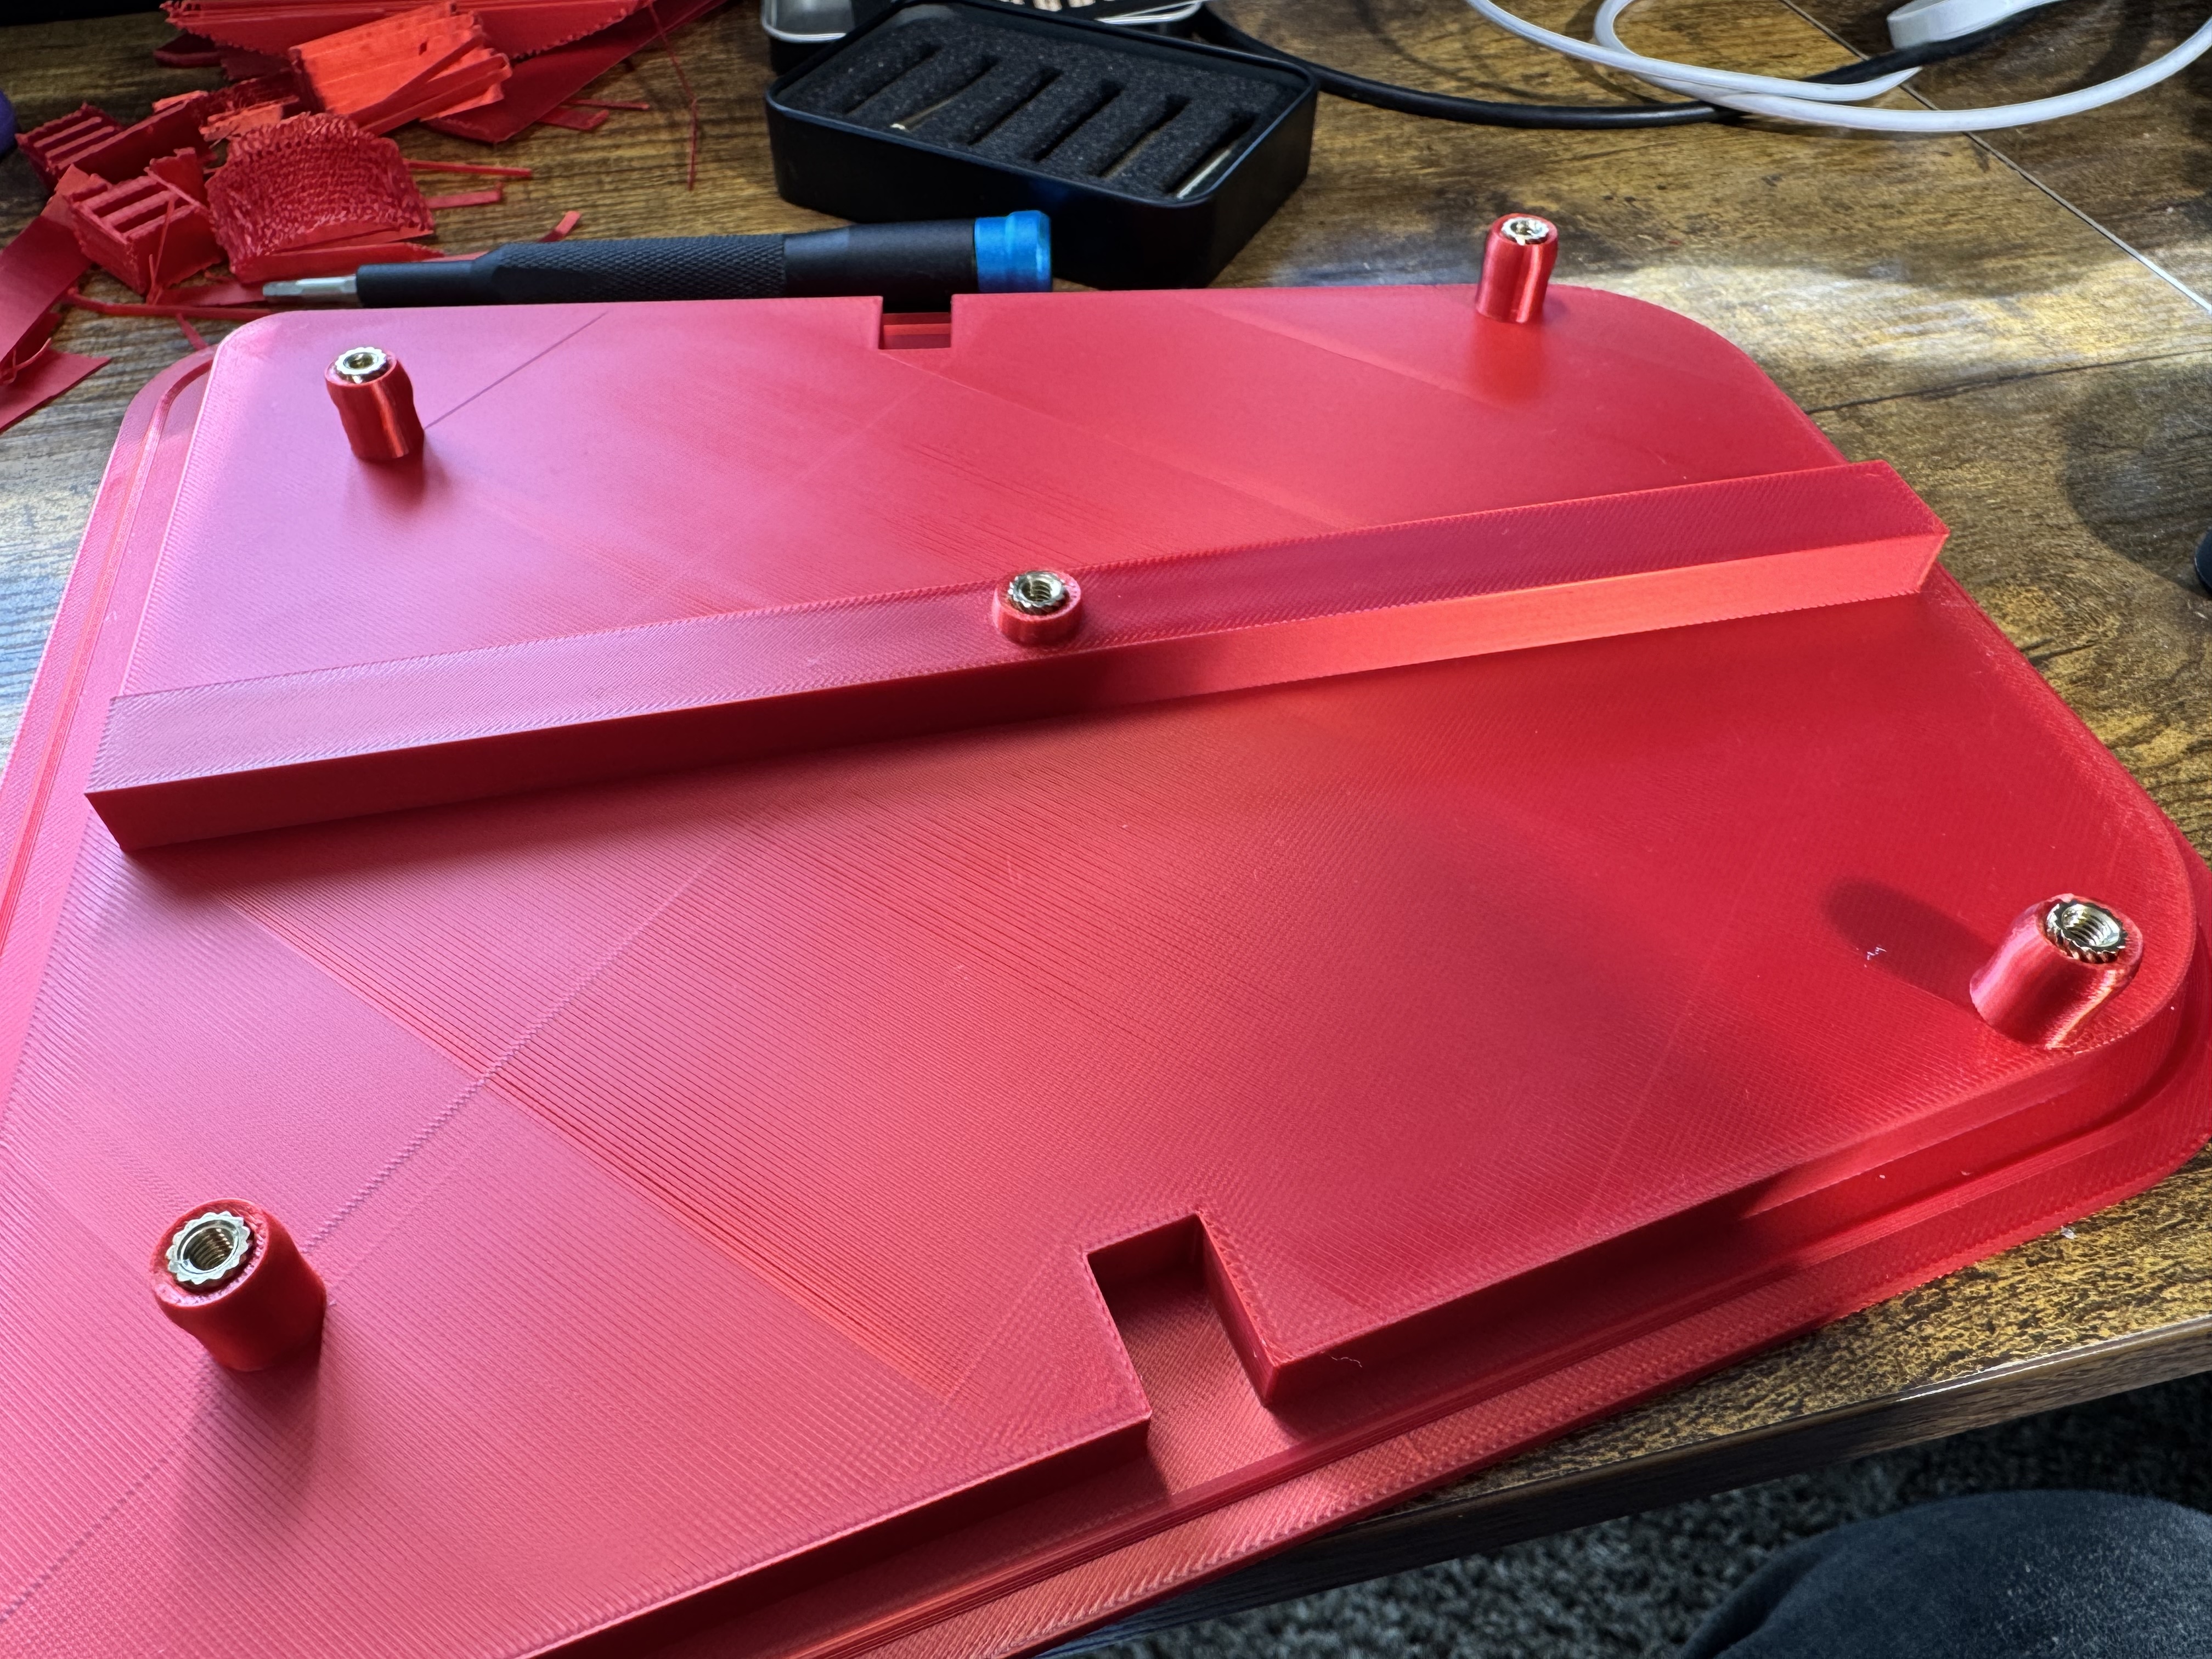
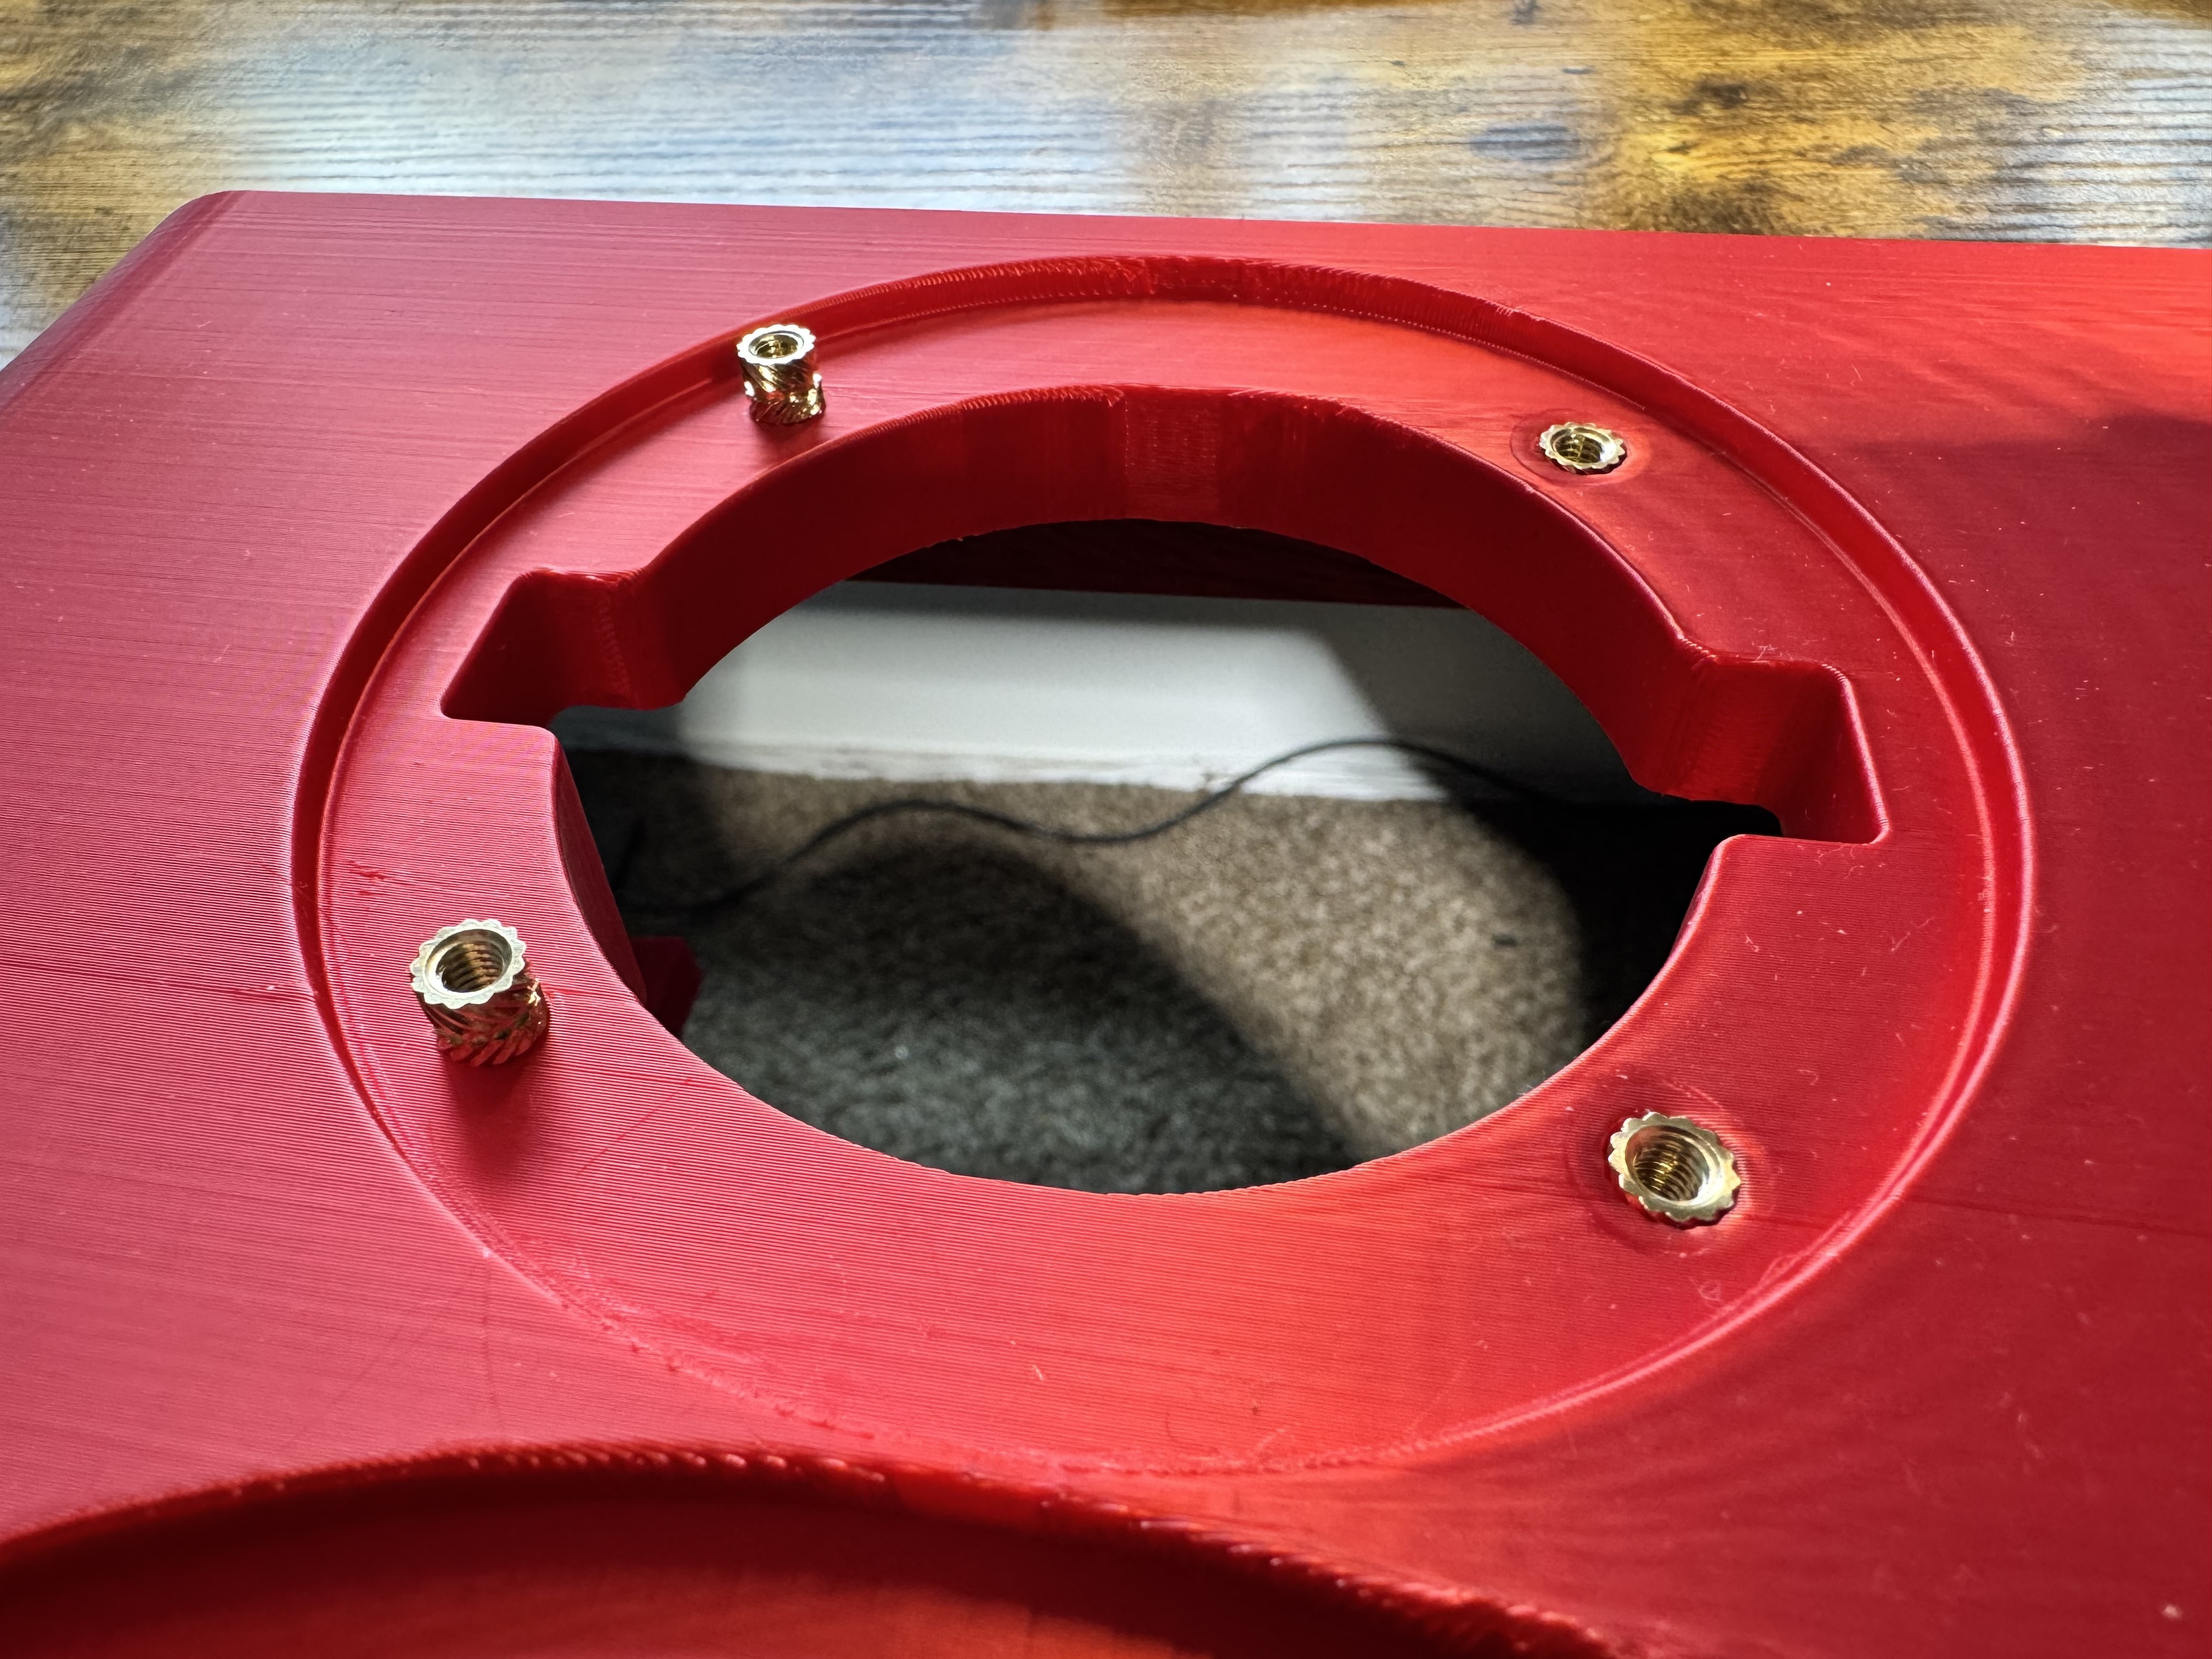
 31) Next up was adding the threaded inserts. I used these heat set insert tools on my soldering iron. I'd never done this before so I practiced with a couple on my "smooth" bottom piece that I wasn't going to use. I kept raising the temperature on my soldering iron to speed up the process, ending up at 500F for the temperature setting. I used a flat piece of metal to do the final setting of the threaded insert to ensure it was straight and flat. In this pic you can see the top left one needs it's final push in to be flat with that piece of metal.
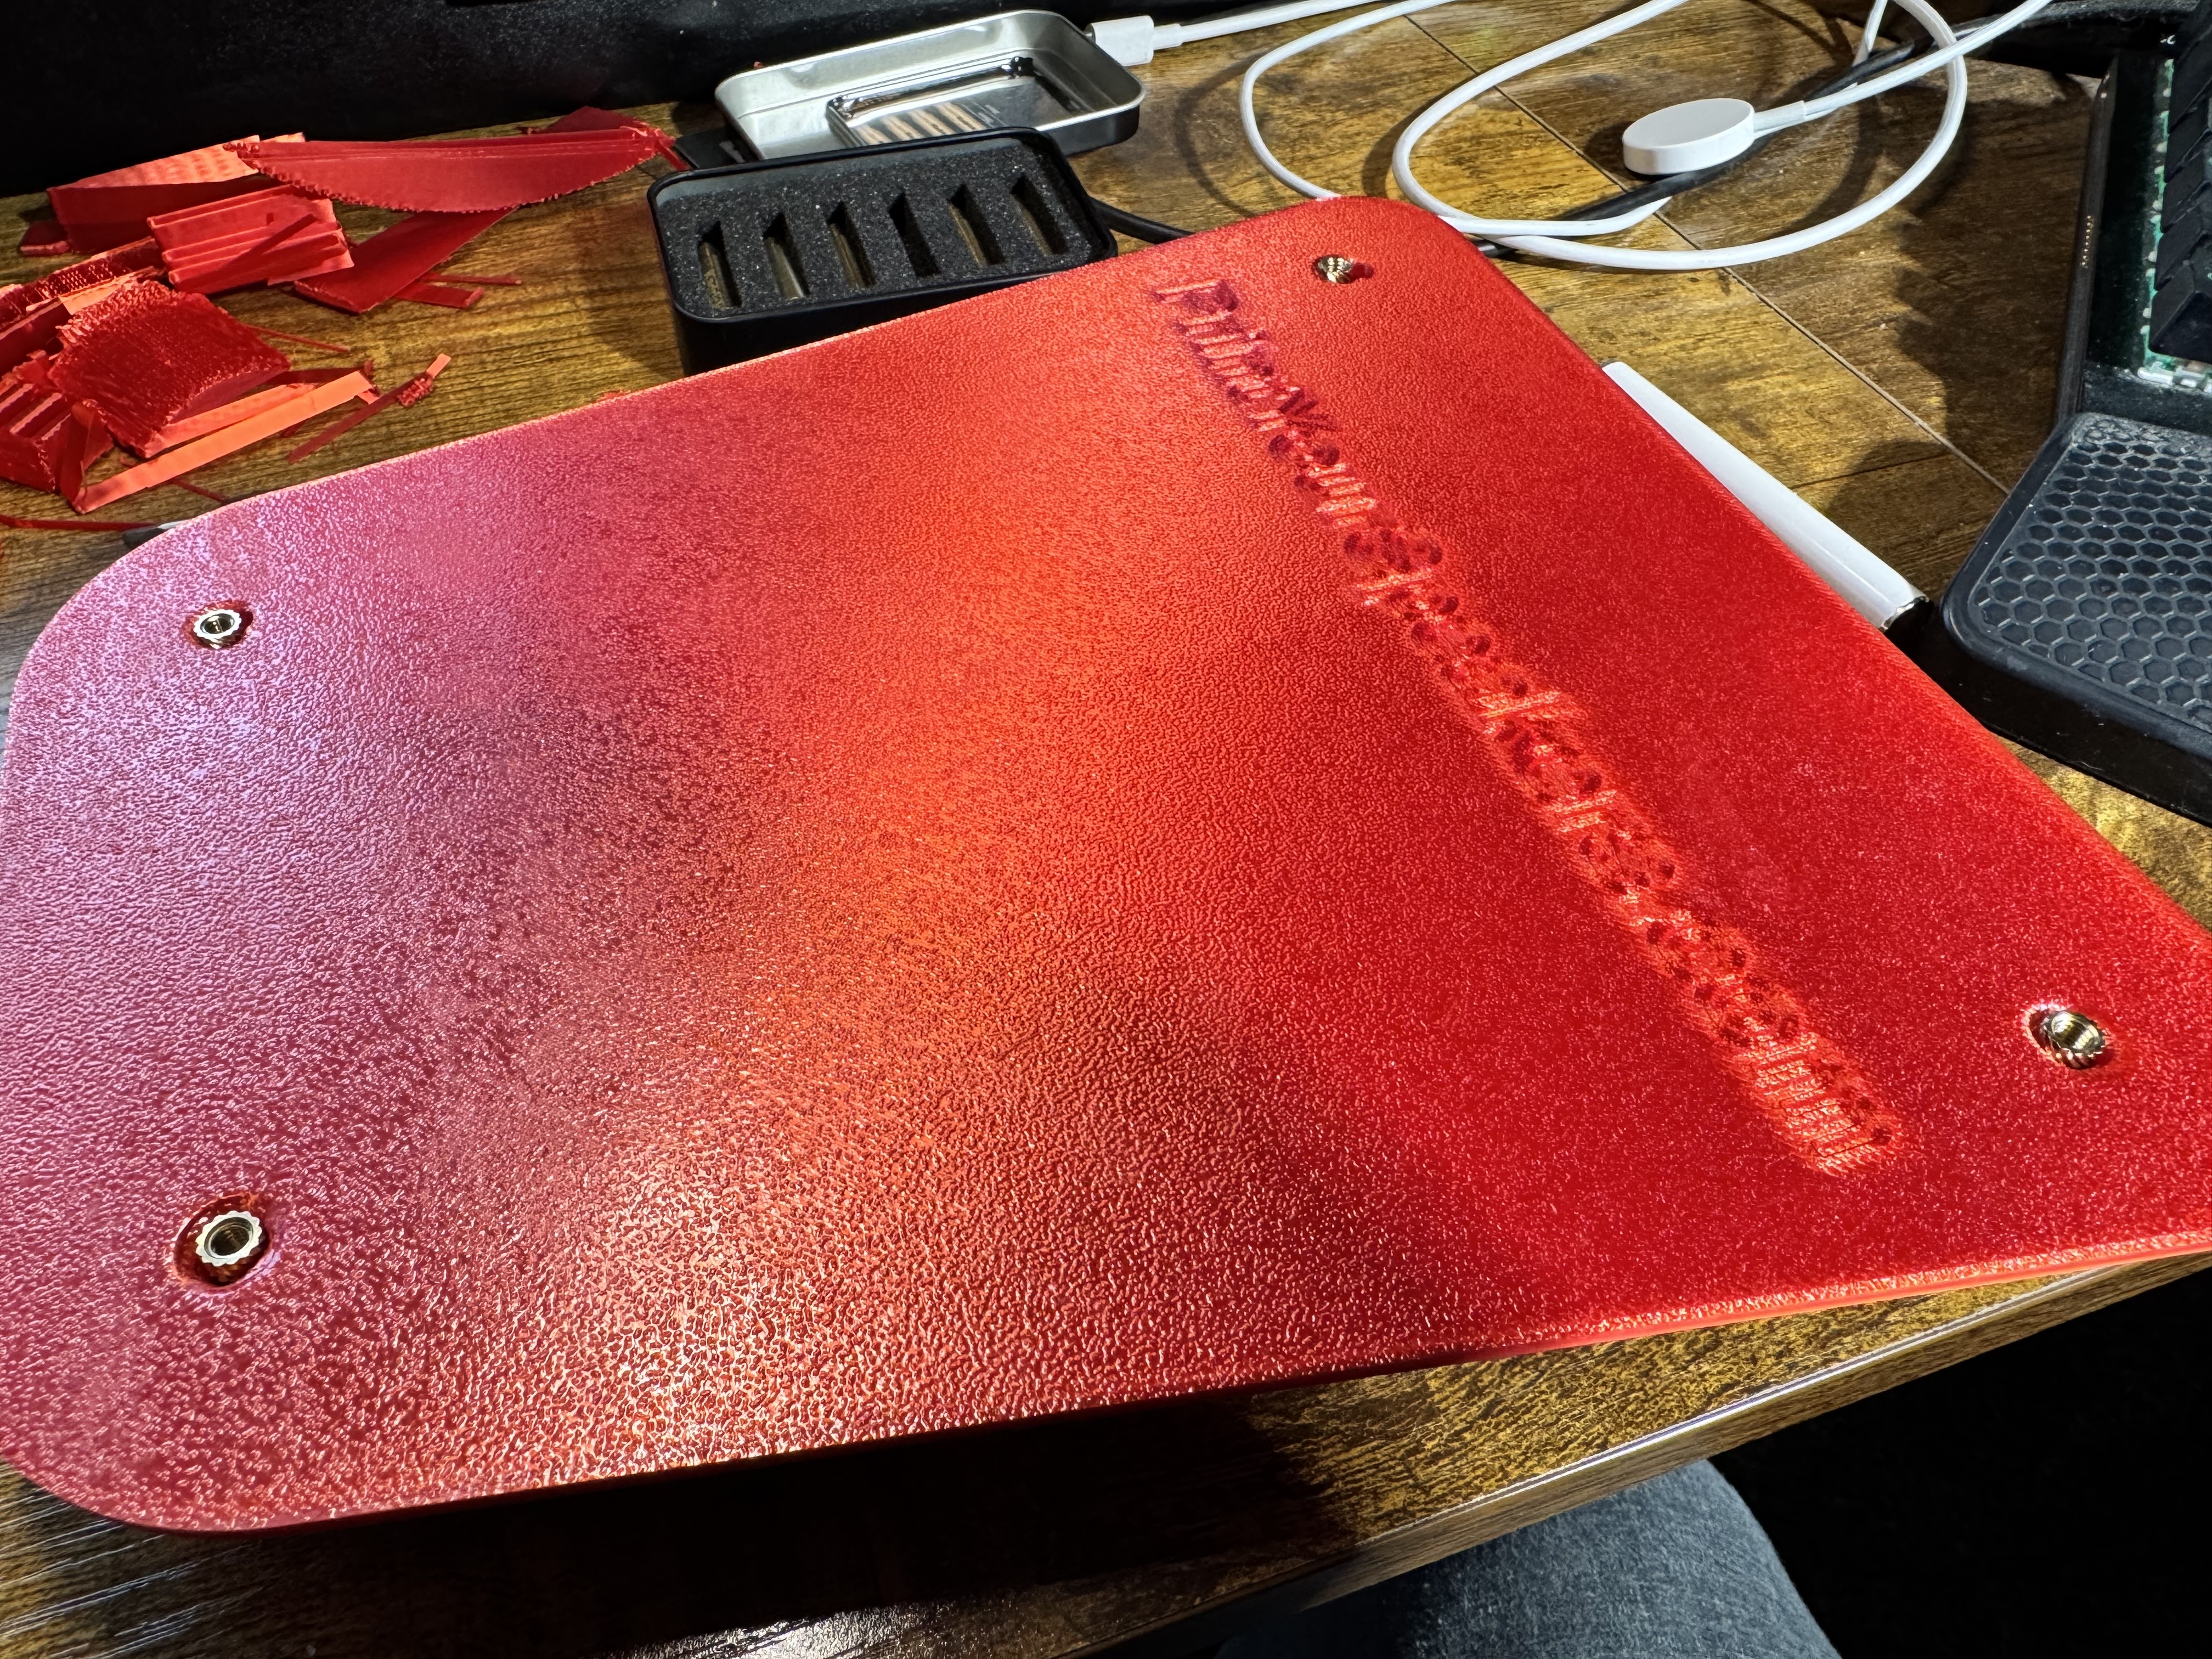
 32) Bottom of the bottom piece. This is for the feet I bought to go on the bottom of each speaker.
 33) Threaded inserts going in for the drivers.
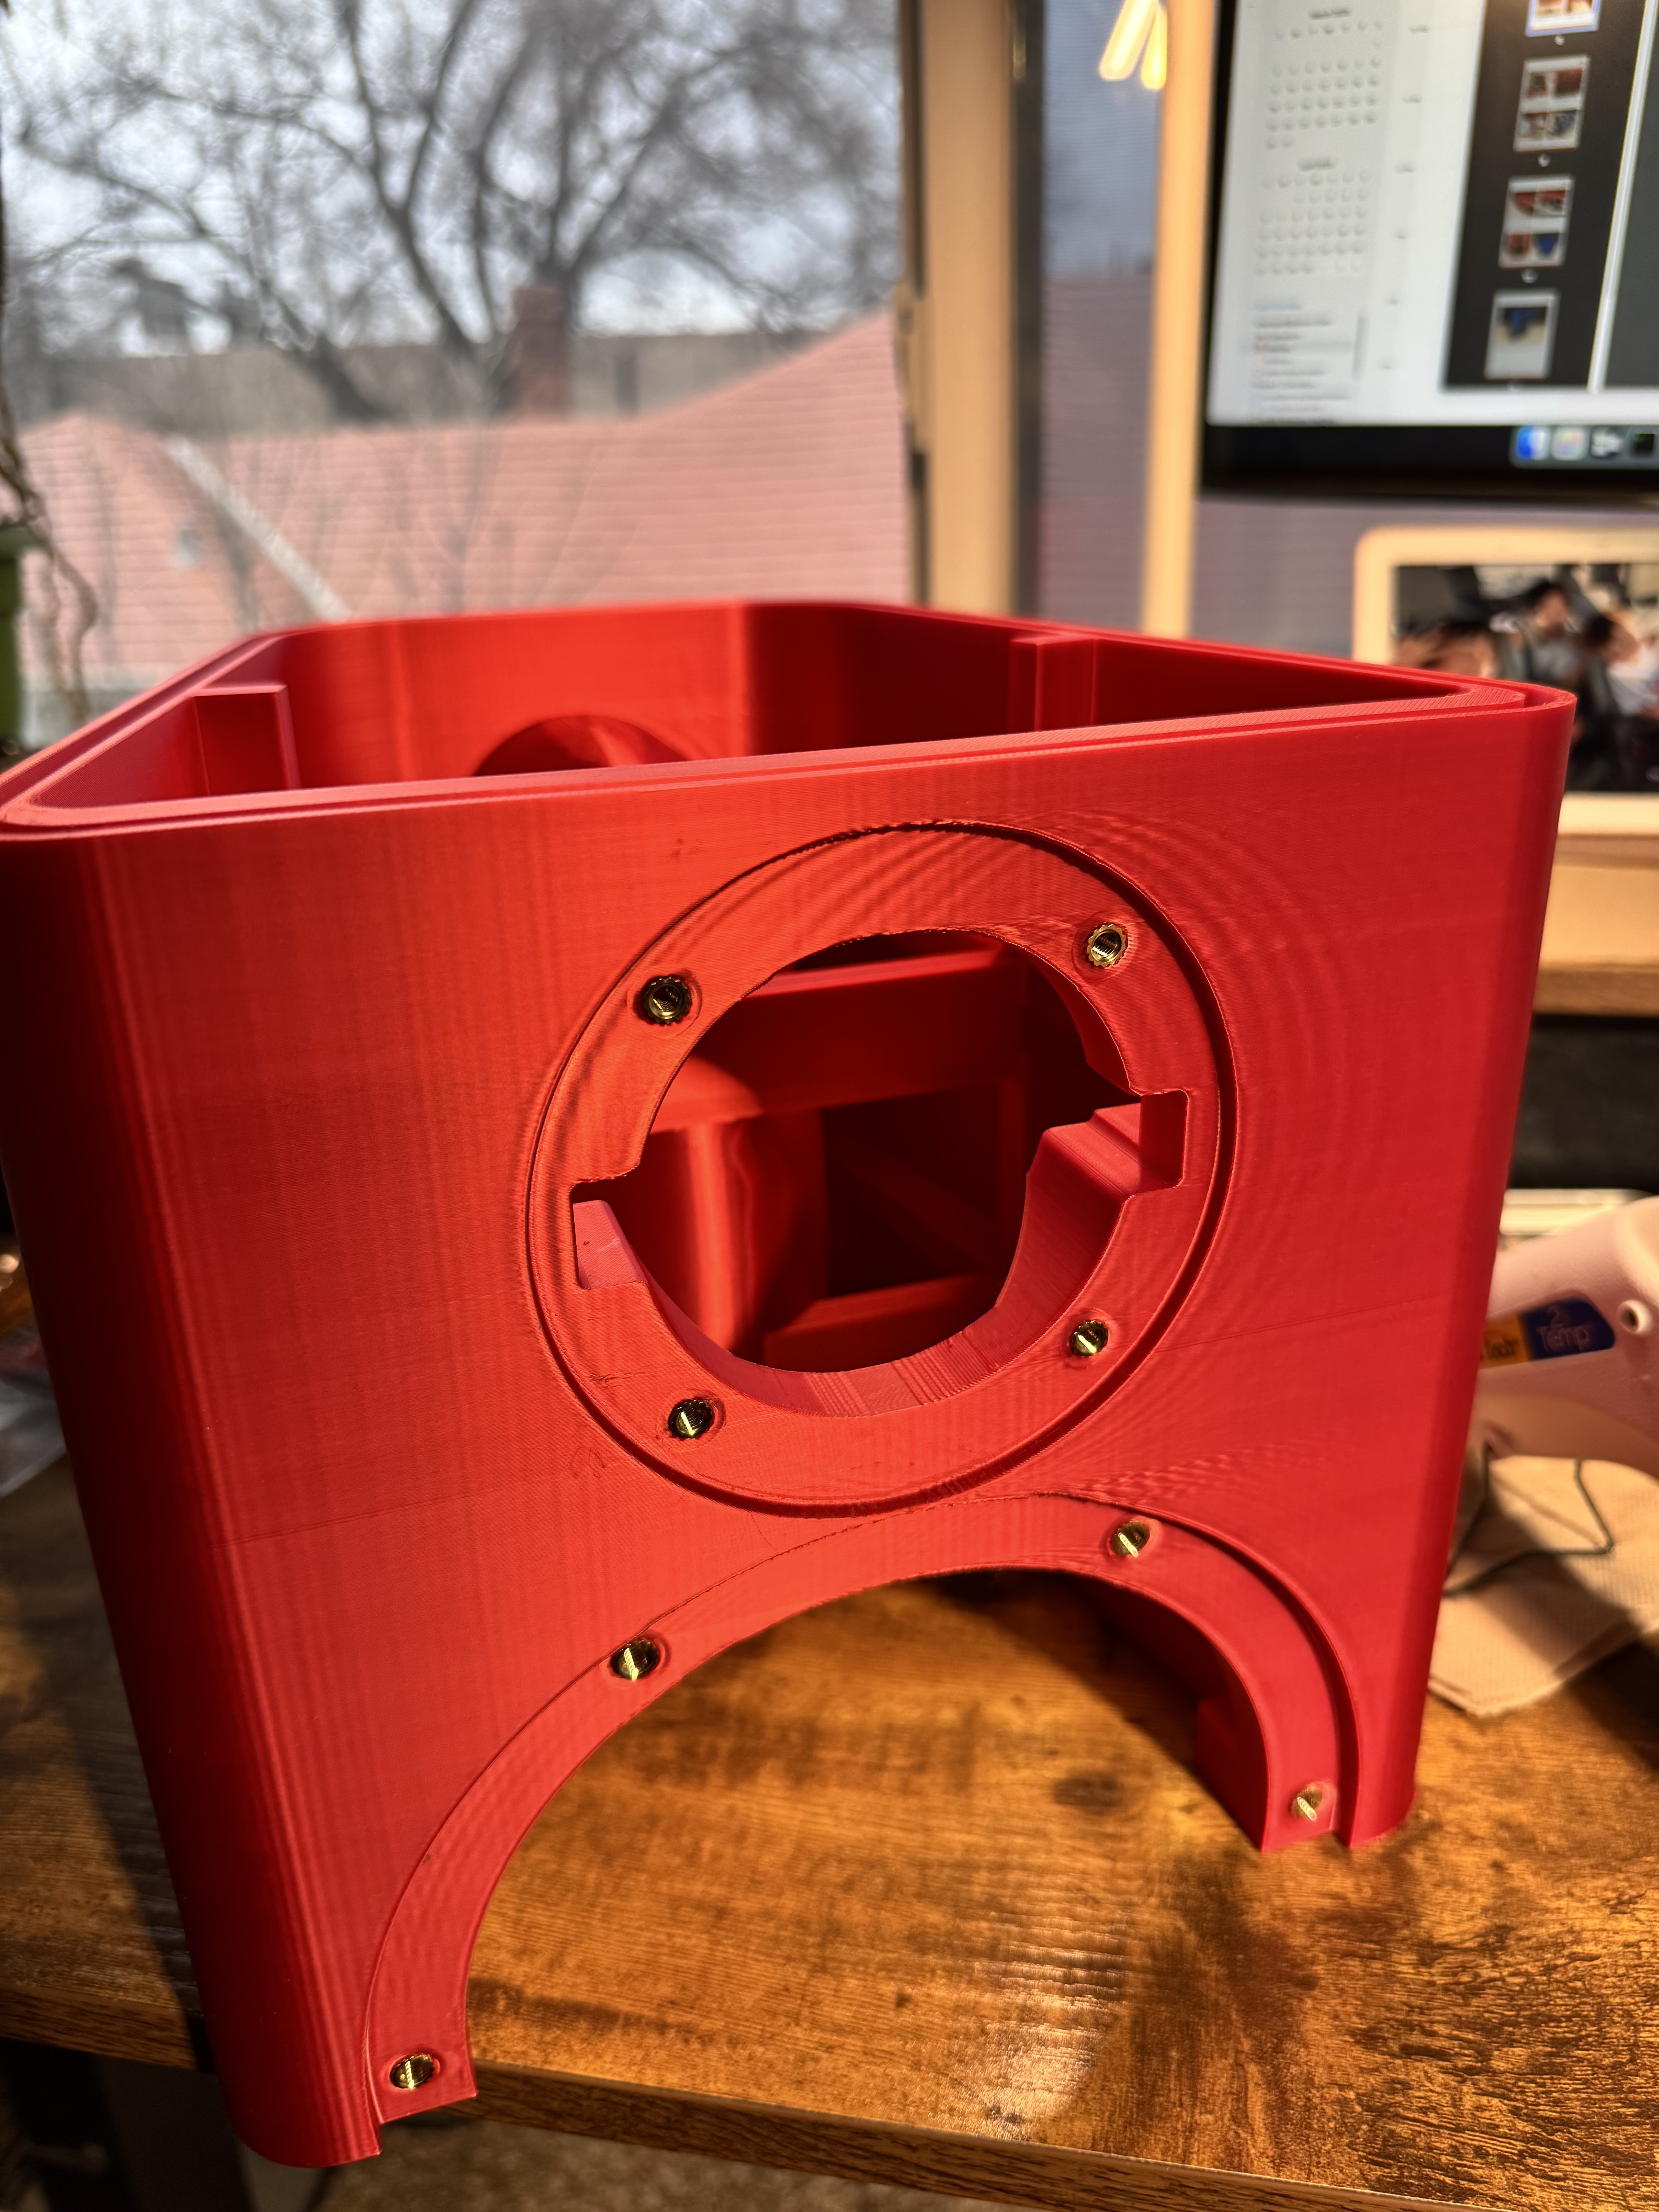
 34) Threaded inserts installed for the drivers.
 35) Hot glue around the binding posts to seal any gaps.
 36) Input wires hooked to the binding posts.
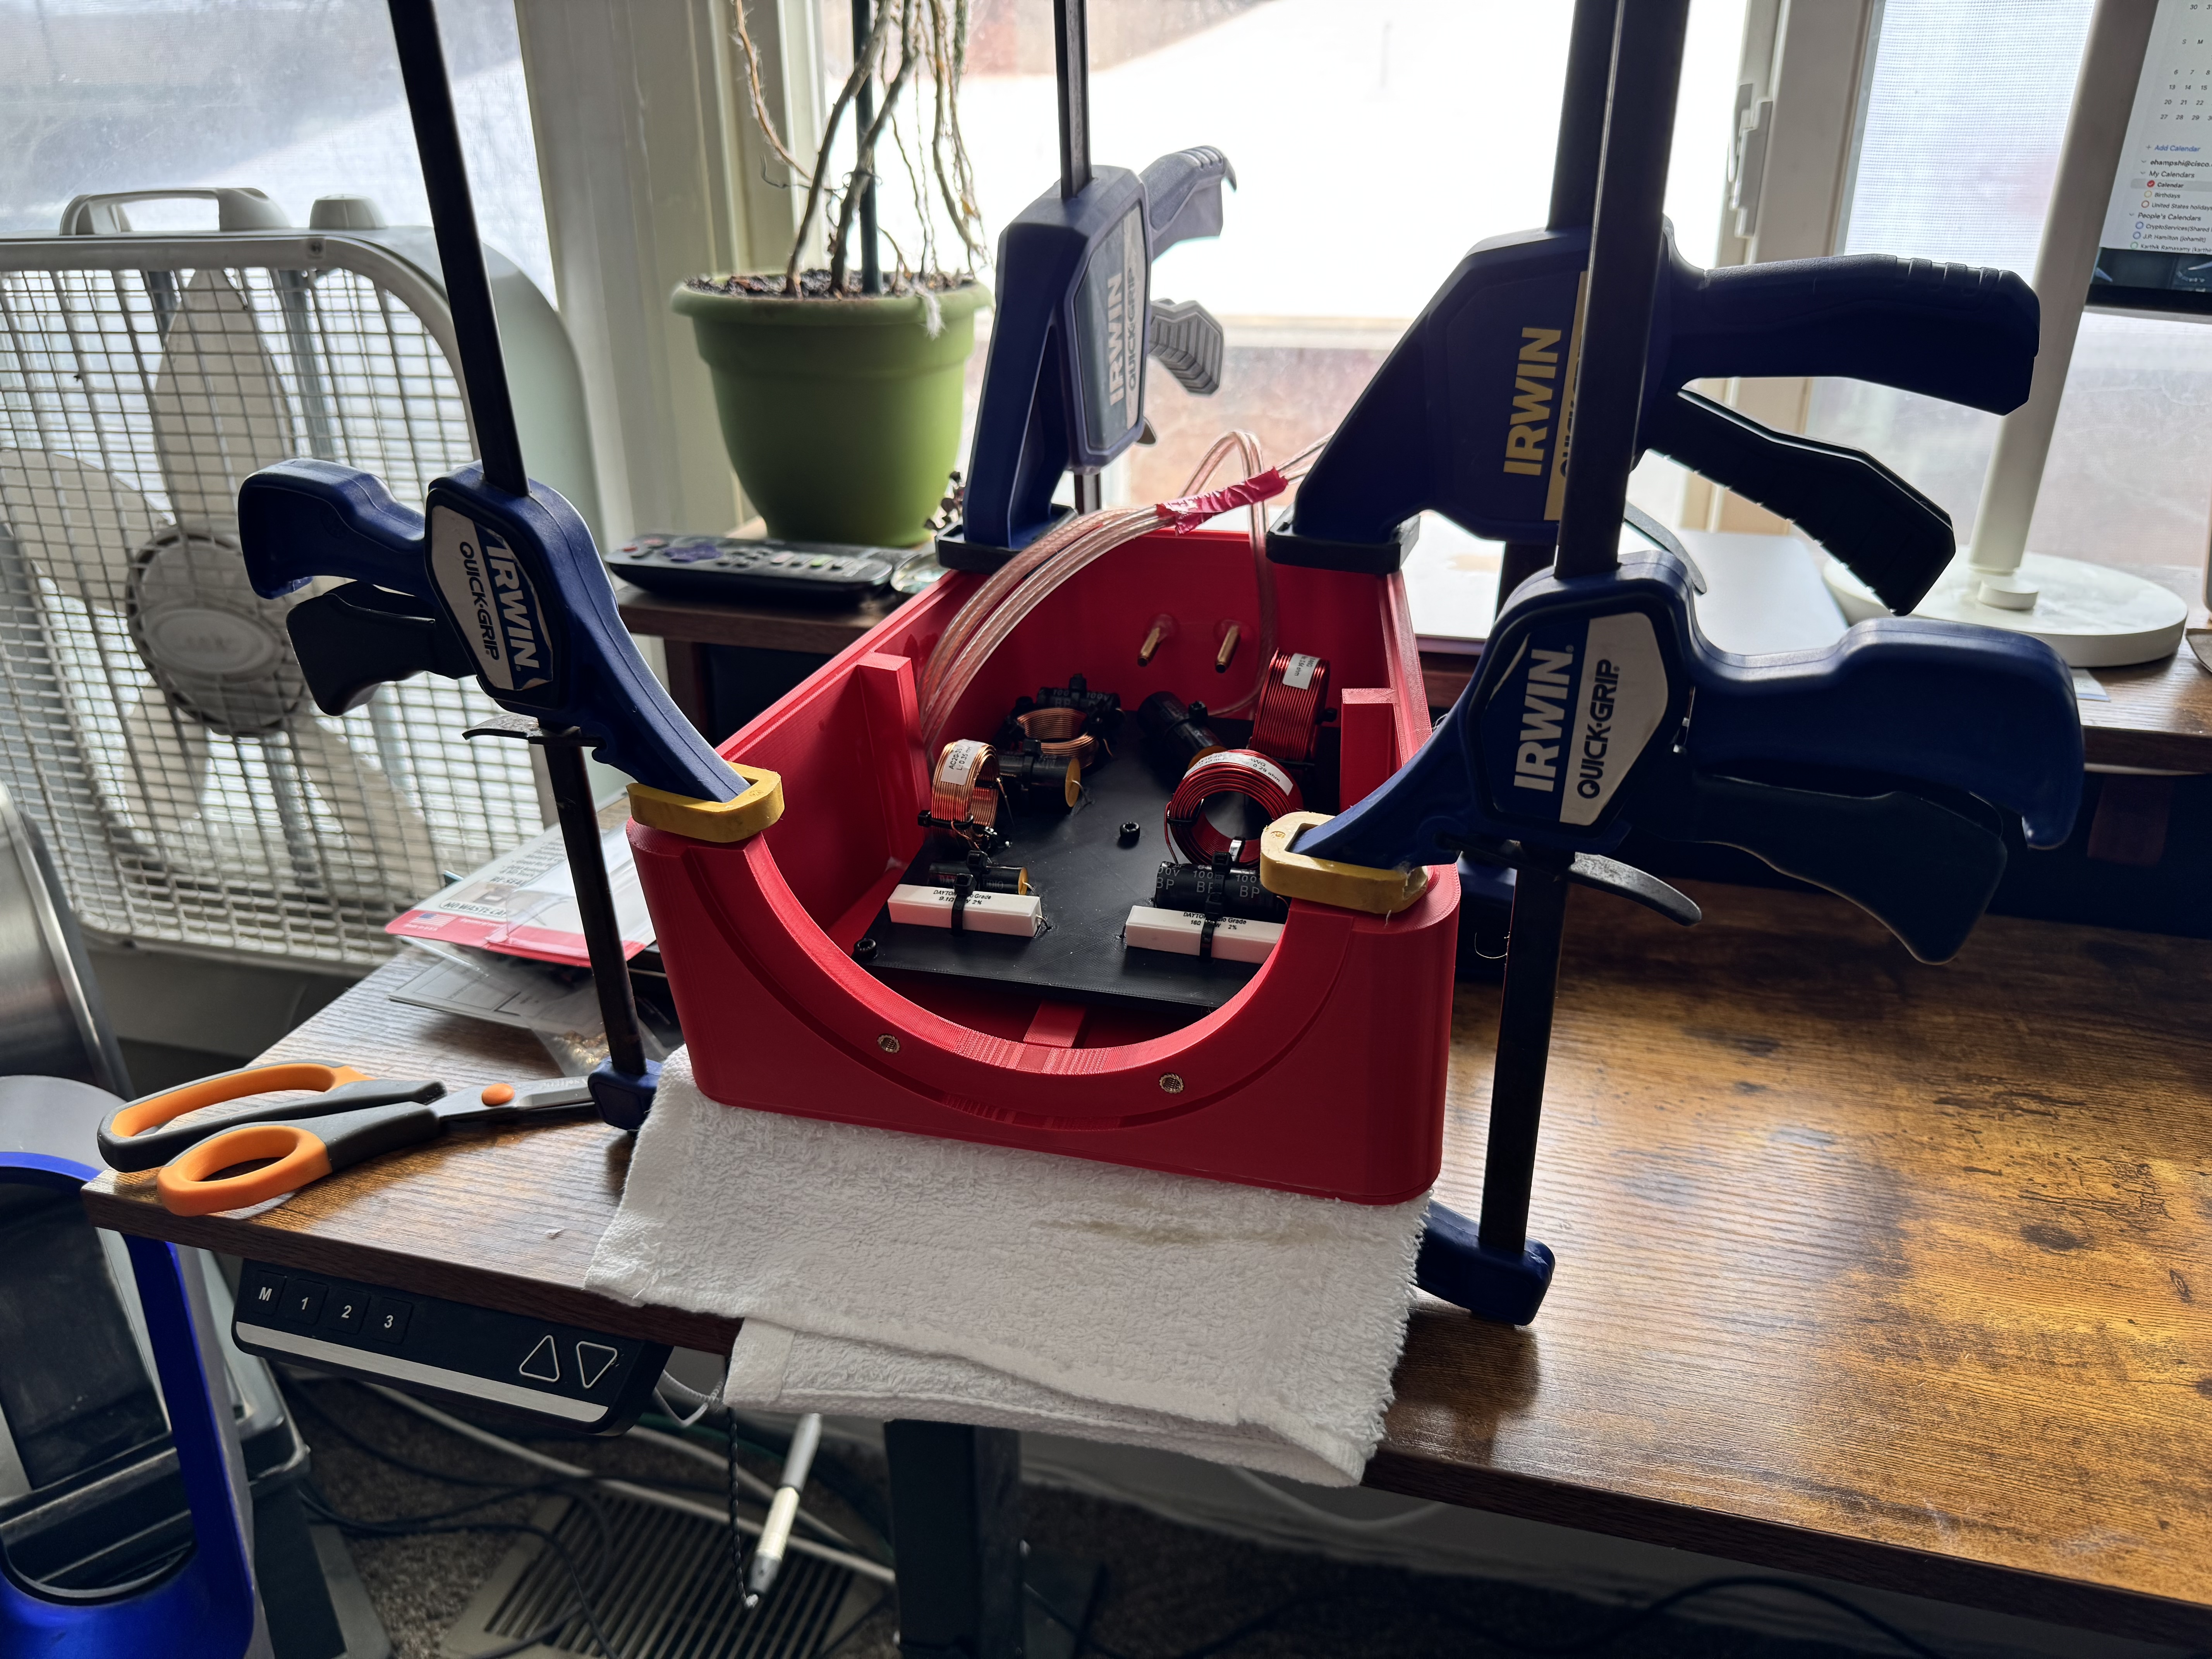
 37) Crossover and bottom (holding the crossover) epoxied to the enclosure bottom, clamped here while it dries.
 38) Time to install some Dacron for dampening internally. I followed Hugh's instructions here for where to put it. This is a shot from the top looking down into the large enclosure.
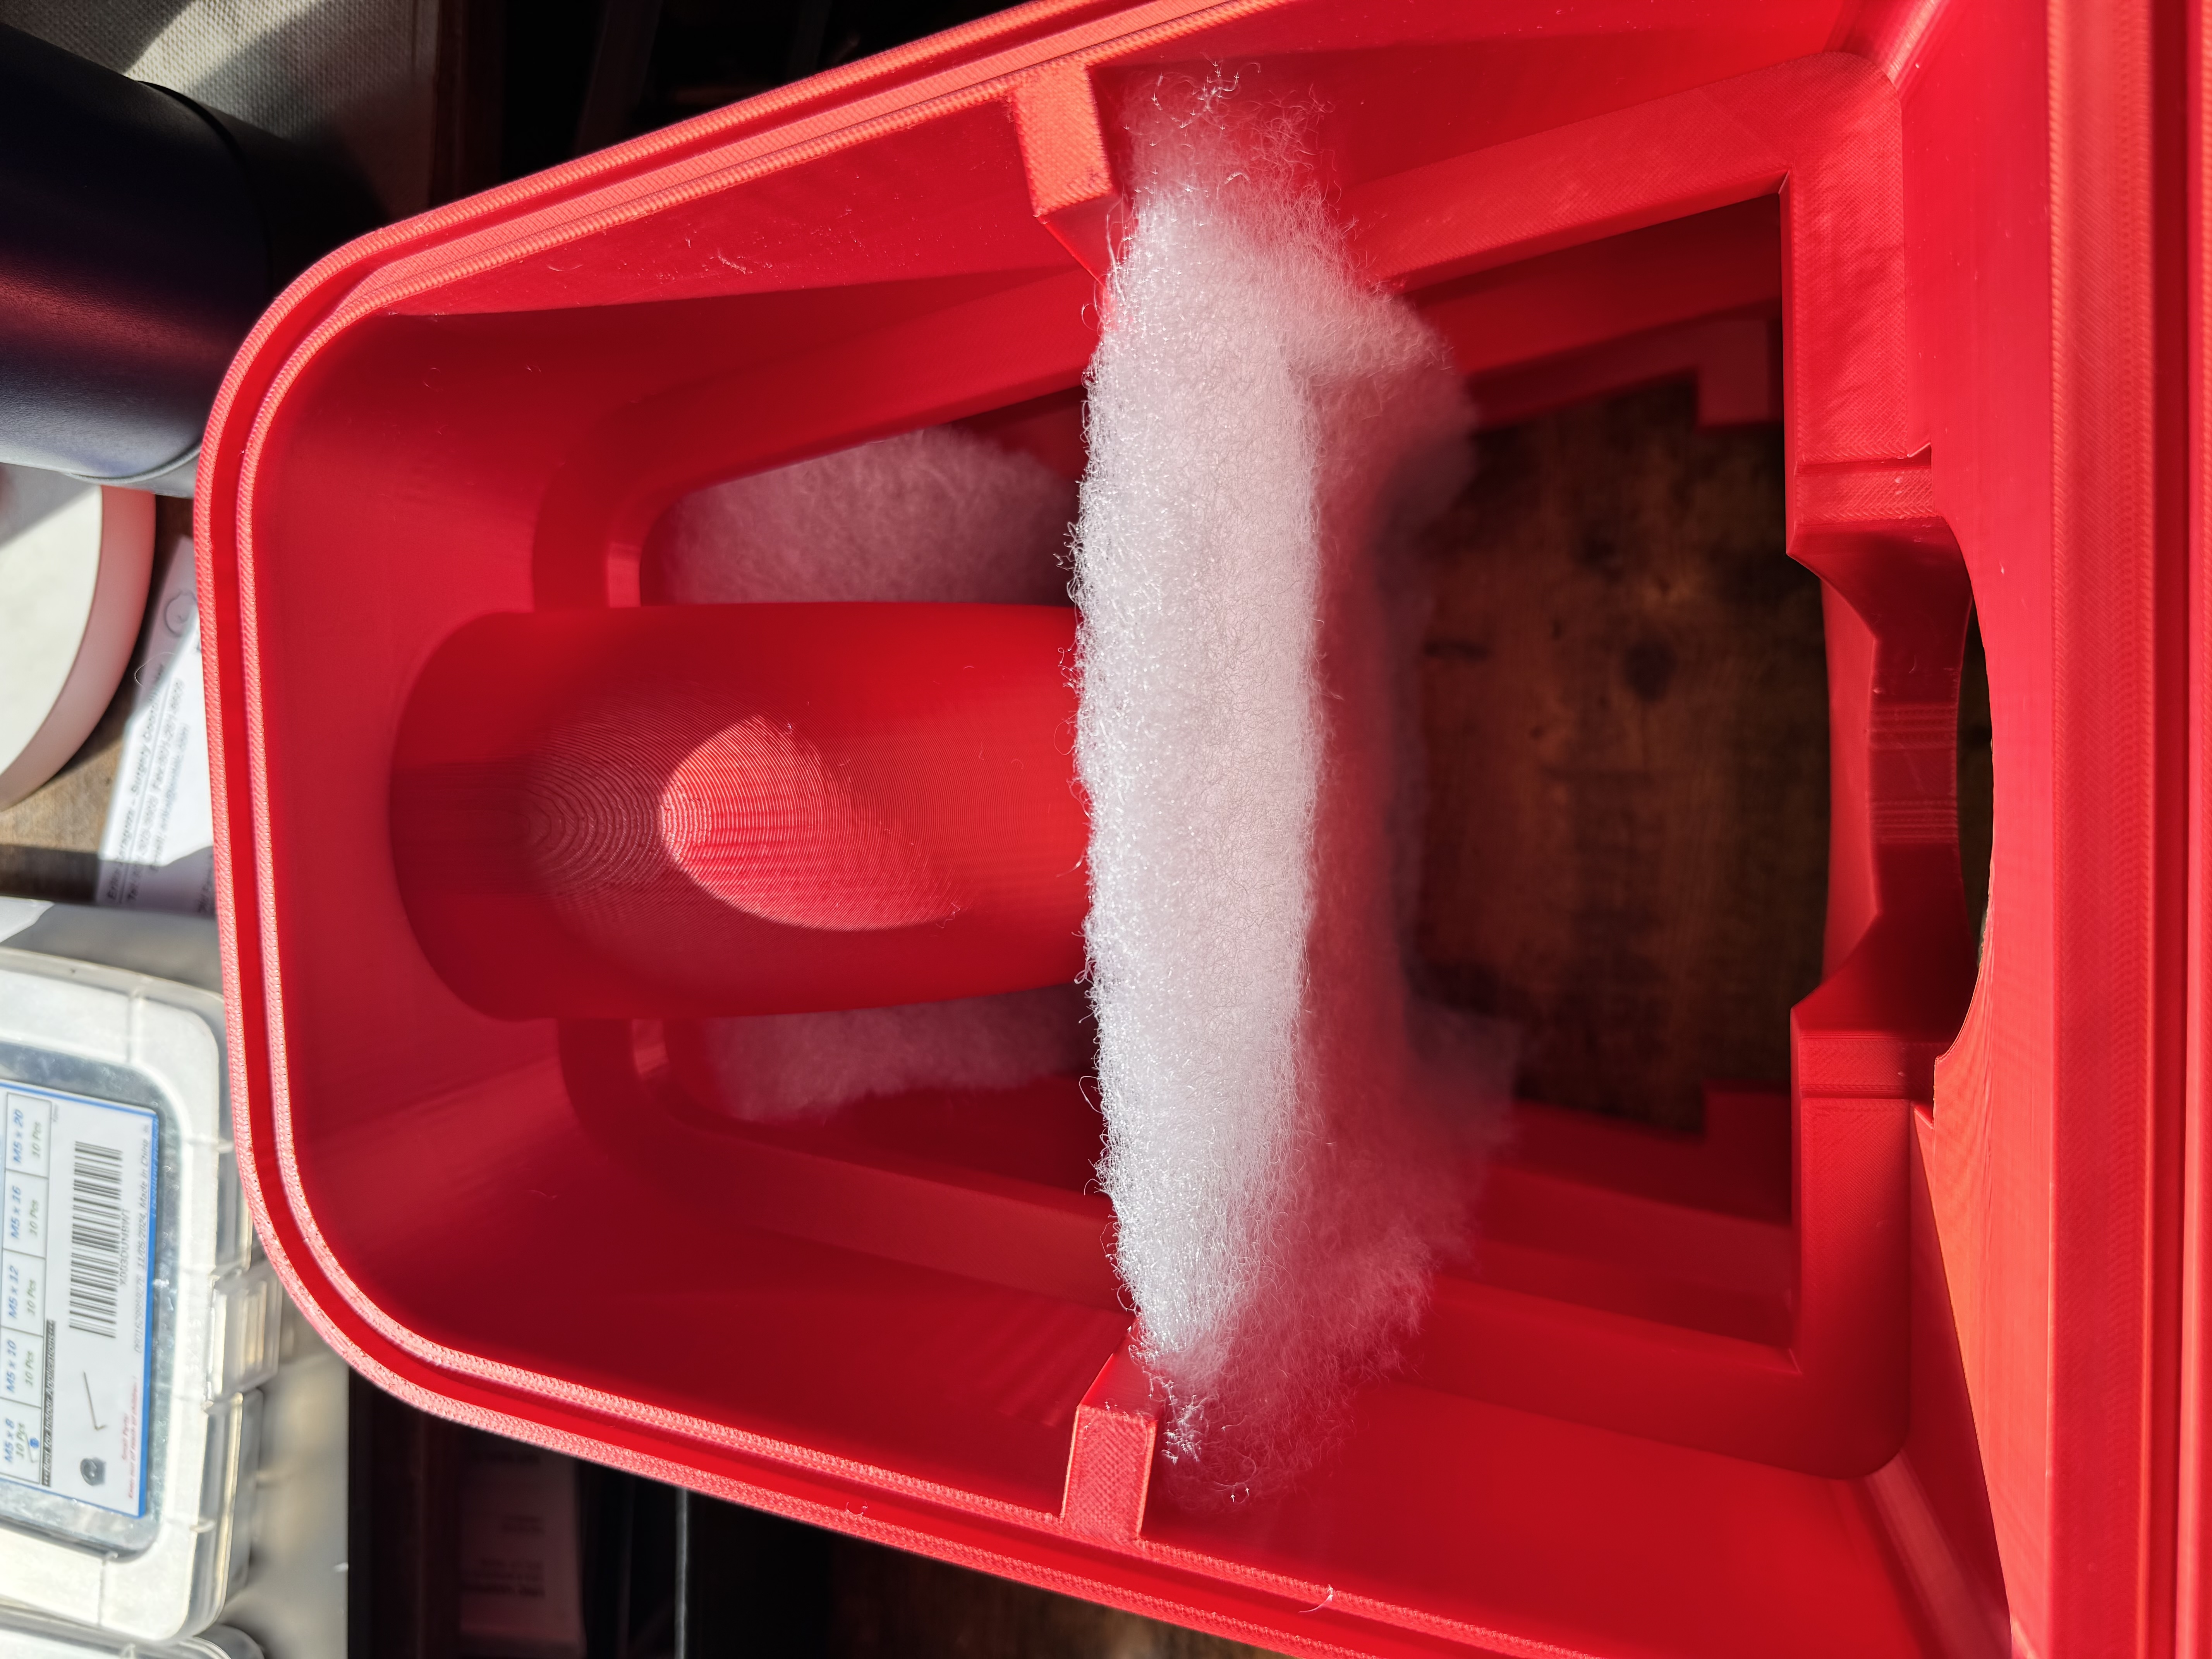 39) Looking up the large enclosure port tube.
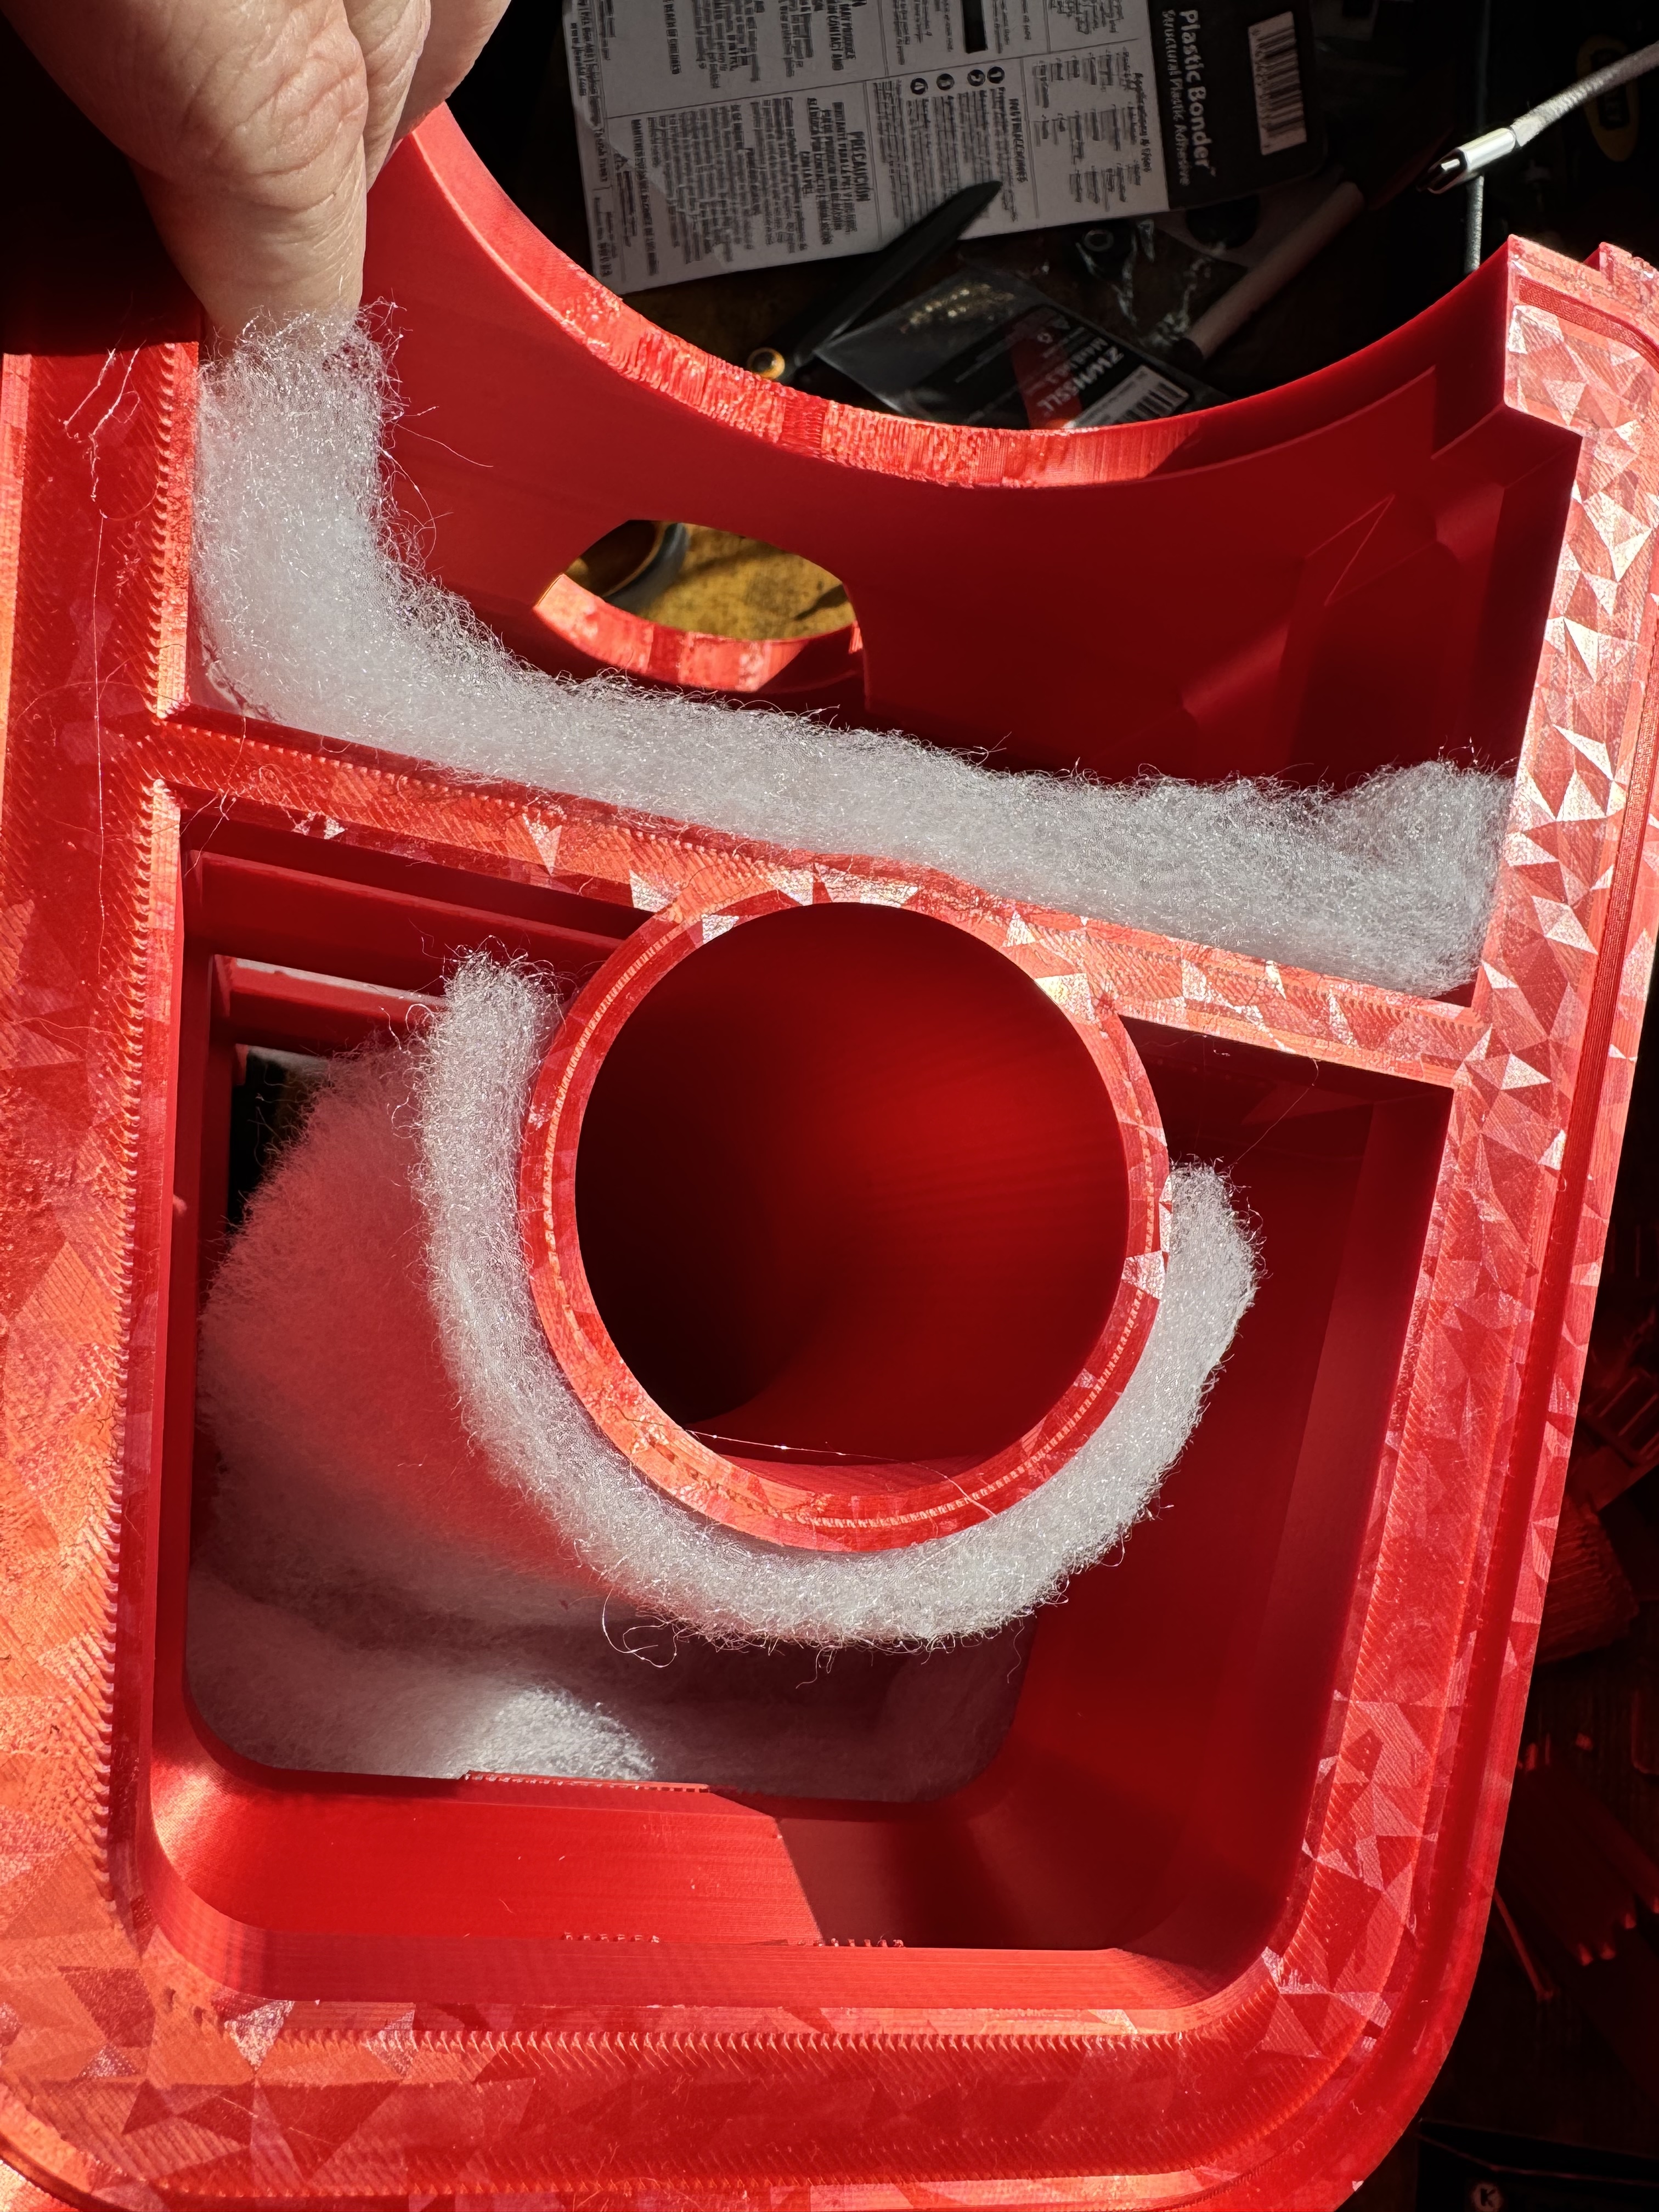 40) Dacron covers the crossover per the instructions. I glued the crossover board / bottom piece to the lower enclosure section separately. This shot shows me getting ready to epoxy the rest of it together.
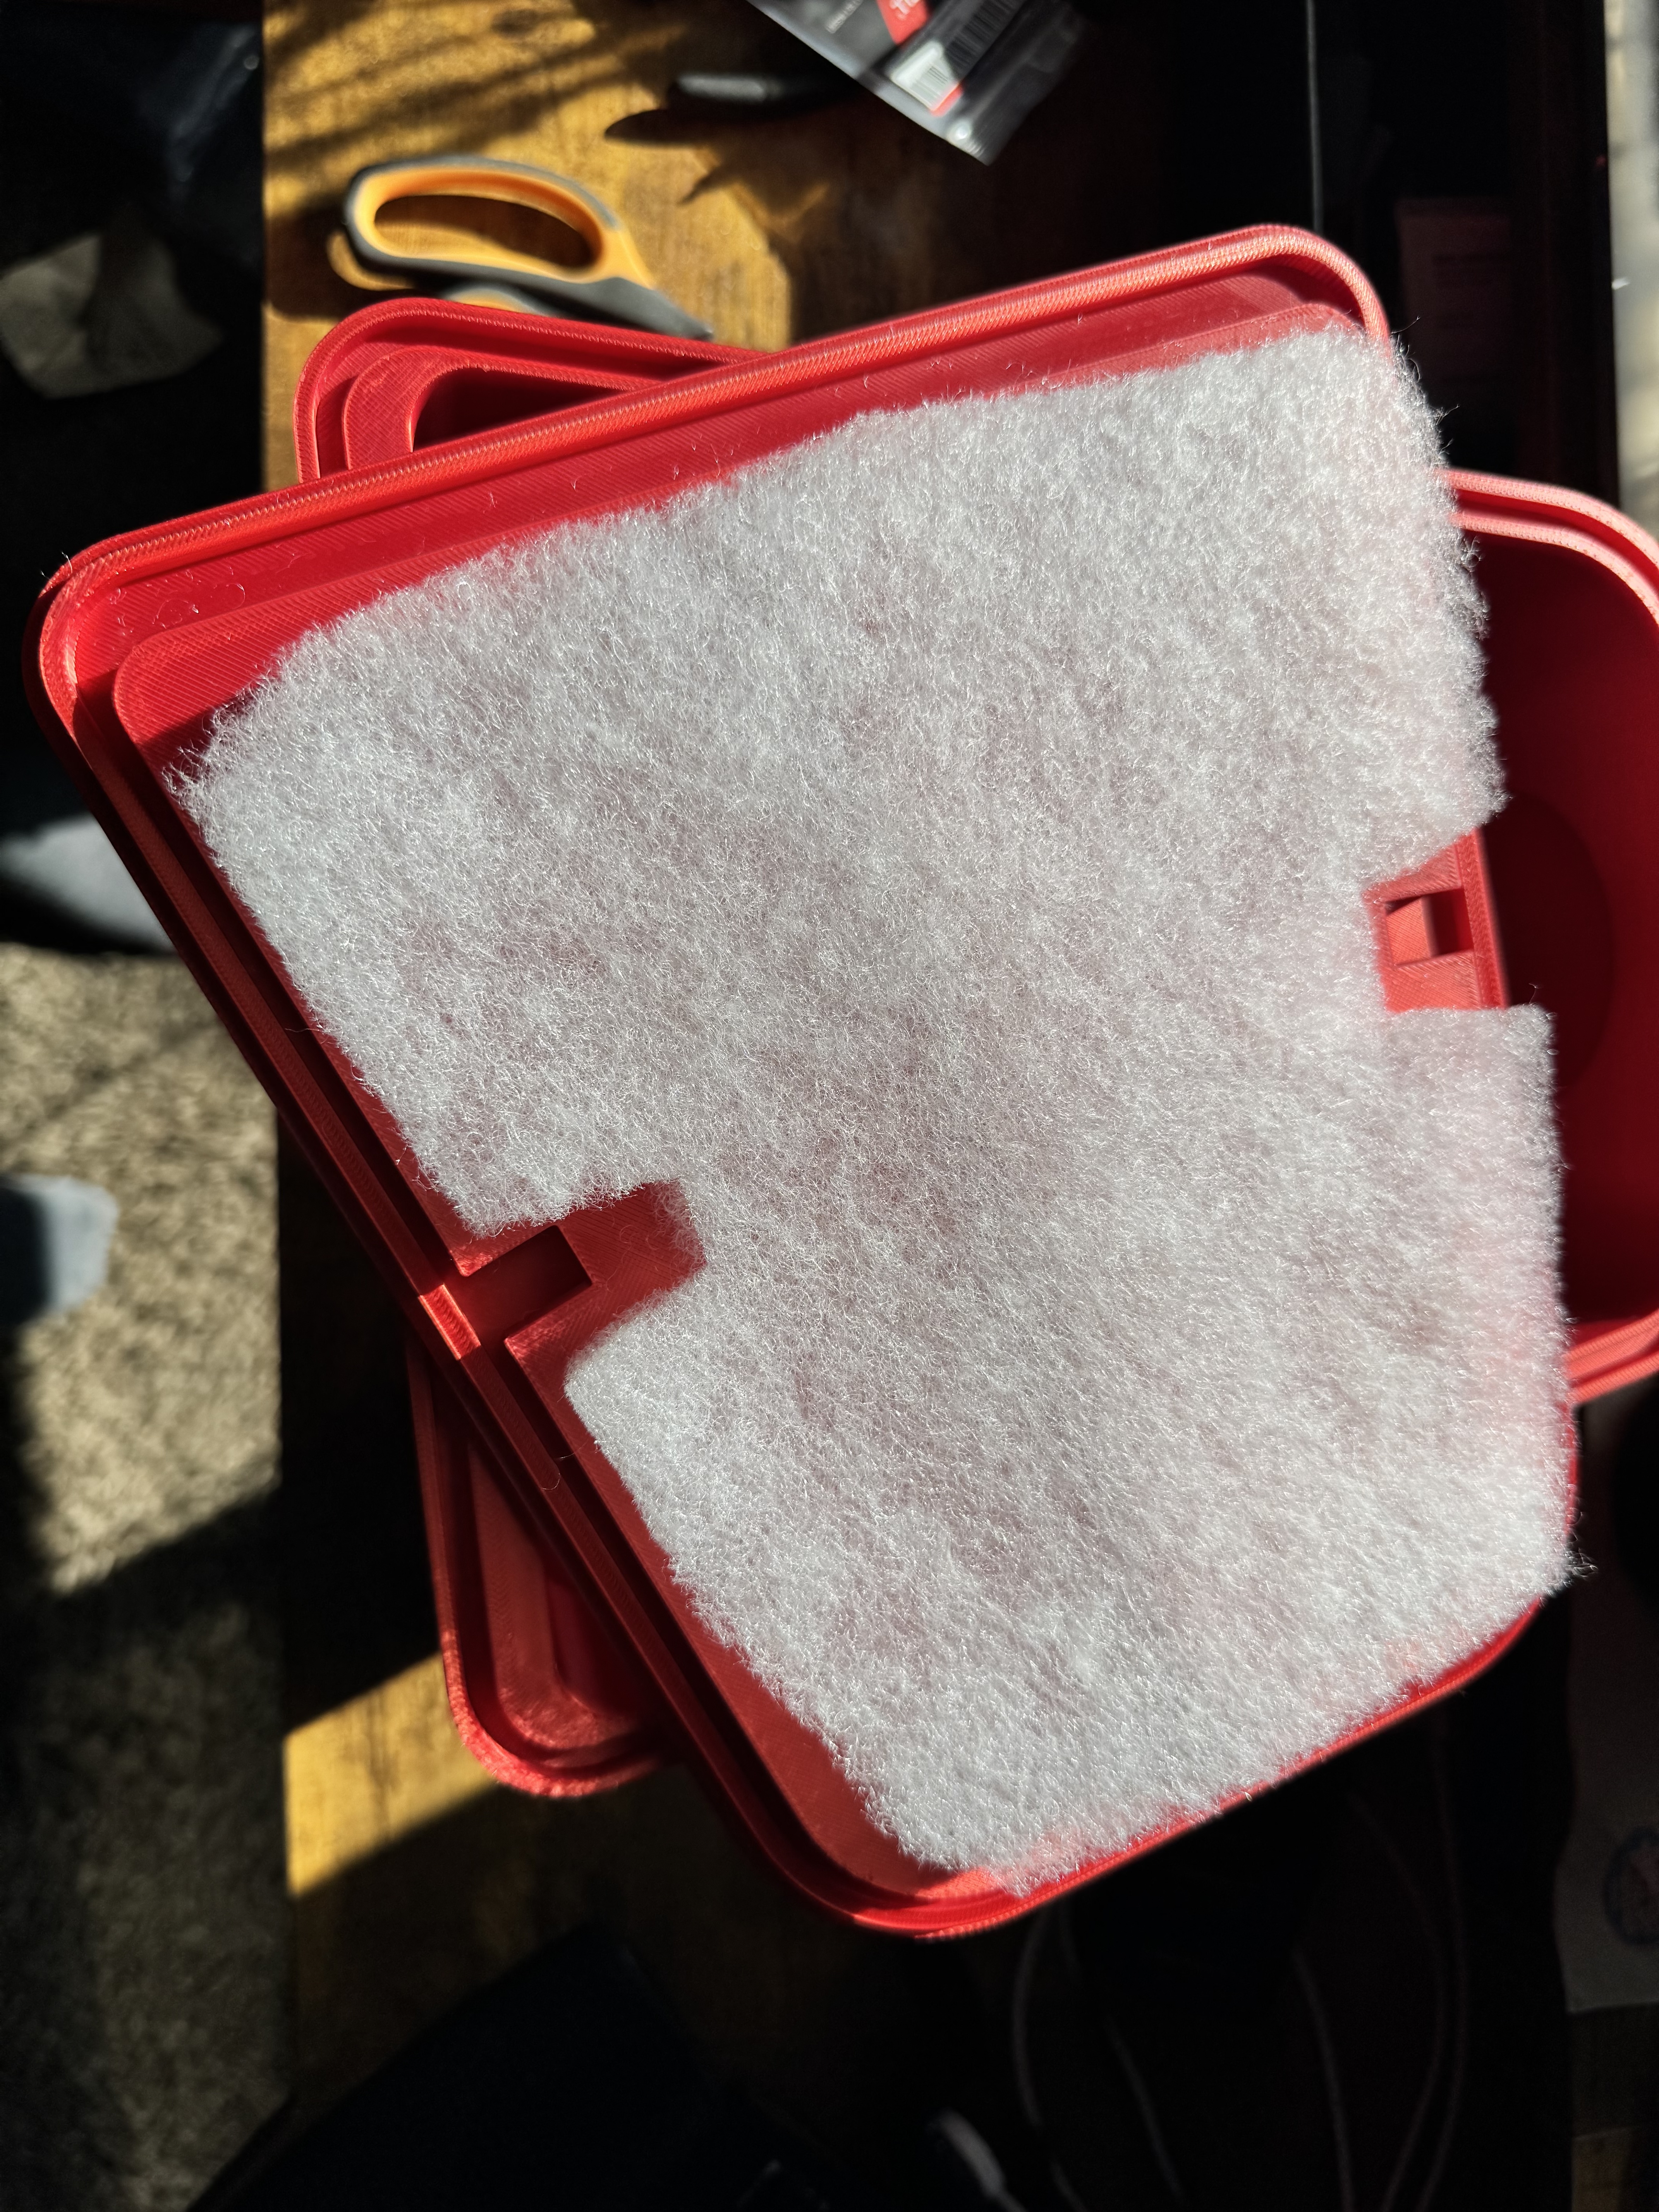
 41) Another deviation from the instructions - I added Dacron to the top of the speaker as there's a piece covering the crossover on the bottom (see pic above).
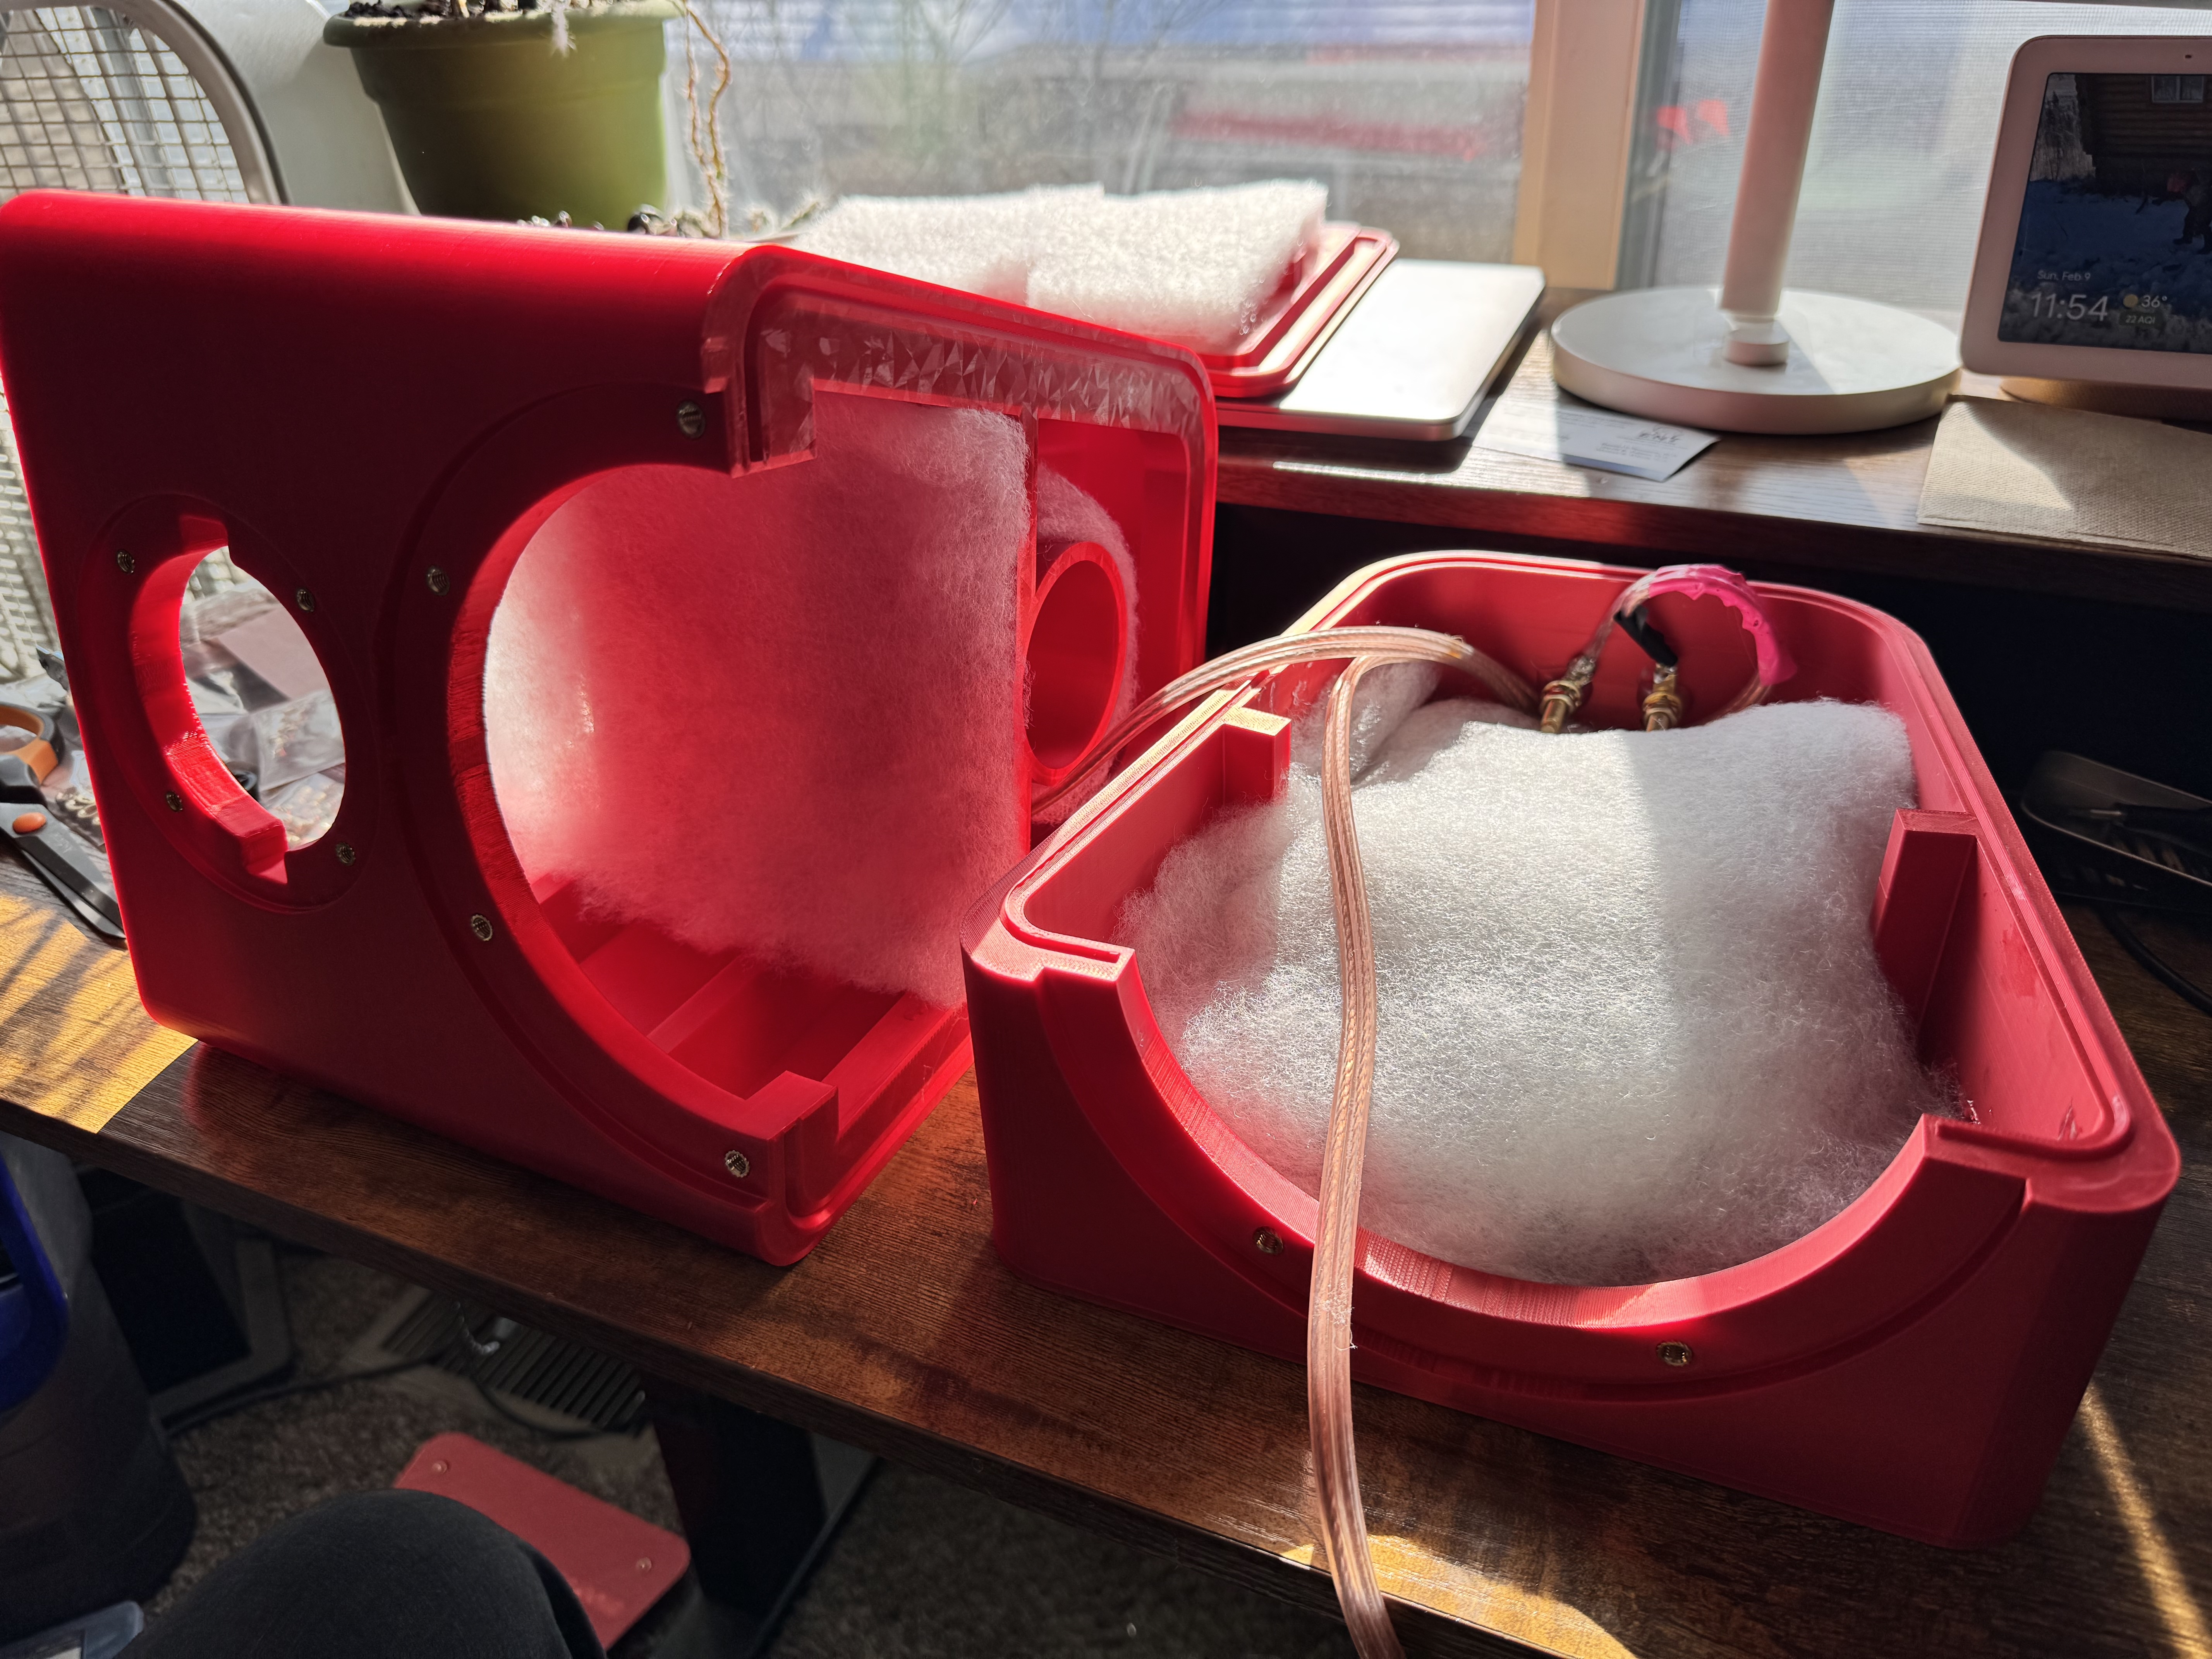
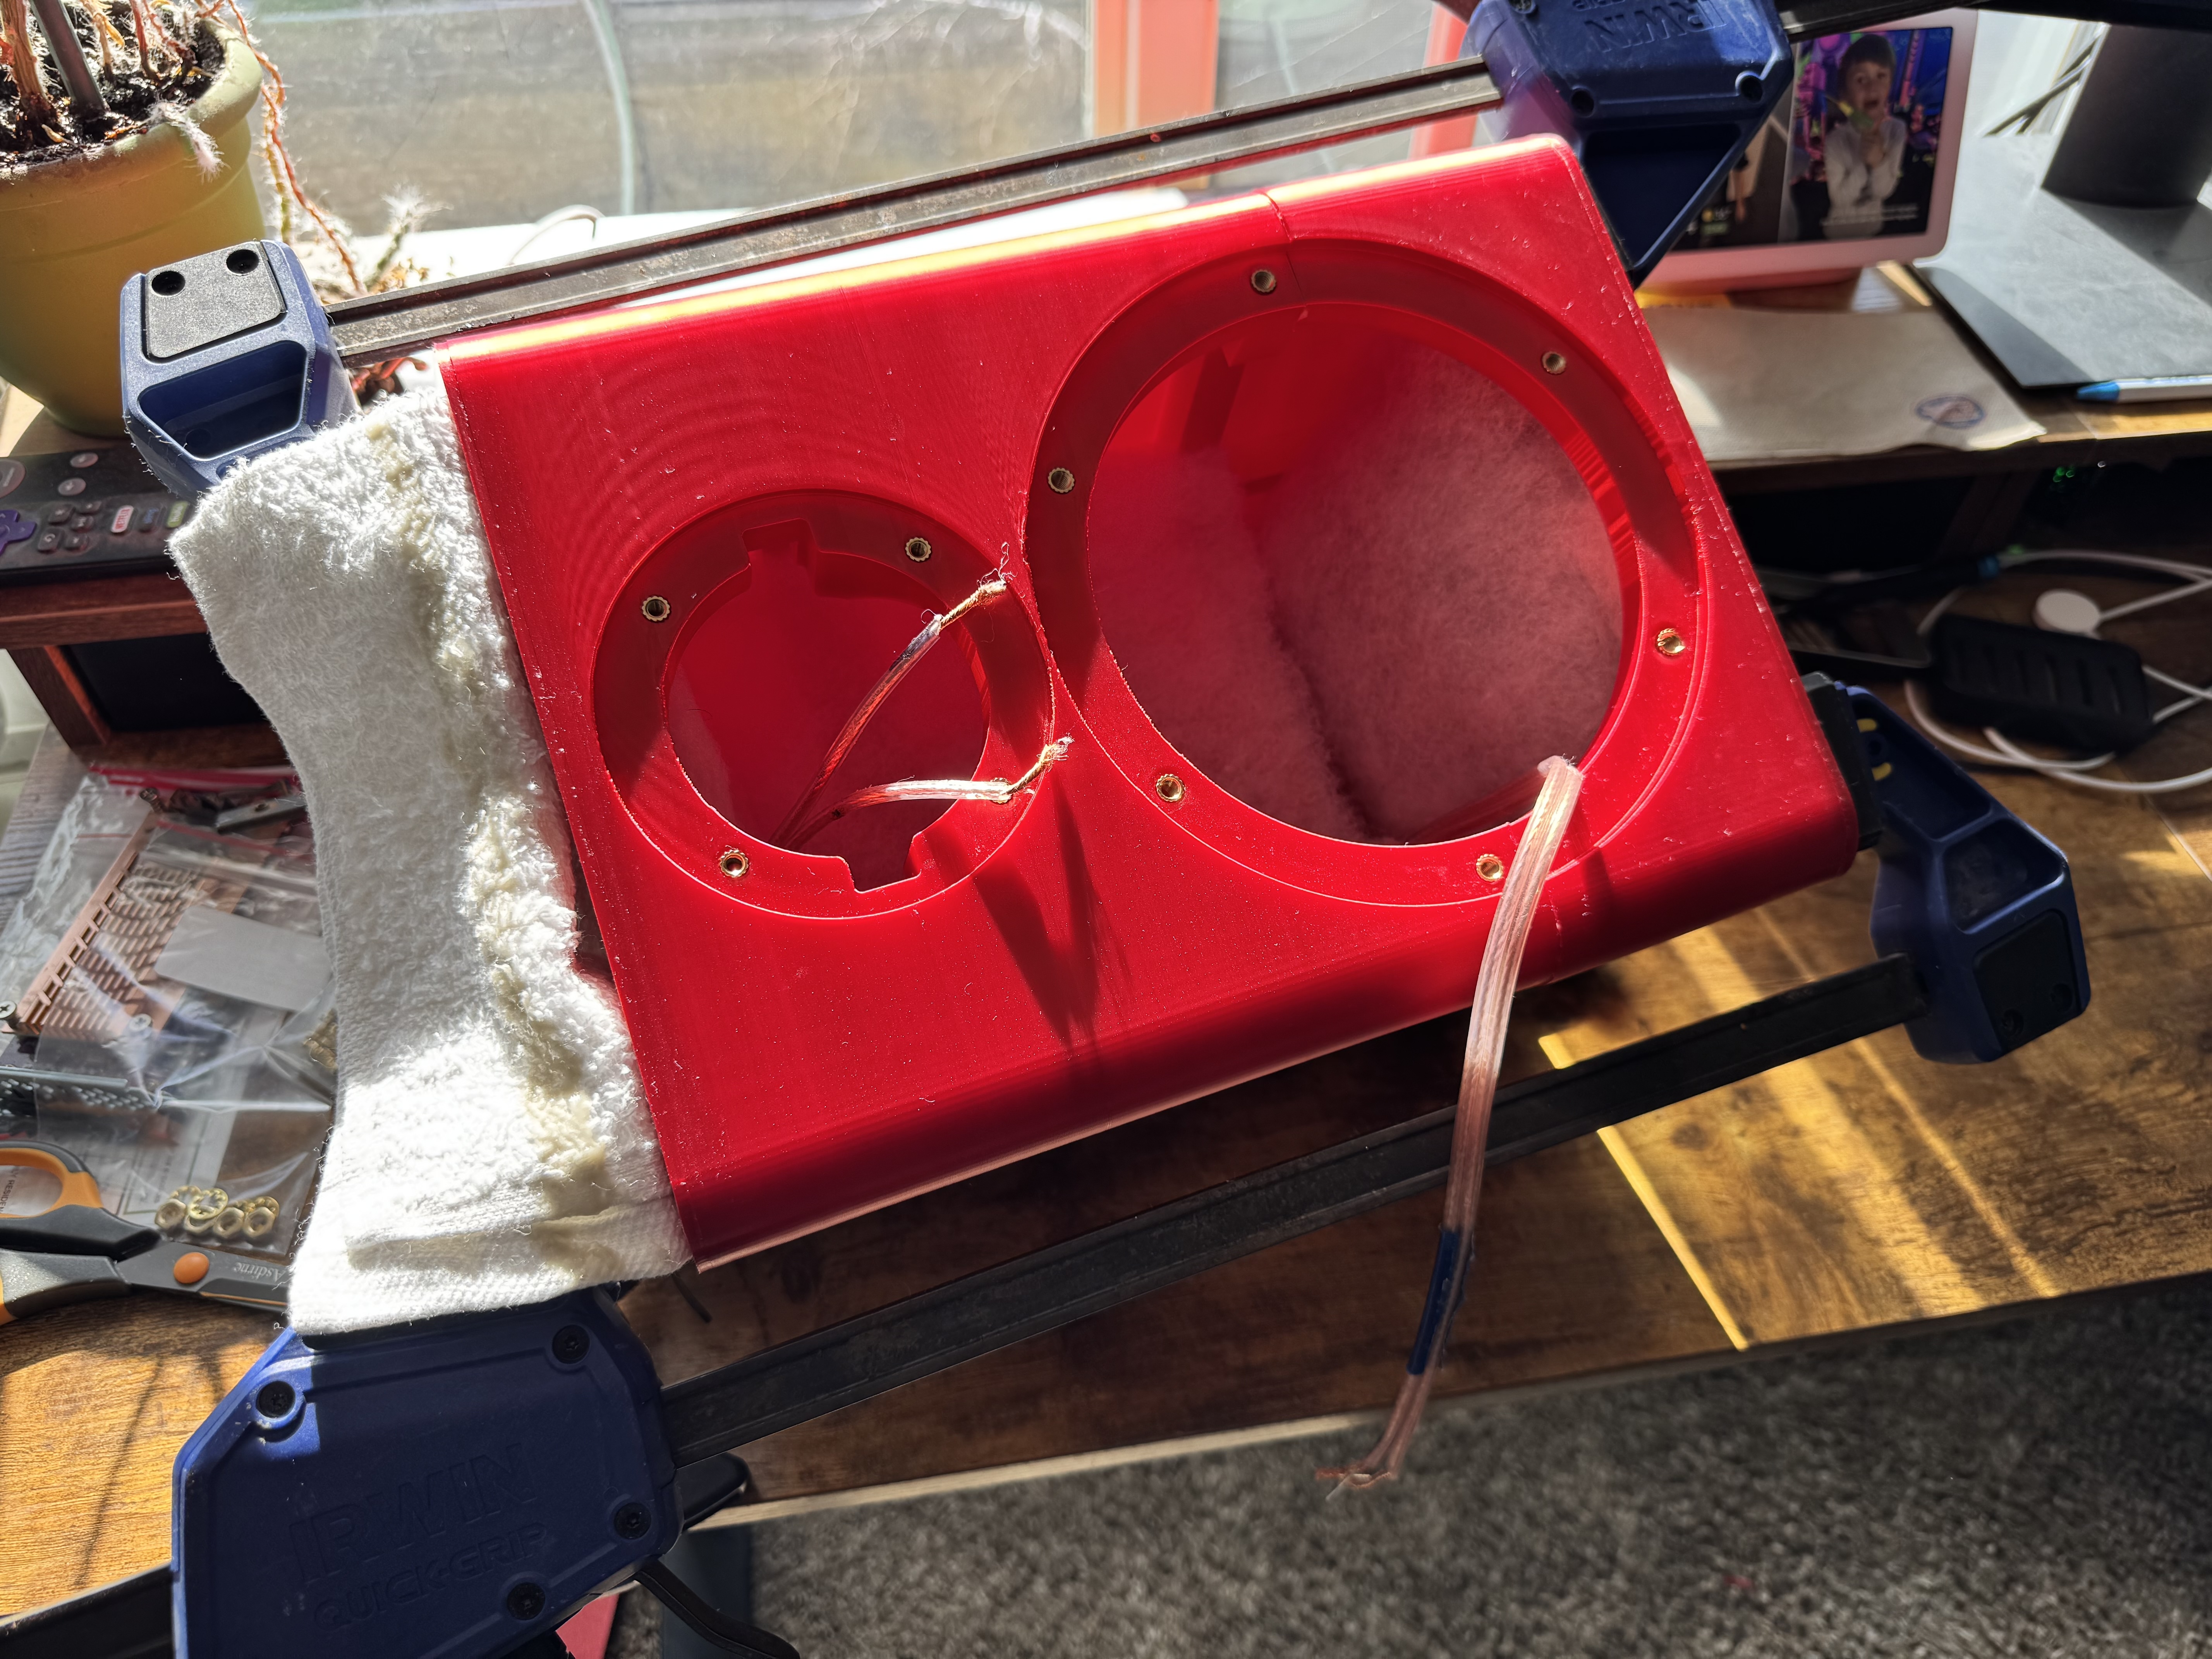
 42) Here it's all clamped together - I used this epoxy and did both the large enclosure and top of the speaker in one shot.
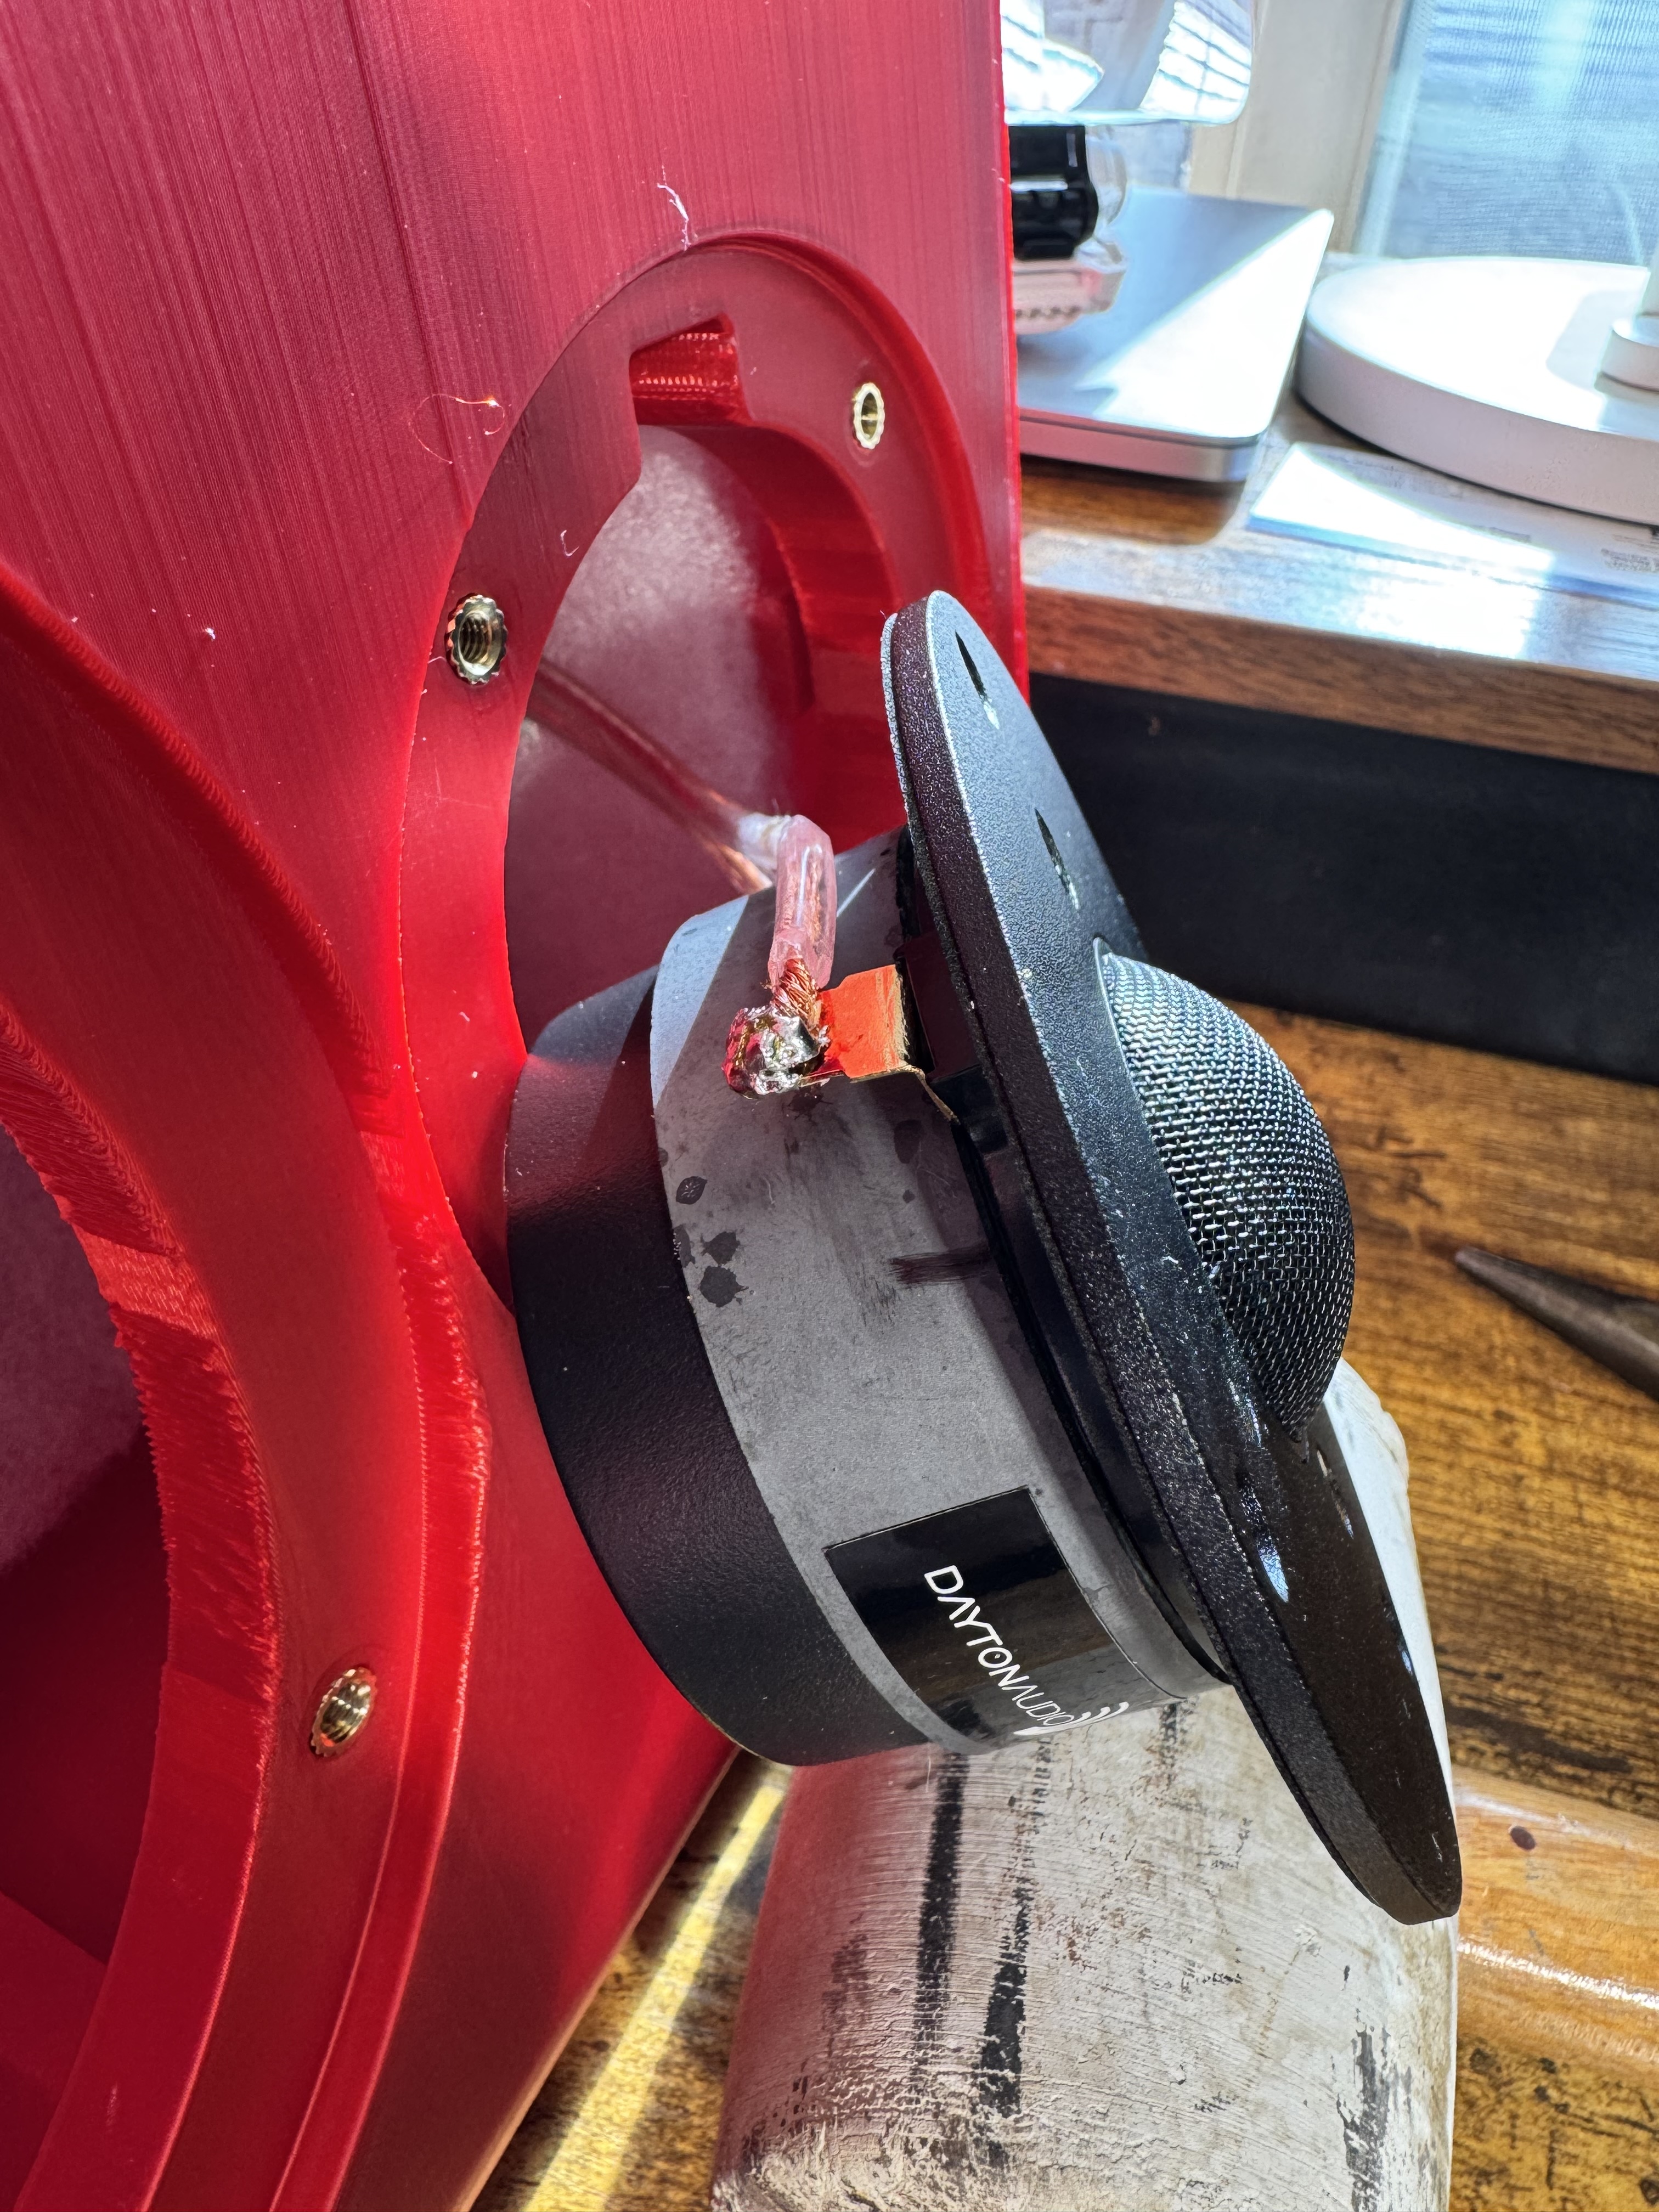
 43) Finally time to add the drivers! Soldering in the tweeter here.
 44) Drivers installed, soldered, and screwed in! Note: the speaker is upside down here.
 45) Back of the speaker, right side up this time.
 46) Feet installed on the bottom.
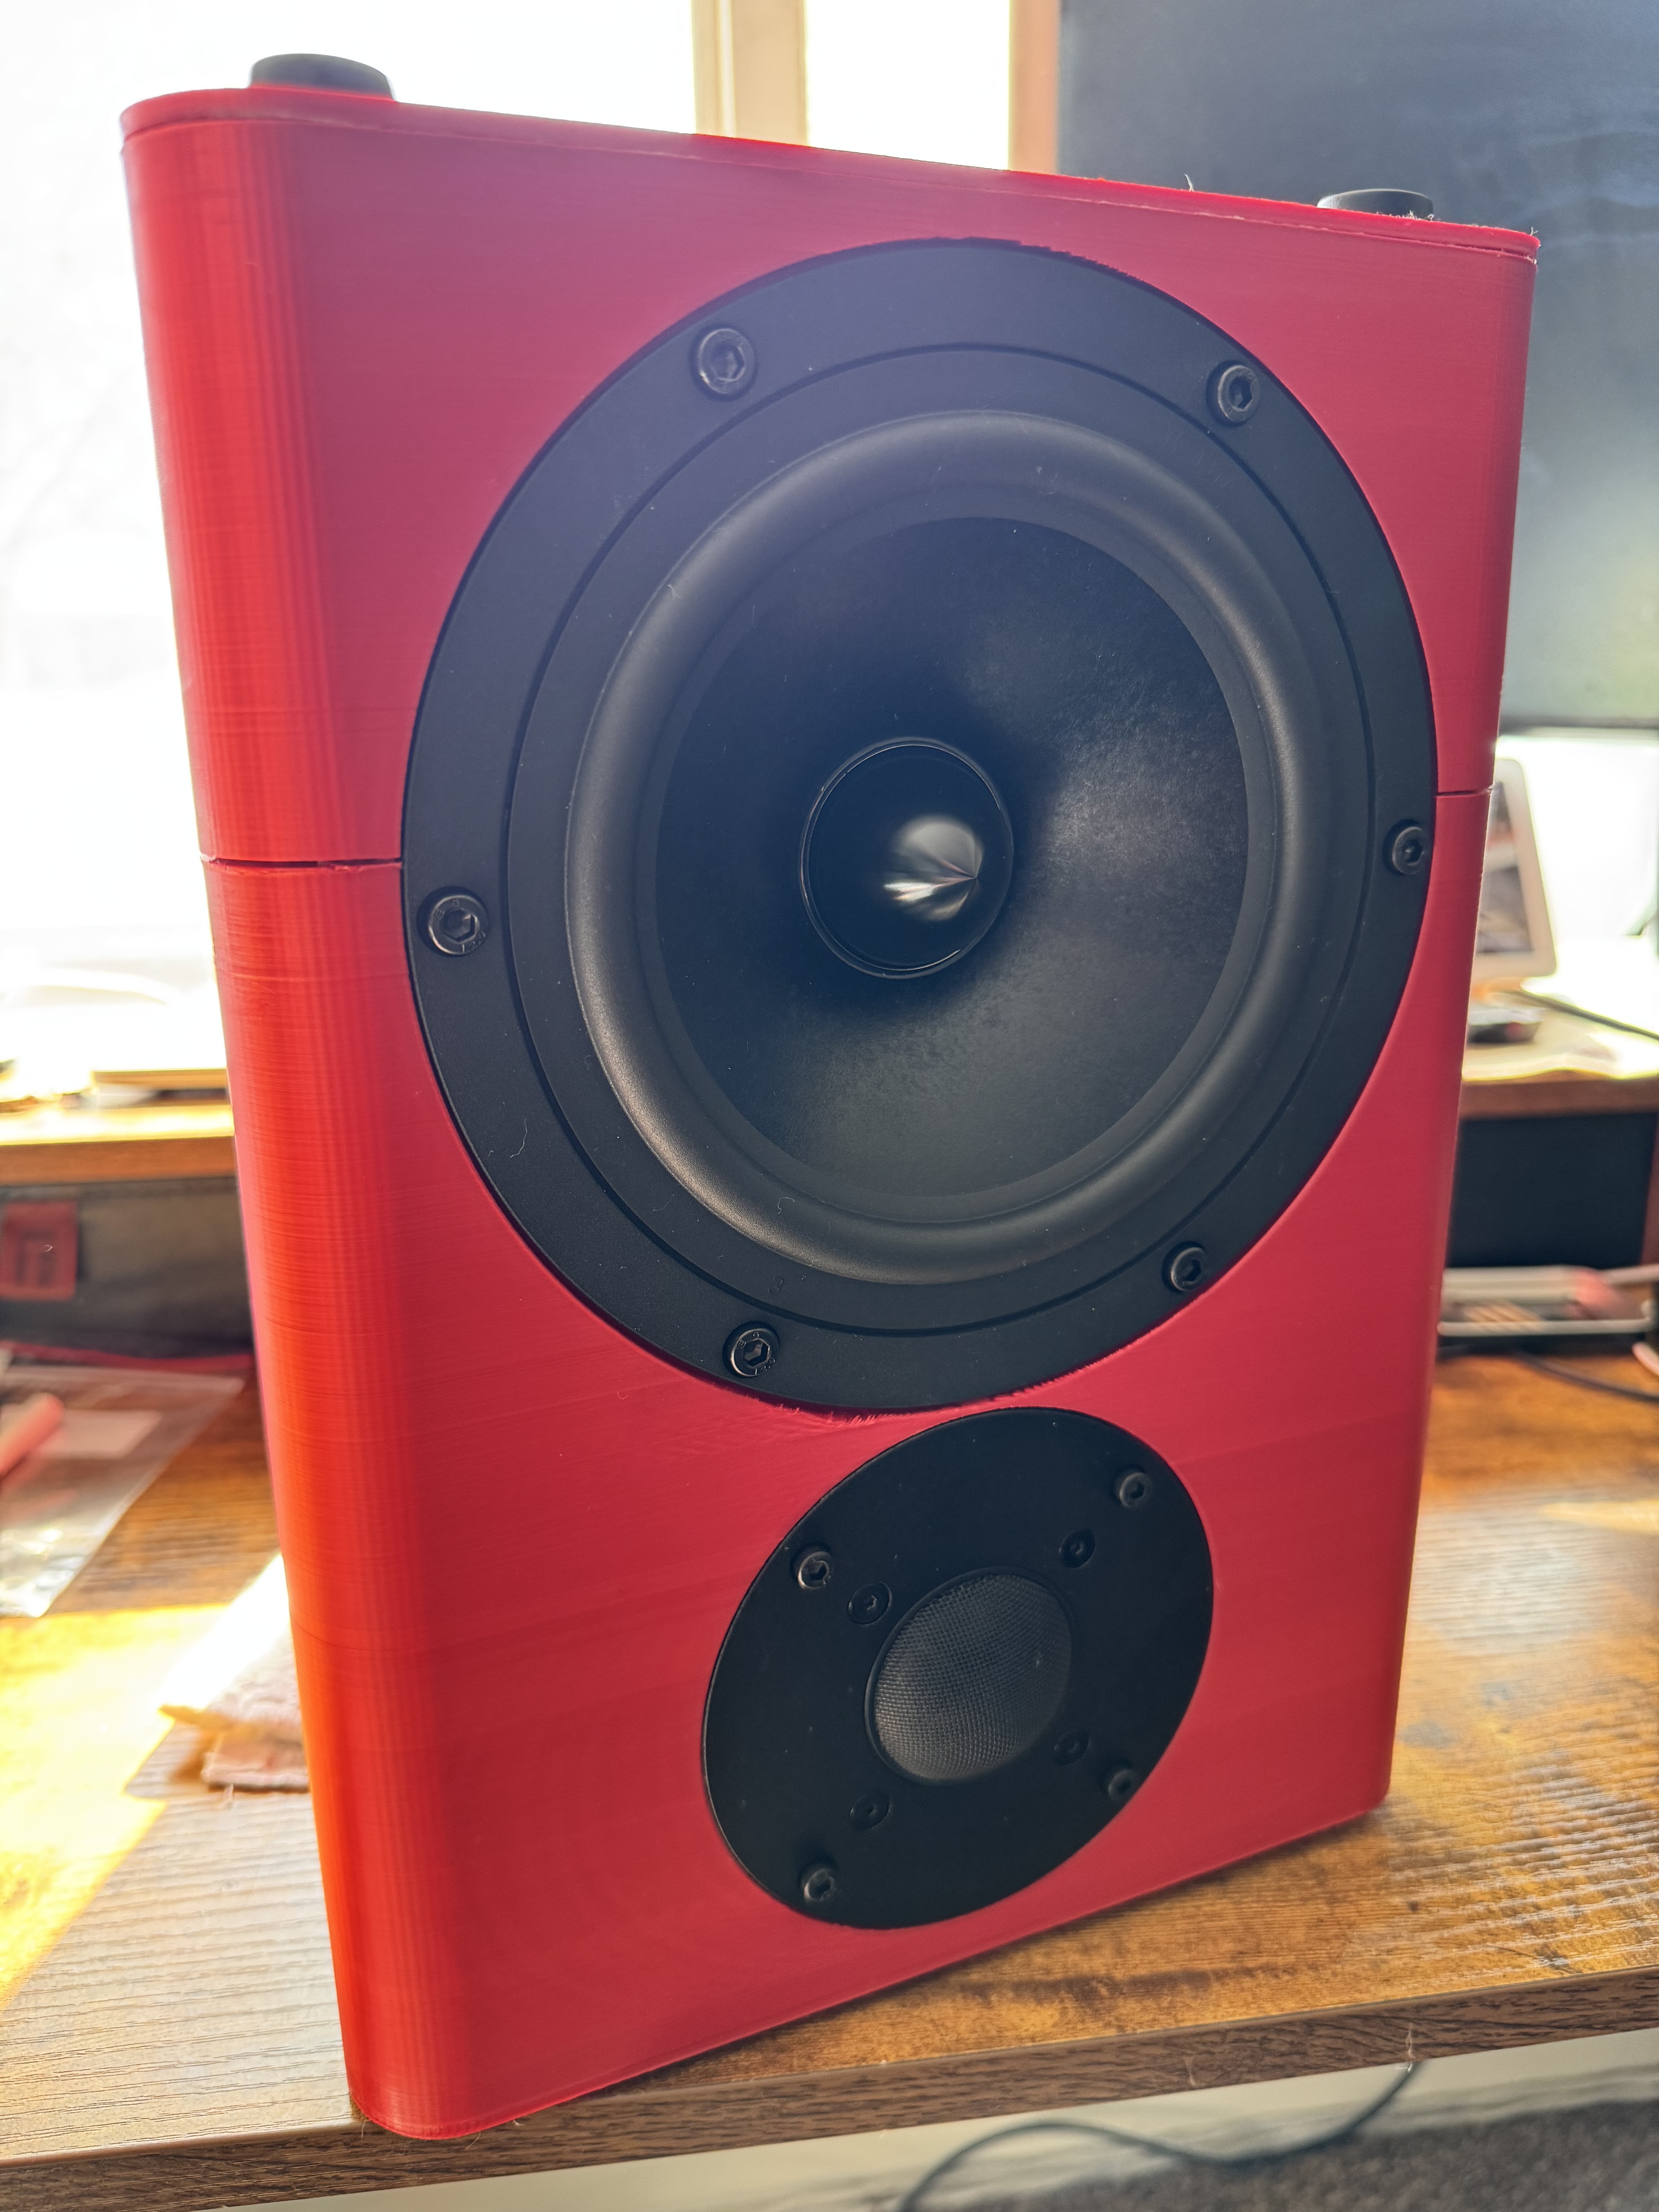
 47) And complete!
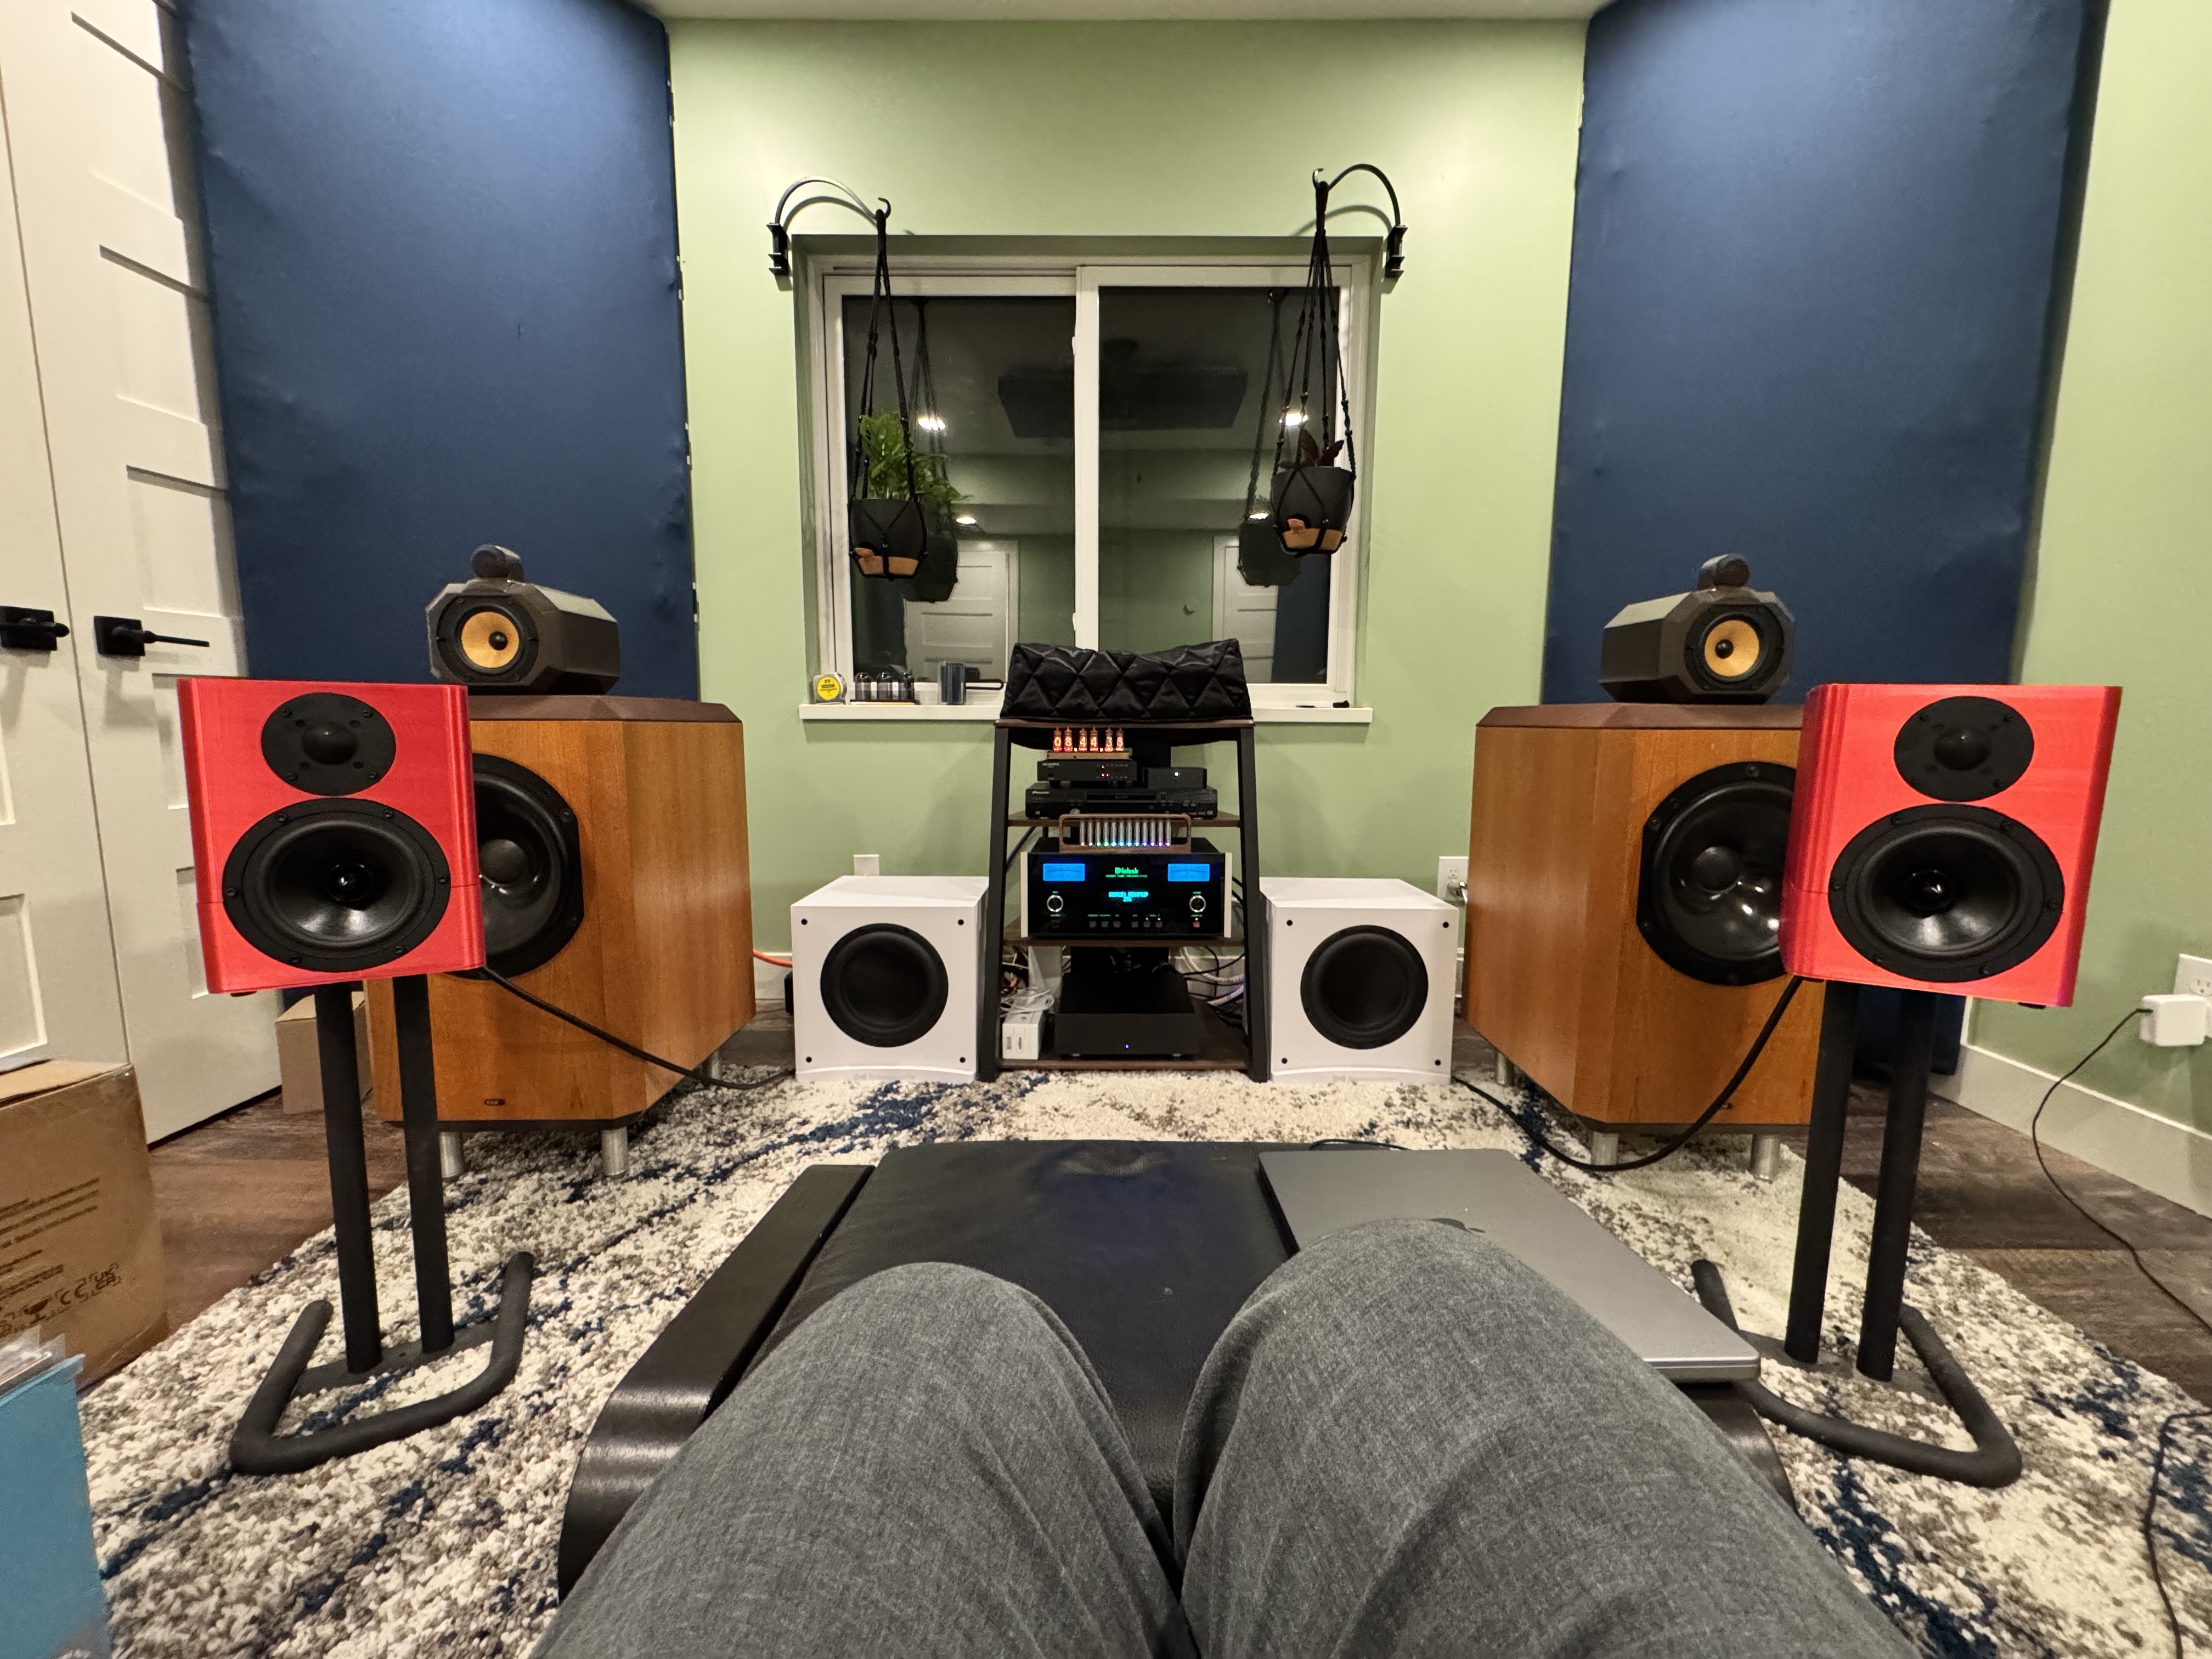
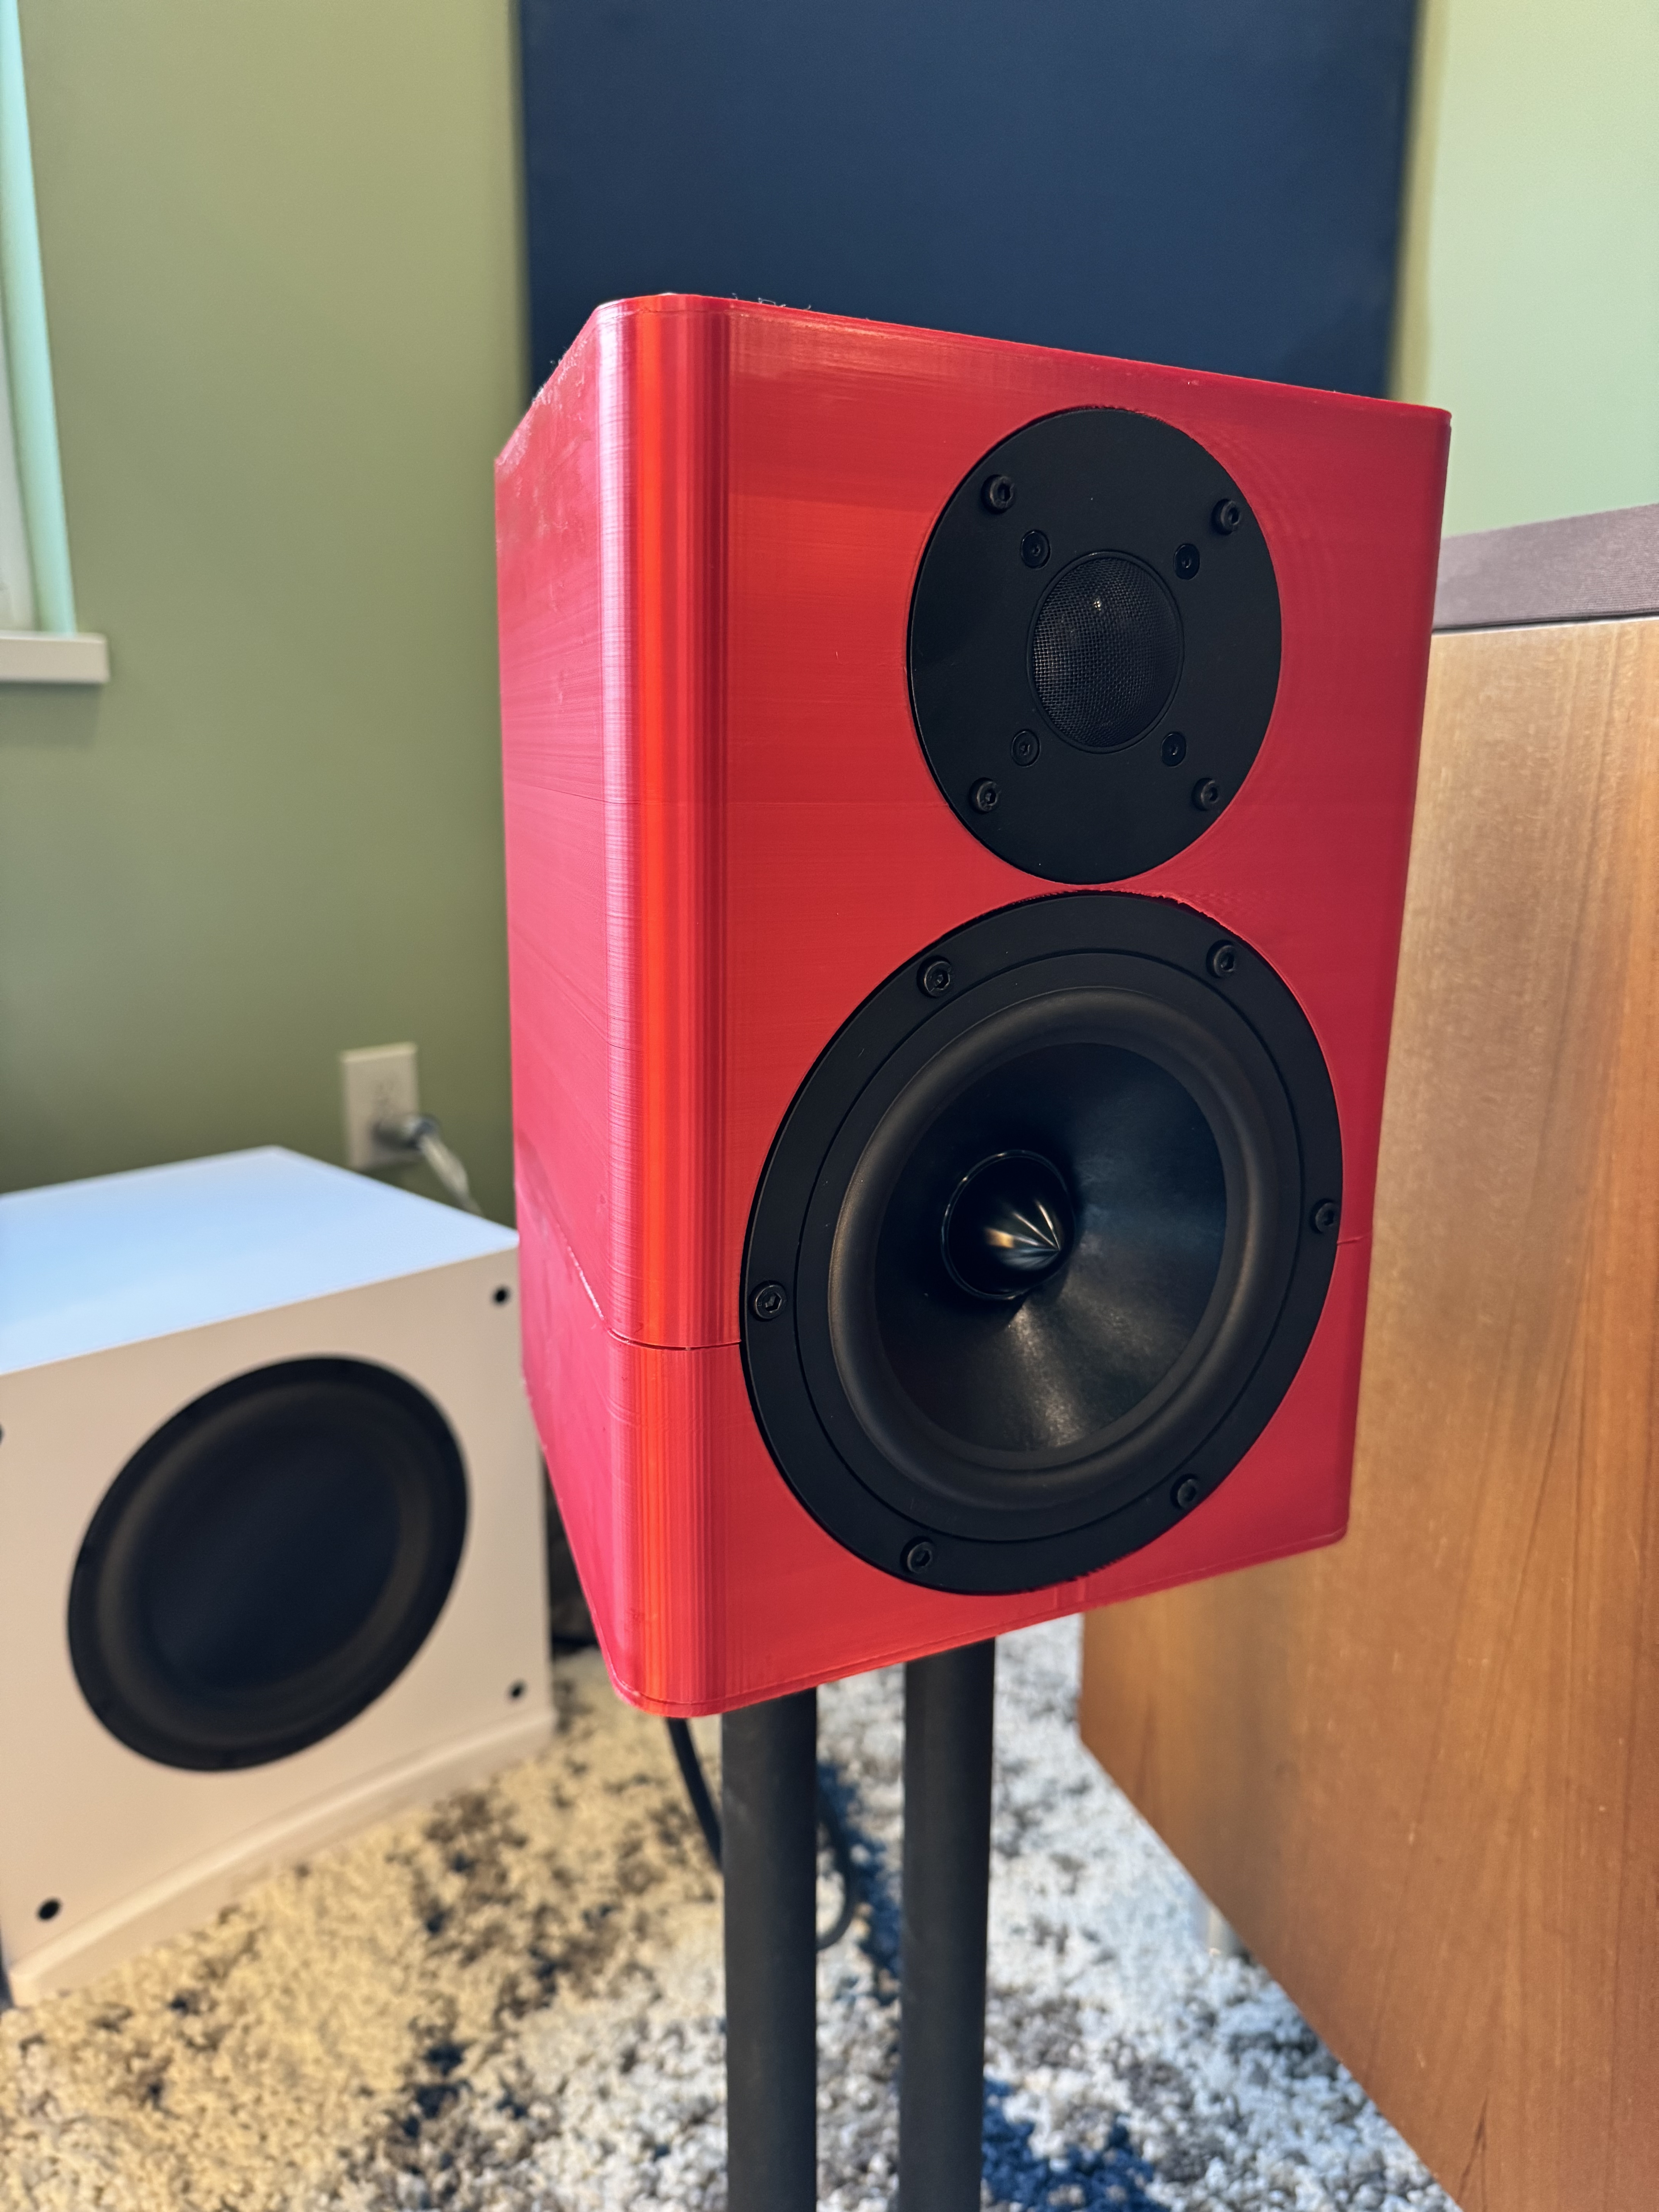 48) Both speakers finished and hooked up! They sound great! A little bit of break-in is in order and they could use a high pass filter so they aren't trying to reproduce all the low frequencies they can't handle would be nice. I'm glad I have my subs, it all integrates pretty darn well!
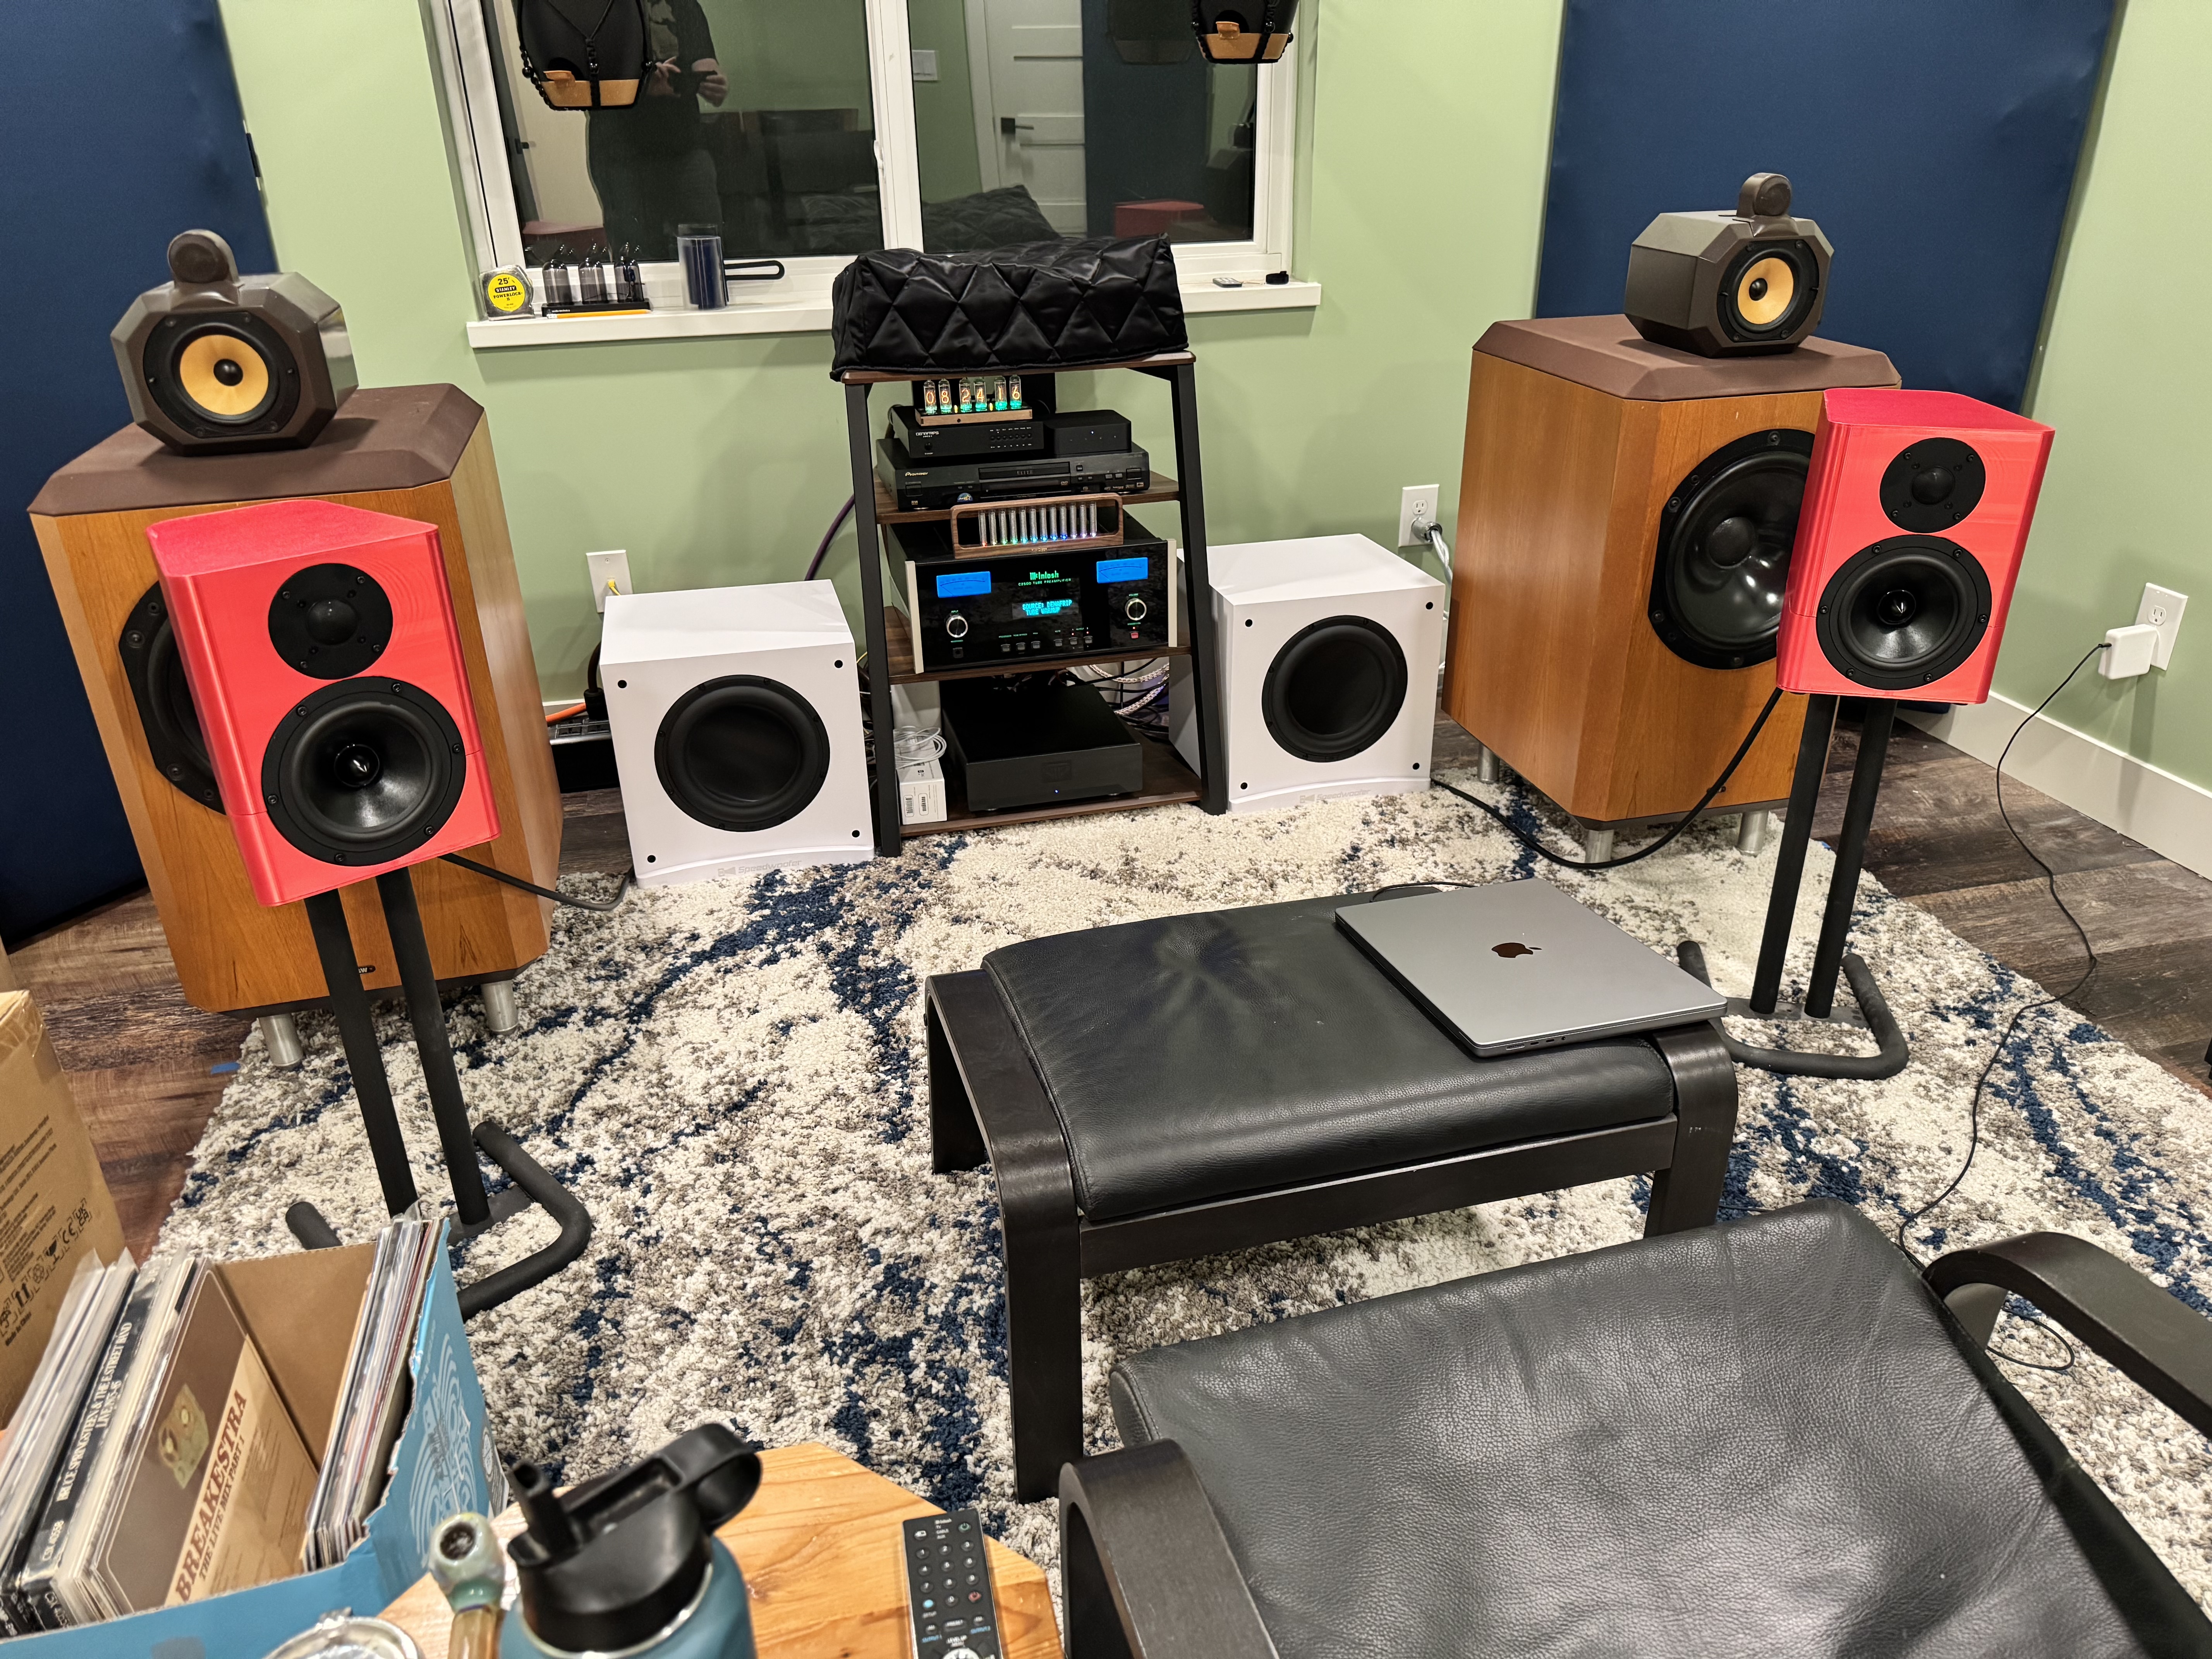 49) A wide shot from my listening position.
By Eric Hampshire
All the photos
Holden got a 3D printer for Christmas and you could say I've kind of gotten into it. I have plans to build some tower speakers from wood but stumbled on these 3D printed versions, which had never occurred to me as an option. The bill of materials was much cheaper so I decided to go for it. This page documents my journey in printing and assembling the Illuminate 7 3D printed speakers!
Final Bill of Materials
Drivers + Crossover components: $350
Other misc parts: ~$50
Filament: $150 (discounting the messed up print which was another $50)
-------------------------
Total: ~$650
1) I started with the bottom of the speakers as I wasn't sure which build plate to use - textured or smooth? You can see I had some bed adhesion issues with the one on the right.
2) Printing one of the speaker bottoms on my Bambu A1 3) A good version of both a smooth bottom and textured bottom. I used these as a test to determine which I wanted for the top of the speaker. Ultimately, I felt the smooth plate version shows too many streaks and artifacts from printing and went with the textured build plate. 4) Next print was the crossover board. This is my new favorite way to build a crossover as it's pretty much dummy proof. Everything is nicely labeled and it's super clear where the components go. 5) After re-reading the print instructions I realized I had printed the crossover boards with 15% infill when it said to do 100% infill. Here you can see how much flimsier the 15% infill is. I ended up re-printing with the recommended 100% infill to avoid any resonances. 6) Next up was the bottom part of the speaker that the bottom's will attach to. This was a 14 hour print. 7) These came out pretty nice, I was getting excited at how nice the speakers were going to look. I used Bambu Lab's PLA Silk+ in Candy Red. 8) Another shot of this piece. 9) I put the large enclosure section into the slicer, learned how to paint support blockers for the threaded inserts around the speakers (per the instructions) and got ready to print. 48 hours! 2 full days is what it said, yikes! It was also going to take ~1900g of material, which is almost 2 full spools of filament! This is with 4 wall loops and 35% infill as recommended. Here's about 1/4 the way into the print. 10) Here's a video of the print in the beginning, looking good.1.00 11) About 50% of the way in
12) I checked on it about 75% of the way in, so 36 hours after I had started and found this. Oh no! 13) The print had warped, pulling the build plate up off the magnets that attach it. This caused it to shift and you get the mess from the above pic. Bah! That was like $50 in filament and a long investment for it to just mess up. I was so disenheartened at this point. 14) After much back and forth with Hugh (the owner of this design, very nice guy!) I determined my basement's ambient temperature was too cold and would be likely to warp the print if I tried again. I looked into covers, space heaters, increasing the bed temperature, etc, etc, etc. Ultimately, I decided to use my friend's Bambu X1C which is fully enclosed to try again. So, after waiting for more spools of filament to show up, here's that print starting on his machine. Oh, I also changed the infill pattern to Gyroid at Hugh's suggestion (my first try used Rectilinear). 15) This is about 75% of the way into the print where my previous try had failed. The support inside the bass tube had fallen off, but thank goodness enough had stuck around that it ended up ok! 16) And, complete! My friend has a cool build plate pattern, too bad all of this will be hidden once assembled. He gave me the links to these build plates and I ordered some. 17) While I was waiting for the large enclosure to print (2d 7h), I got started on the crossovers. Placed the first inductor coil on the board. 18) Most of the components placed. 19) All components placed and zip ties snipped. 20) Backside of the crossover boards, time to connect all the pieces, following the appropriate traces. So easy! 21) All wired up and ready for solder! This may look easy but it probably took me 1.5-2 hours to go from the last step to this one. 22) Close up of one of the solder-prepped traces. I used some 18/2 Bell Wire to bridge the gaps between component connections. 23) Another close-up shot. 24) A close-up of the soldering being done. I used WBT 0800 Silver Solder as the solder. This stuff is incredibly nice to work with and makes very solid connections. 25) I added labels for each driver and the input, marking the negative terminal with a black mark to ensure everything will be wired with the correct polarity. 26) After finishing the crossovers I briefly hooked up the drivers to ensure everything worked. I suggested Hugh add this step to his build guide as it gets increasingly hard to fix as the speaker gets assembled. 27) Video of the crossover/speaker test. I used a Topping T30 integrated amp with streaming from a Google Chromecast as a source.1.00 28) Here's the large enclosure with the supports fresh from a print (still inside my friend's X1C).
29) Removing supports from the large enclosure, here's the pile of them. This is just for 1 speaker. 30) Enclosure with the supports removed. I sanded the port around its opening with some 220 grit, still looks a little rough. 31) Next up was adding the threaded inserts. I used these heat set insert tools on my soldering iron. I'd never done this before so I practiced with a couple on my "smooth" bottom piece that I wasn't going to use. I kept raising the temperature on my soldering iron to speed up the process, ending up at 500F for the temperature setting. I used a flat piece of metal to do the final setting of the threaded insert to ensure it was straight and flat. In this pic you can see the top left one needs it's final push in to be flat with that piece of metal. 32) Bottom of the bottom piece. This is for the feet I bought to go on the bottom of each speaker. 33) Threaded inserts going in for the drivers. 34) Threaded inserts installed for the drivers. 35) Hot glue around the binding posts to seal any gaps. 36) Input wires hooked to the binding posts. 37) Crossover and bottom (holding the crossover) epoxied to the enclosure bottom, clamped here while it dries. 38) Time to install some Dacron for dampening internally. I followed Hugh's instructions here for where to put it. This is a shot from the top looking down into the large enclosure. 39) Looking up the large enclosure port tube. 40) Dacron covers the crossover per the instructions. I glued the crossover board / bottom piece to the lower enclosure section separately. This shot shows me getting ready to epoxy the rest of it together. 41) Another deviation from the instructions - I added Dacron to the top of the speaker as there's a piece covering the crossover on the bottom (see pic above). 42) Here it's all clamped together - I used this epoxy and did both the large enclosure and top of the speaker in one shot. 43) Finally time to add the drivers! Soldering in the tweeter here. 44) Drivers installed, soldered, and screwed in! Note: the speaker is upside down here. 45) Back of the speaker, right side up this time. 46) Feet installed on the bottom. 47) And complete! 48) Both speakers finished and hooked up! They sound great! A little bit of break-in is in order and they could use a high pass filter so they aren't trying to reproduce all the low frequencies they can't handle would be nice. I'm glad I have my subs, it all integrates pretty darn well! 49) A wide shot from my listening position.

Comment